Today I learn how to use sips to convert a PNG image to a JPG image from the command line from The Robservatory blog.
sips – The Scriptable Image Processing System – is a command line tool that comes pre-installed
with macOS (I’m using 10.15 Catalina). It can convert a PNG to a JPG like this:
$ sips --setProperty format jpeg input.png --out output.jpgWith JPG as an output file type, we can add formatOptions property to the command
to set JPG quality level of the output file to get smaller file size.
# set quality to 'normal`
$ sips --setProperty format jpeg \
  --setProperty formatOptions normal \
  input.png \
  --out output.jpg

# or set quality to a percentage value
$ sips --setProperty format jpeg \
  --setProperty formatOptions 42.195 \
  input.png \
  --out output.jpg
Convert the last captured screenshot to a JPG
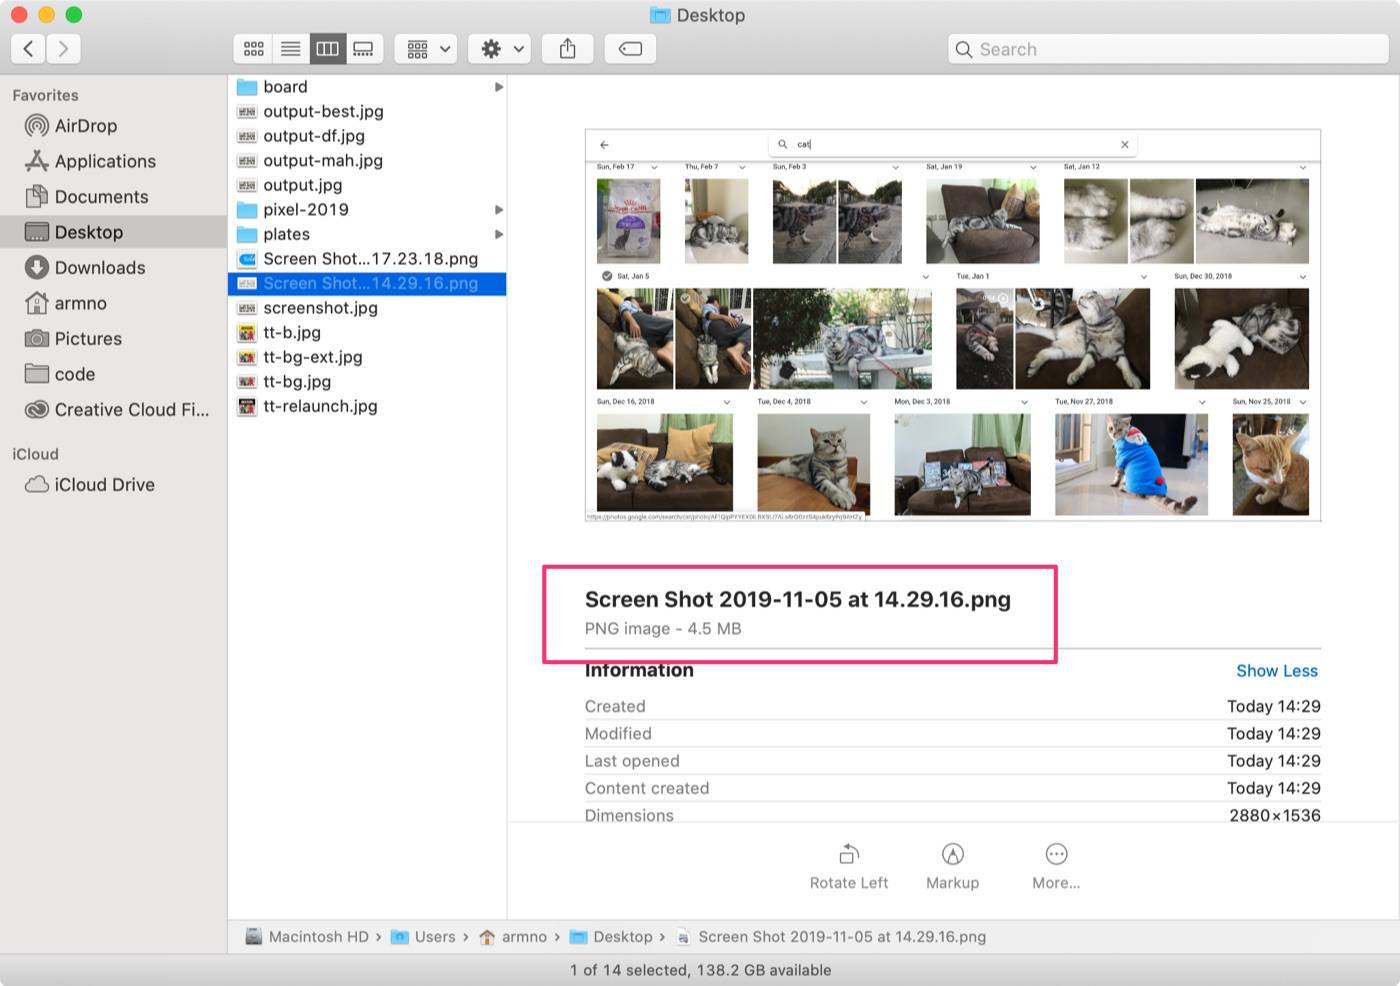
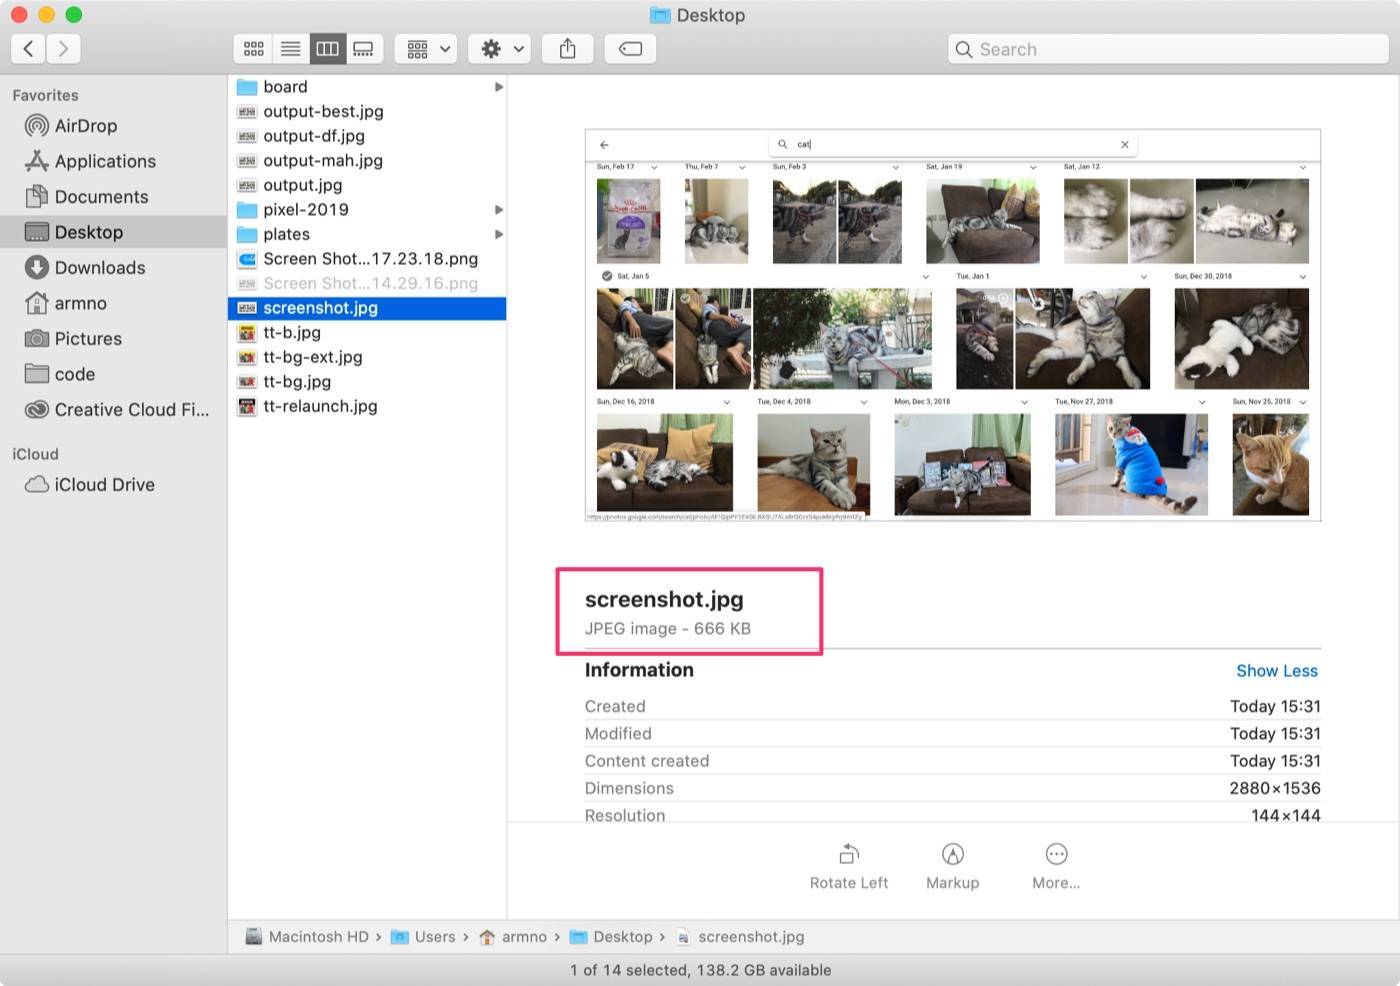
When I captured a screenshot to send via Slack or to attach in a ticket, I often found the captured PNG file is way too big in terms of the file size, especially when the screenshot has photos in it.

I wanted to quickly convert it to a JPG. I created a bash function in my .functions dotfile to do that.
function peg() {
  filename=$(ls -1t $HOME/Desktop/Screen\ Shot* | head -n 1)
  sips --oneLine --setProperty format jpeg "$filename" --out "$HOME/Desktop/screenshot.jpg"
}
ls -1t $HOME/Desktop/Screen\ Shot*- List all the files in Desktop folder that starts with
Screen Shot -1for 1 row per file-tto display the most recently modified first.
- List all the files in Desktop folder that starts with
| head -n 1grab only the first one from the list which in this case, is the last created file
So when I captured the screenshot, I go to the terminal and run peg command.
I get the JPG version of the file named screenshot.jpg.

More info about sips on the sips man-page.
Related posts
