Optimize Images in a Pull Request with GitHub Actions
GitHub Actions is a service that provides automation and CI/CD built into GitHub’s interface and runs on GitHub’s infrastructure or our own servers.
It’s pretty similar to GitLab CI to GitLab or Azure Pipelines to Azure DevOps. The workflows and configurations look more similar to Azure Pipelines than GitLab CI in my opinion.
A Use Case for GitHub Actions: Image Optimization
One thing that can be (and should be) automated is image optimization: to reduce images file size to make them load and display faster.
We can use a GitHub Actions to make sure images that are on the master branch, will always be optimized
before they get deployed to the live website.
In this post, I will use Image Actions to automatically optimize images in this blog when a pull request is created. Normally I do this task manually using tinypng.com for every single blog post.
Adding Image Actions to the Project
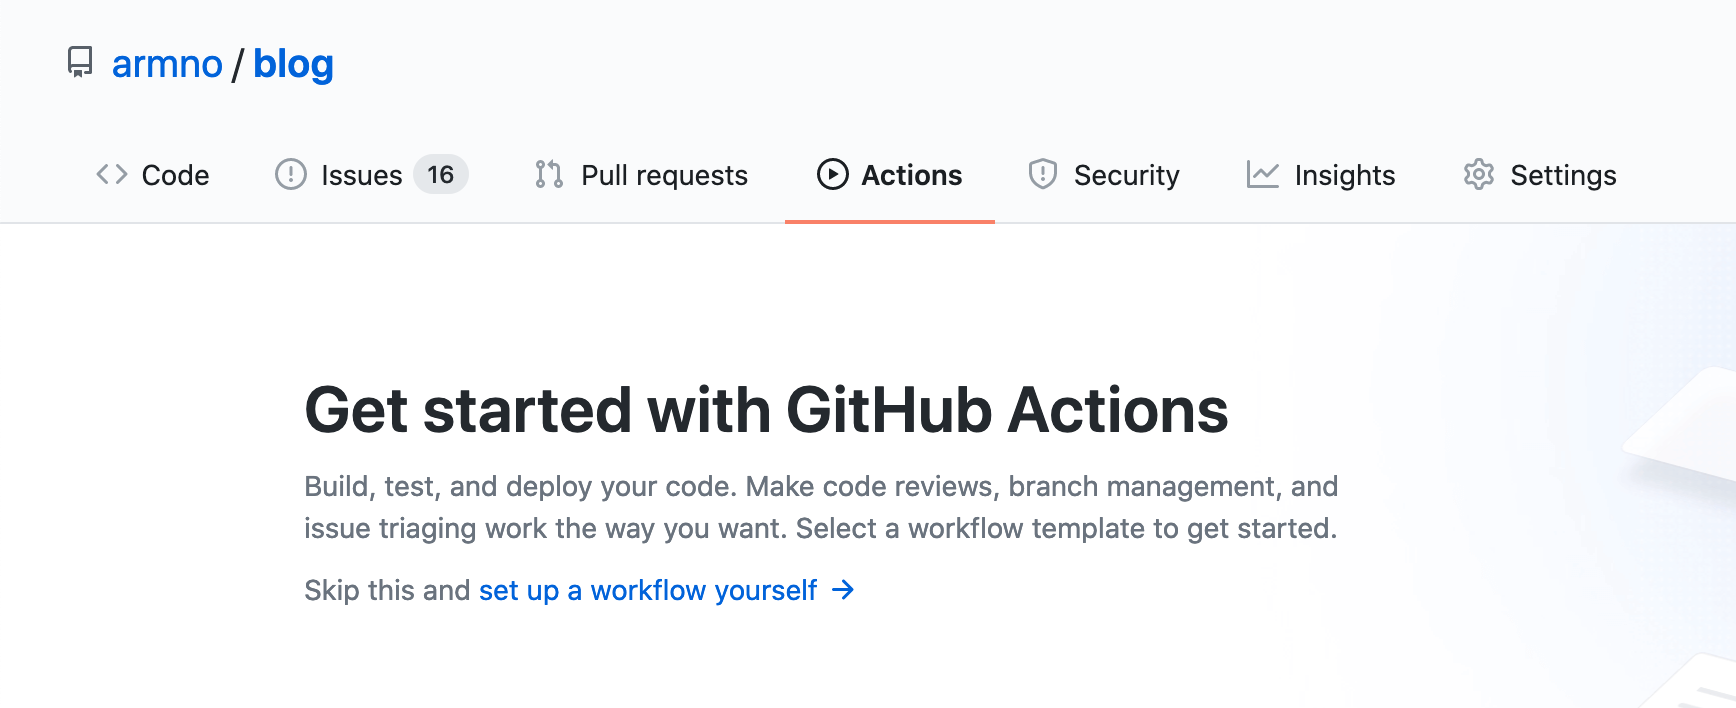
Go to repo page on GitHub, select Actions menu and select ‘set up a workflow yourself’.
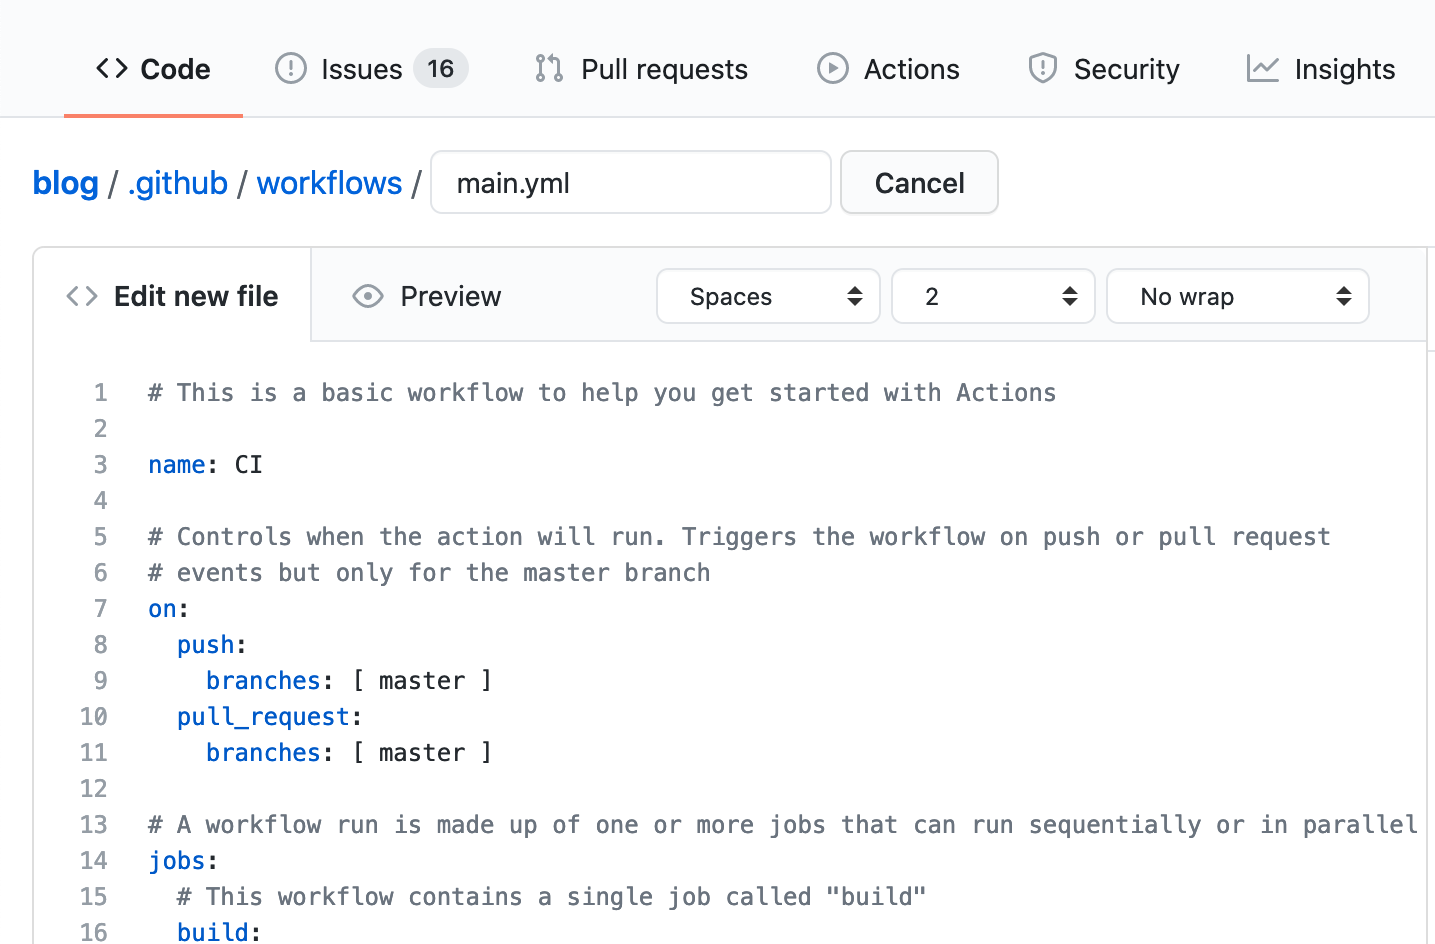
It brings us to the workflow editor page. Here we will have to create a yml file to define tasks for the automation we need.
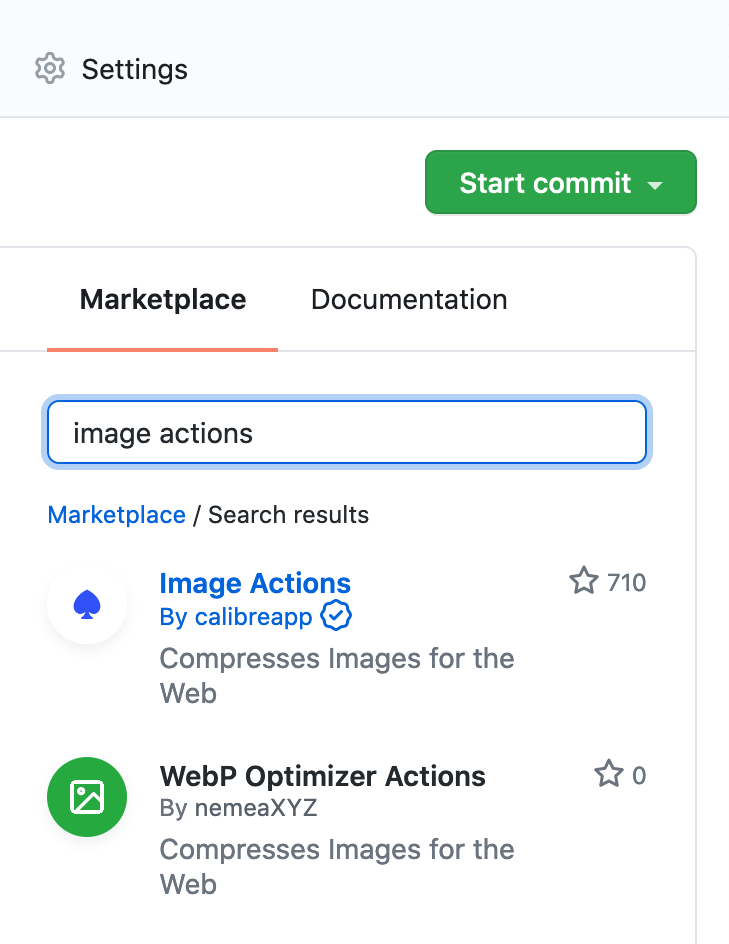
To create a new workflow using the Image Action, we can either:
- search for ‘image actions’ and select the item to view the code snippet
- or go and grab the code from Installation guide from the Image Actions’ marketplace page
We can add some extra options and quality settings of each file type under with: section of the step.
My workflow looks like this:
name: Compress images
on:
pull_request:
paths:
- "**.jpg"
- "**.jpeg"
- "**.png"
- "**.webp"
jobs:
build:
name: calibreapp/image-actions
runs-on: ubuntu-latest
steps:
- name: Checkout Repo
uses: actions/checkout@master
- name: Compress Images
uses: calibreapp/image-actions@master
with:
githubToken: ${{ secrets.GITHUB_TOKEN }}
jpegQuality: "70"
jpegProgressive: true
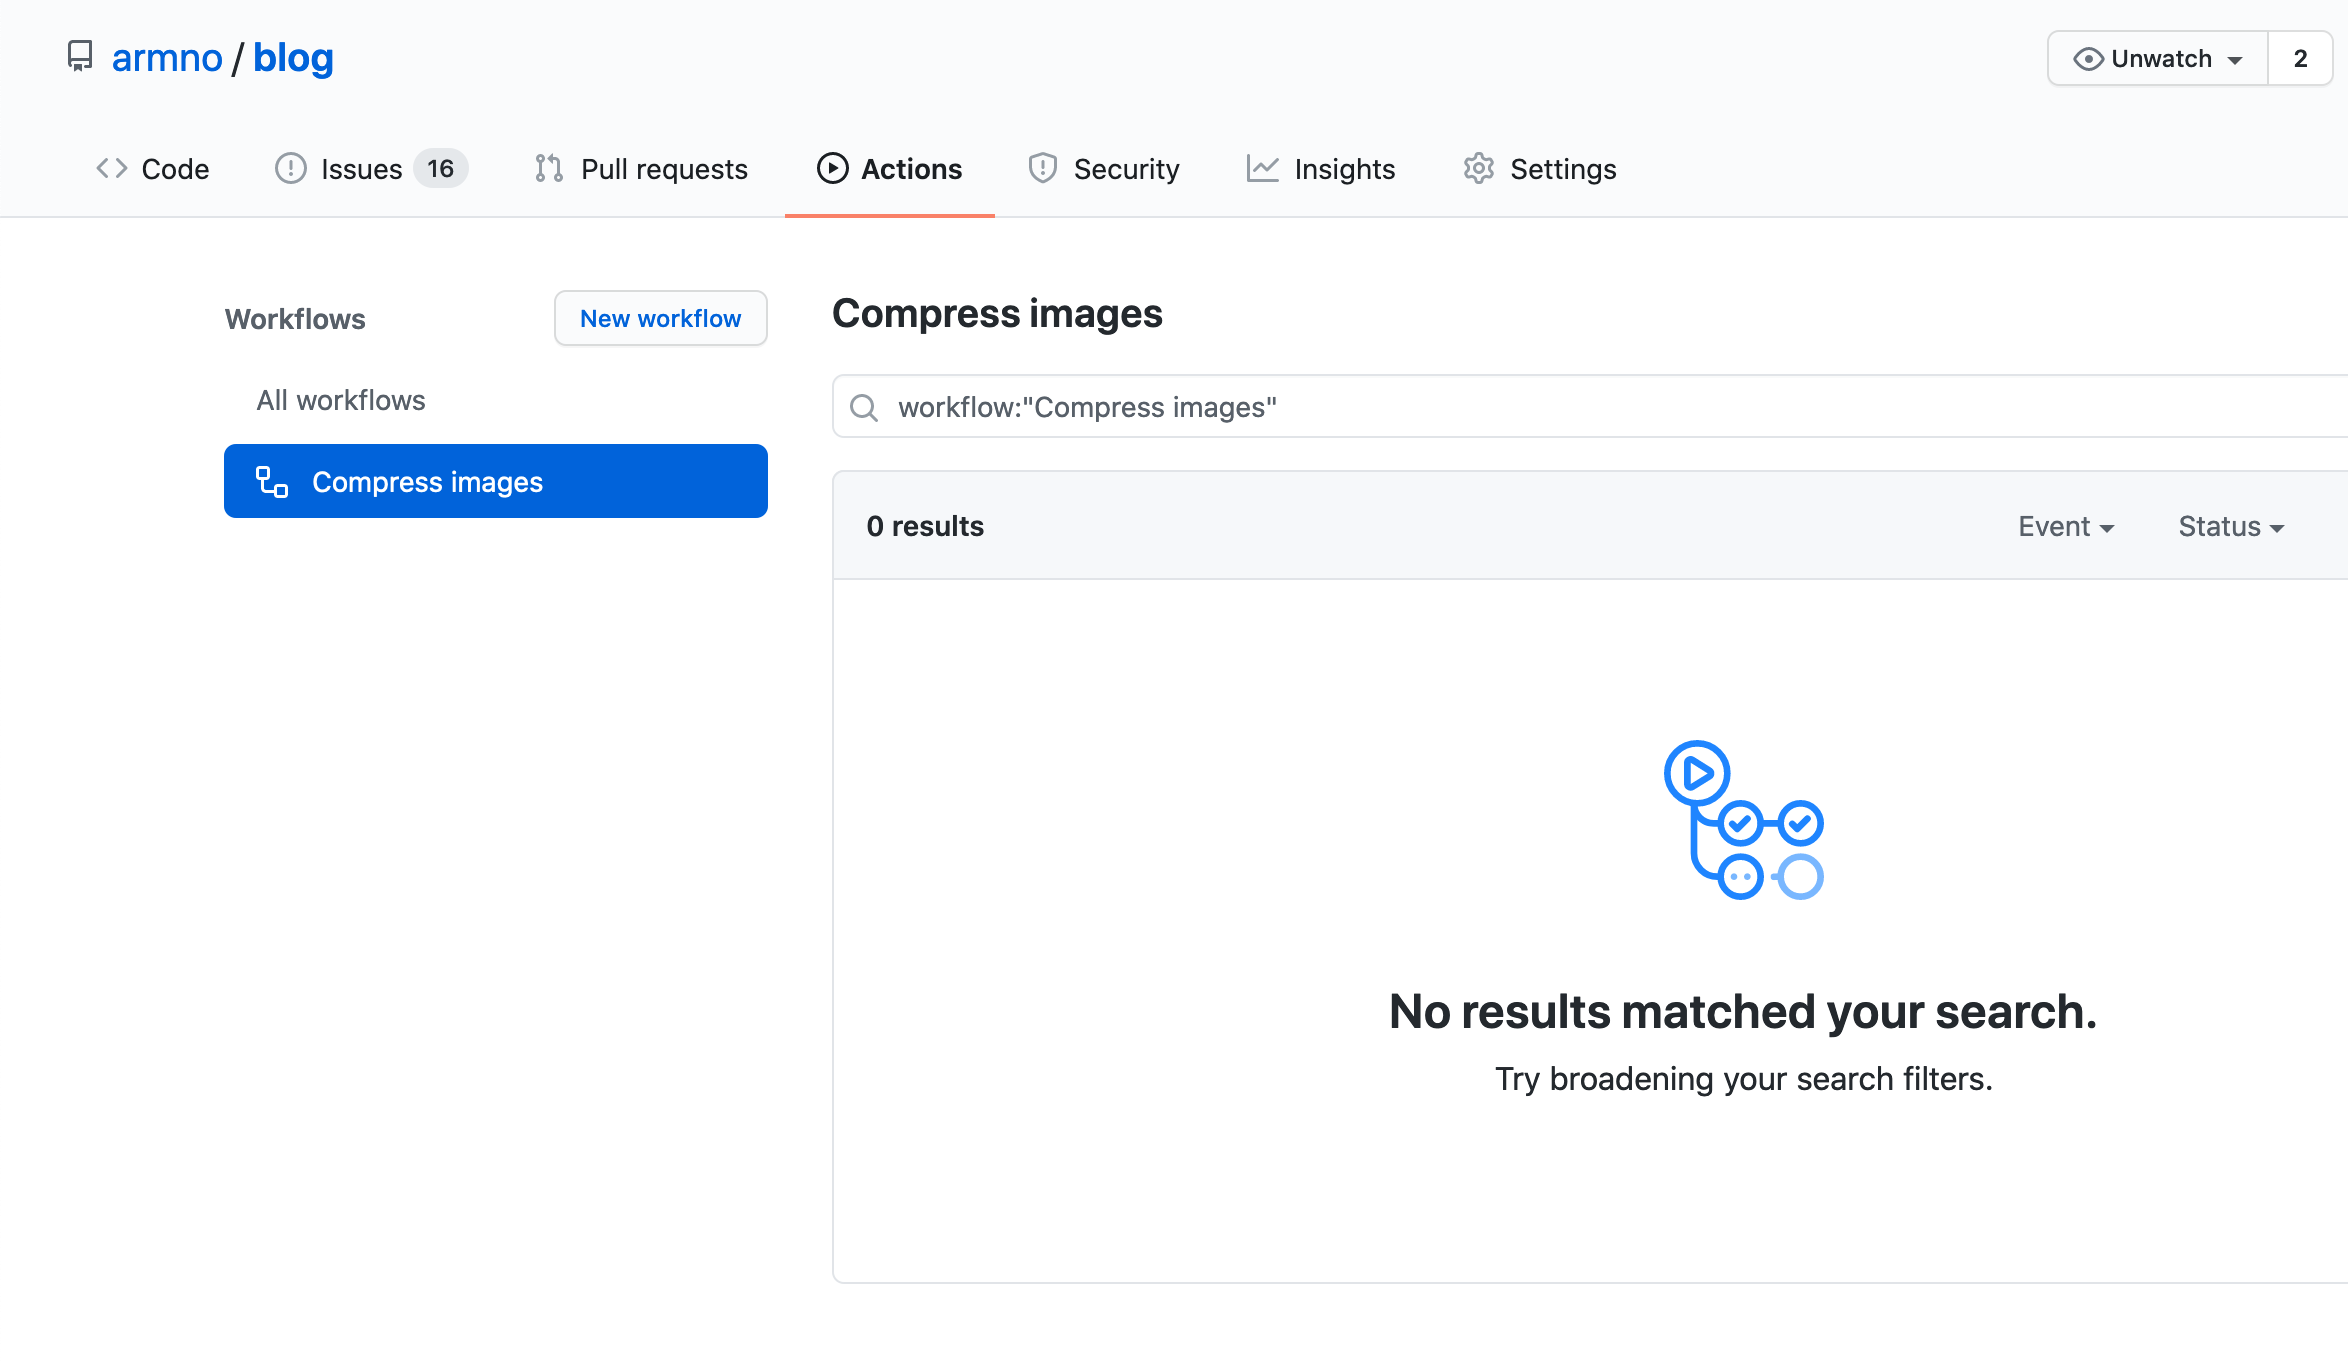
pngQuality: "70"When we save the workflow, it creates a new yaml file and put in the repo. On the Actions page, now there should be a new workflow created.
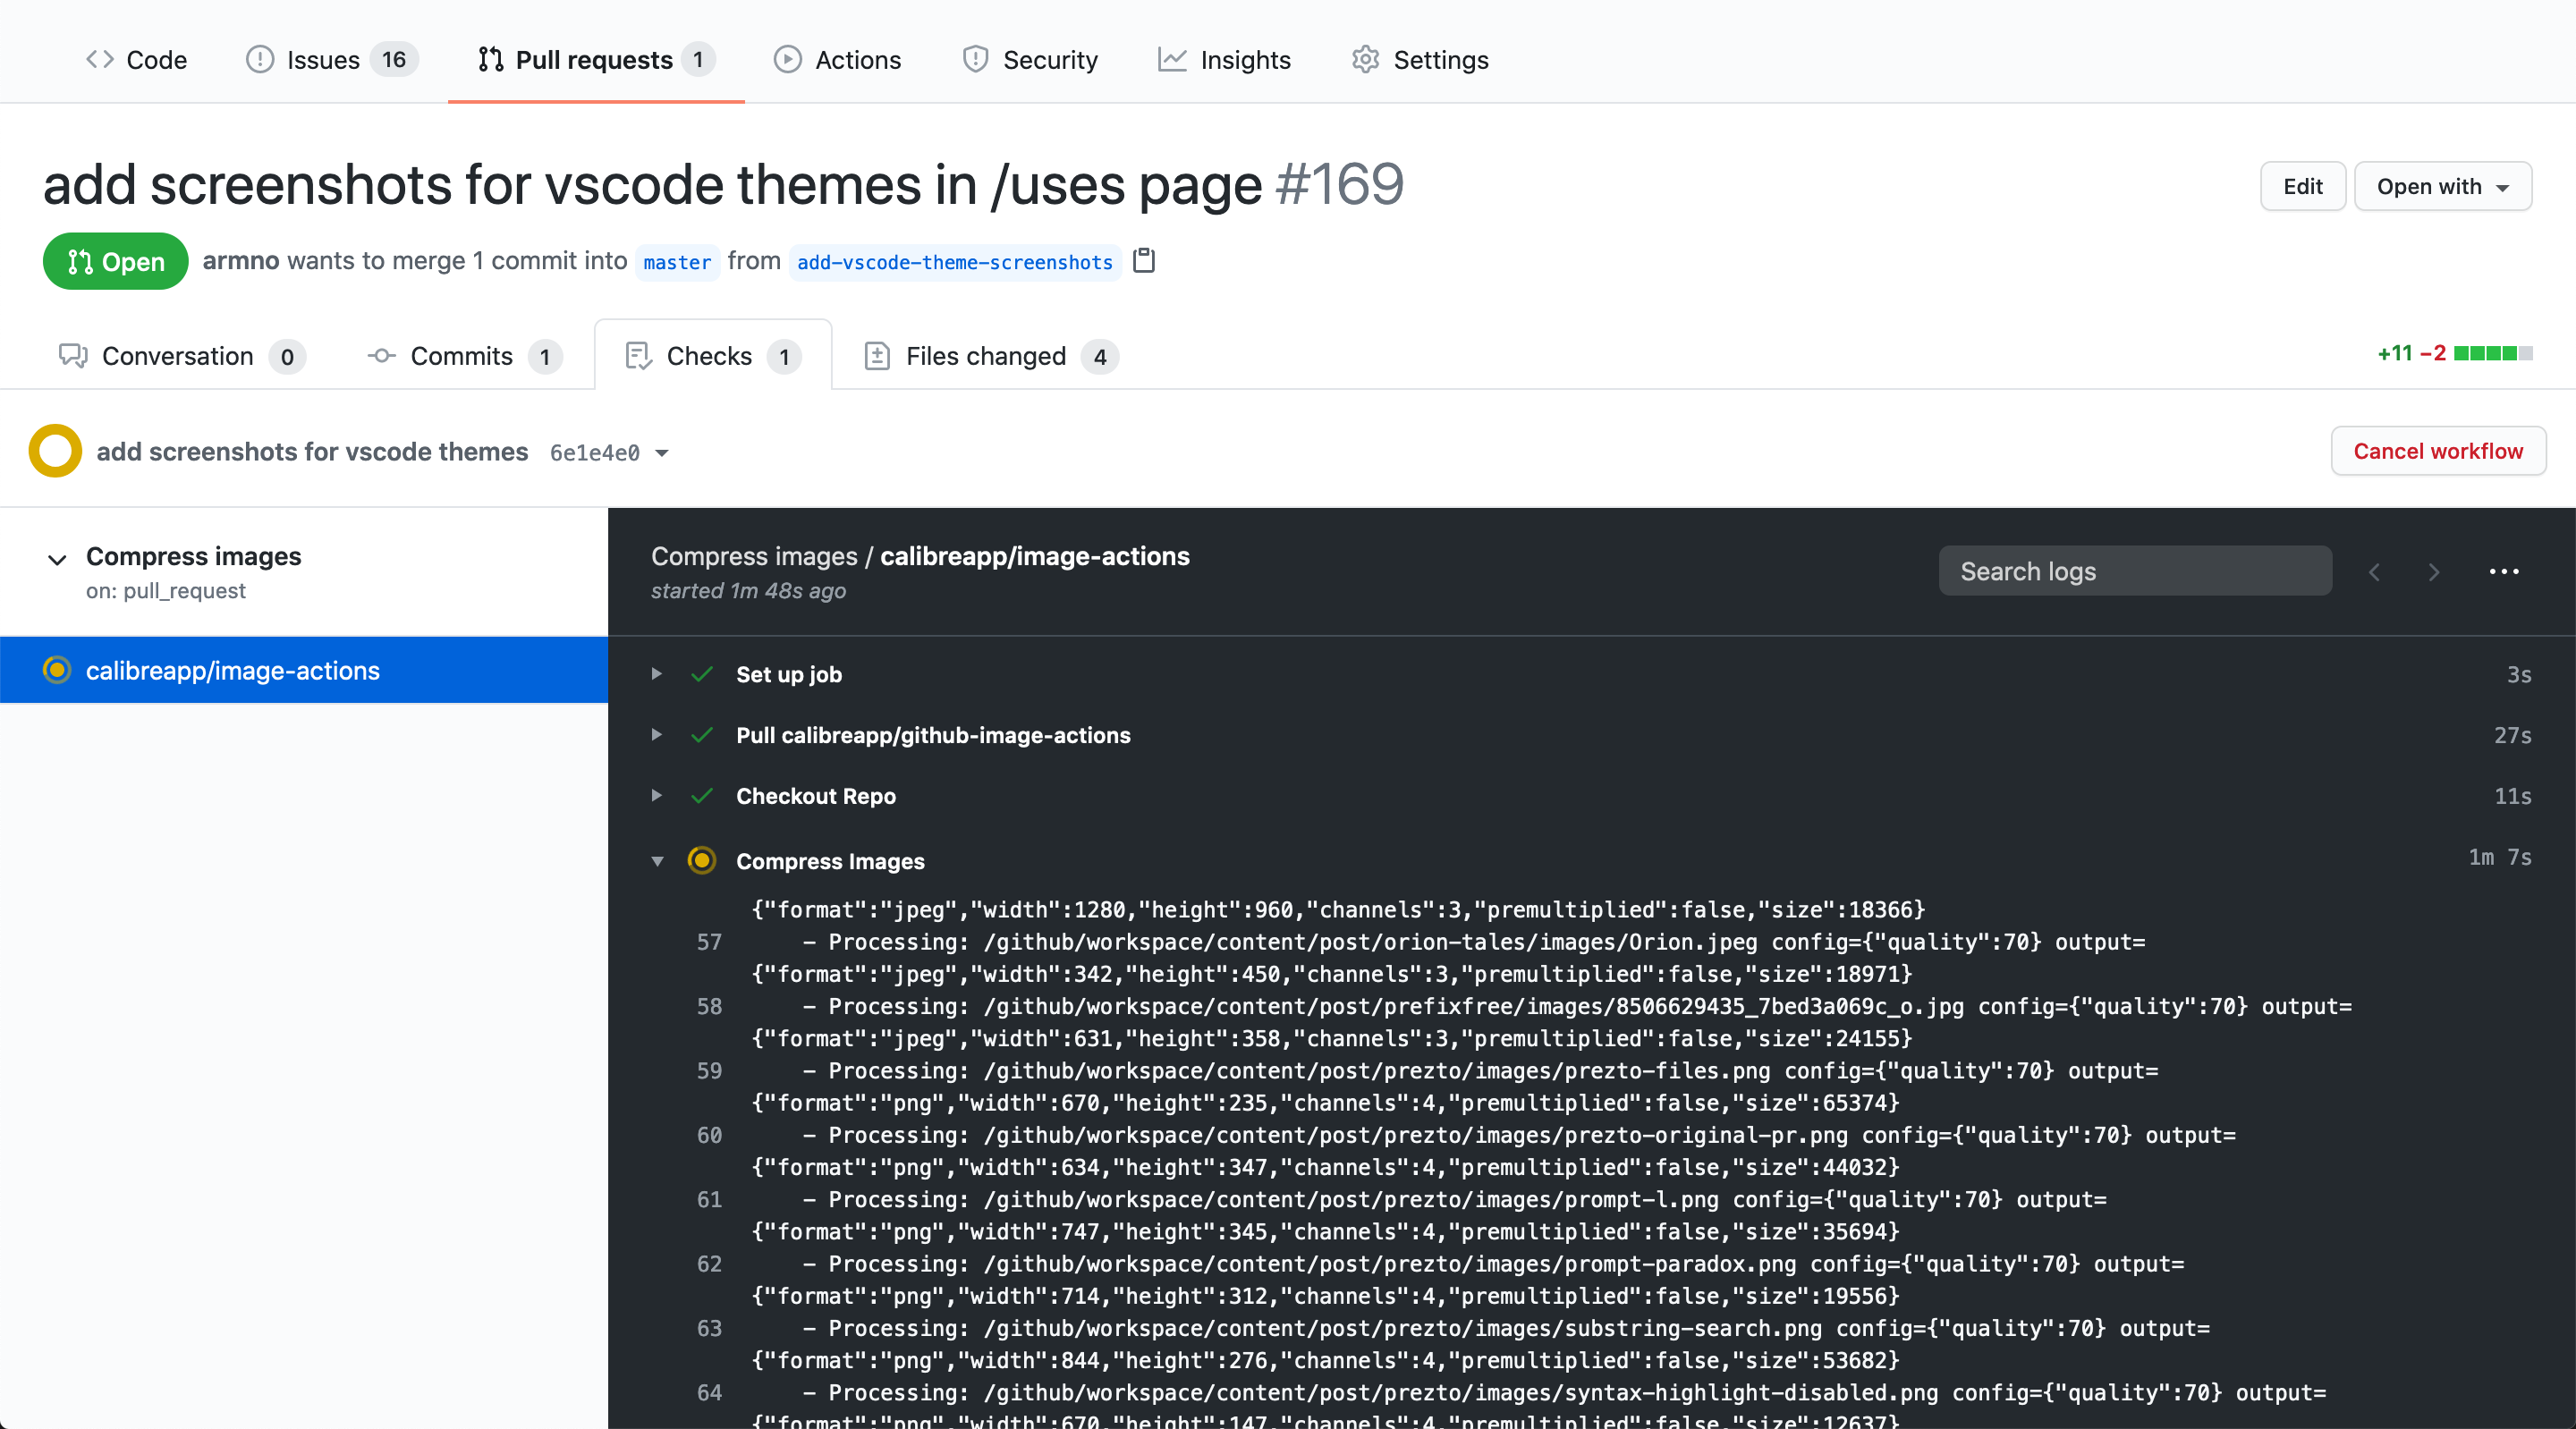
Next I create a test pull request to add 2 new images in my /uses page.
There is a new check created.
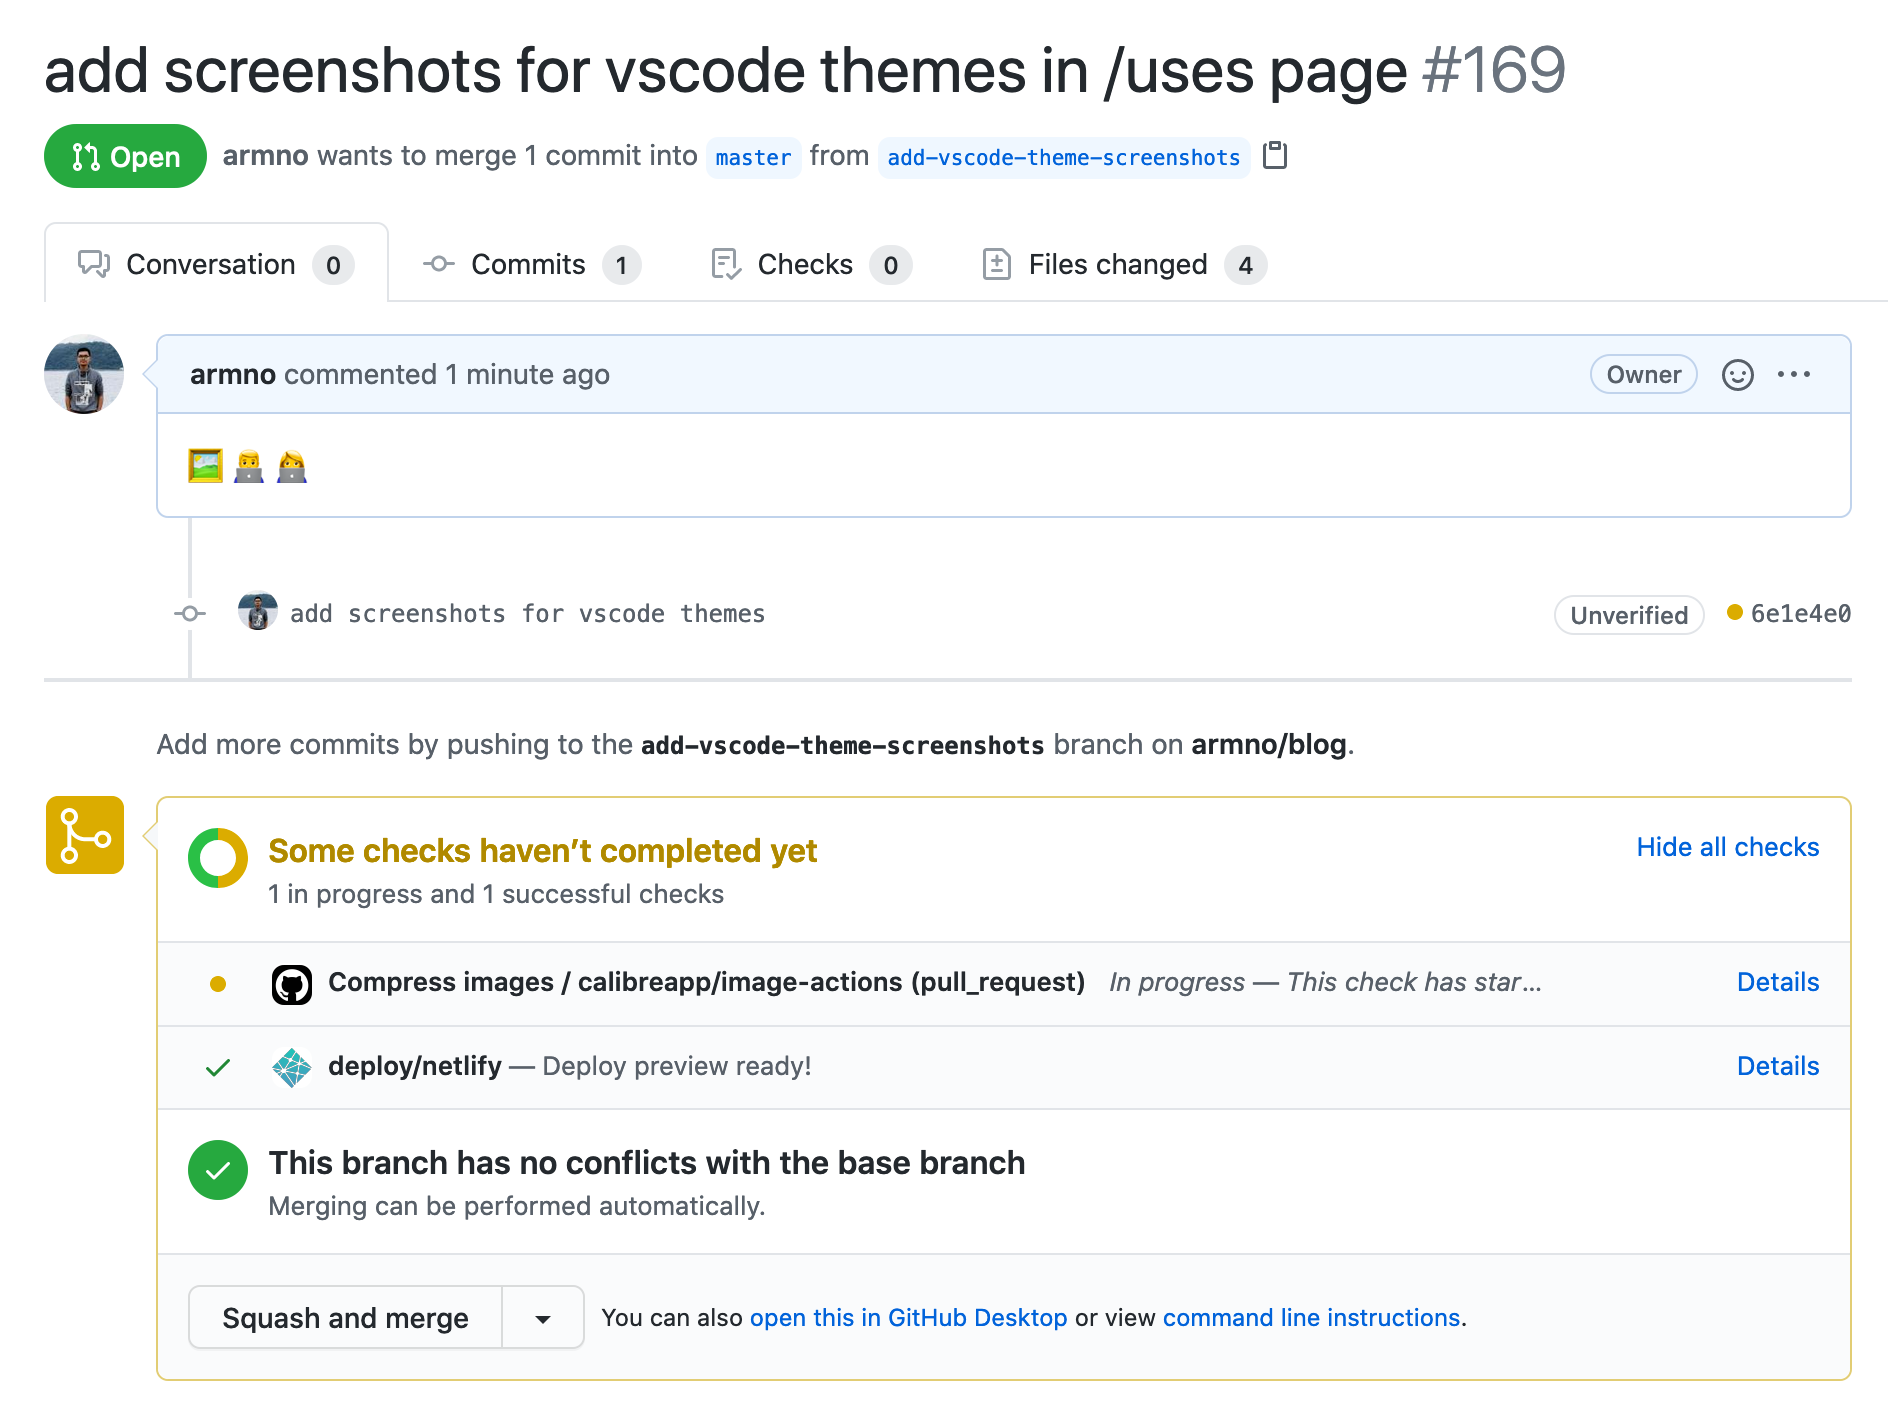
We can go to the details page to see it runs.
On the first run, the workflow scans and optimizes all images in the repo so it takes a while. But in the end, it reduces images by 37.7% or 21.59 MB from the repo. It is clear that many images are not properly optimized for a long time!
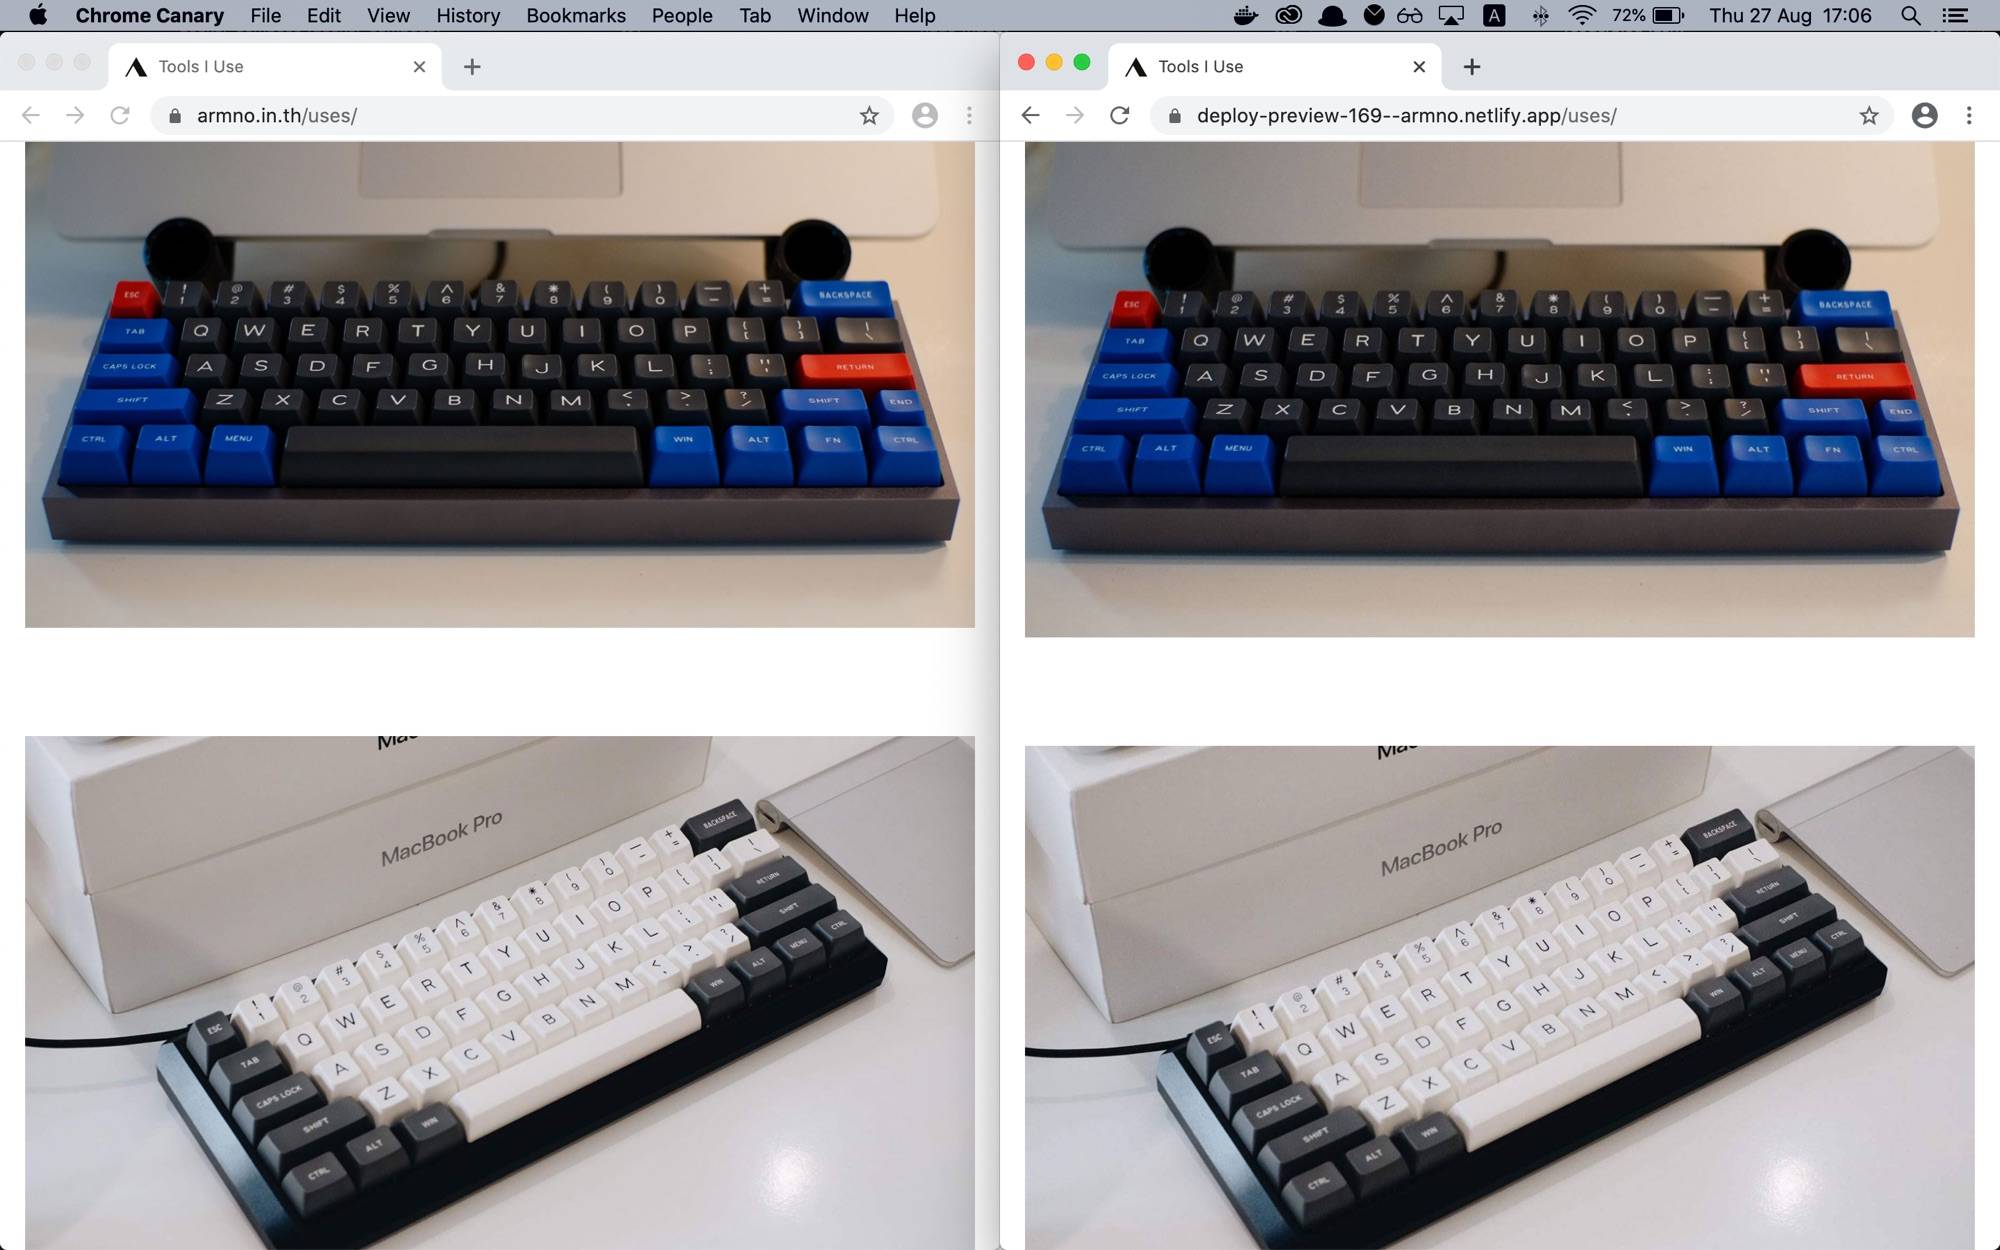
With Netlify’s Deploy Previews feature, I can compare original images and optimized images side-by-side.
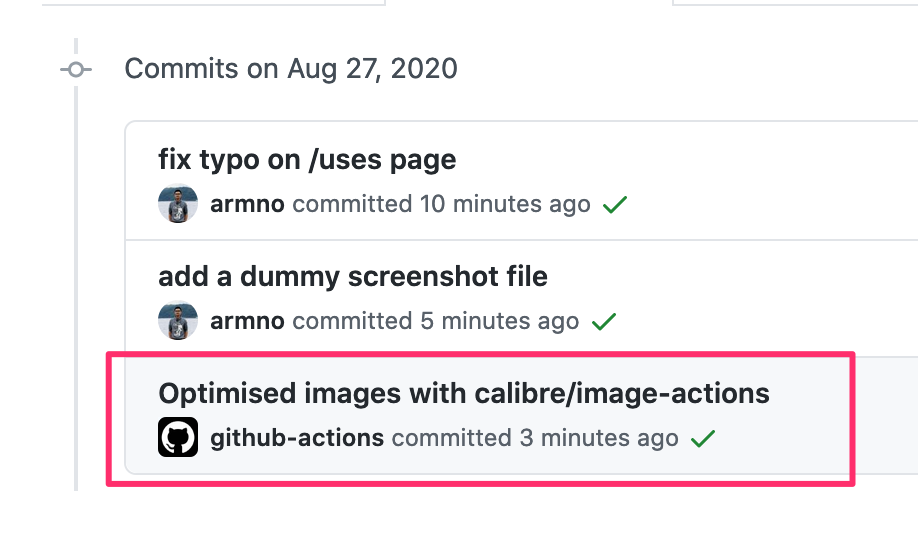
Back to the pull request view, the Actions adds a new commit and push back to the branch.
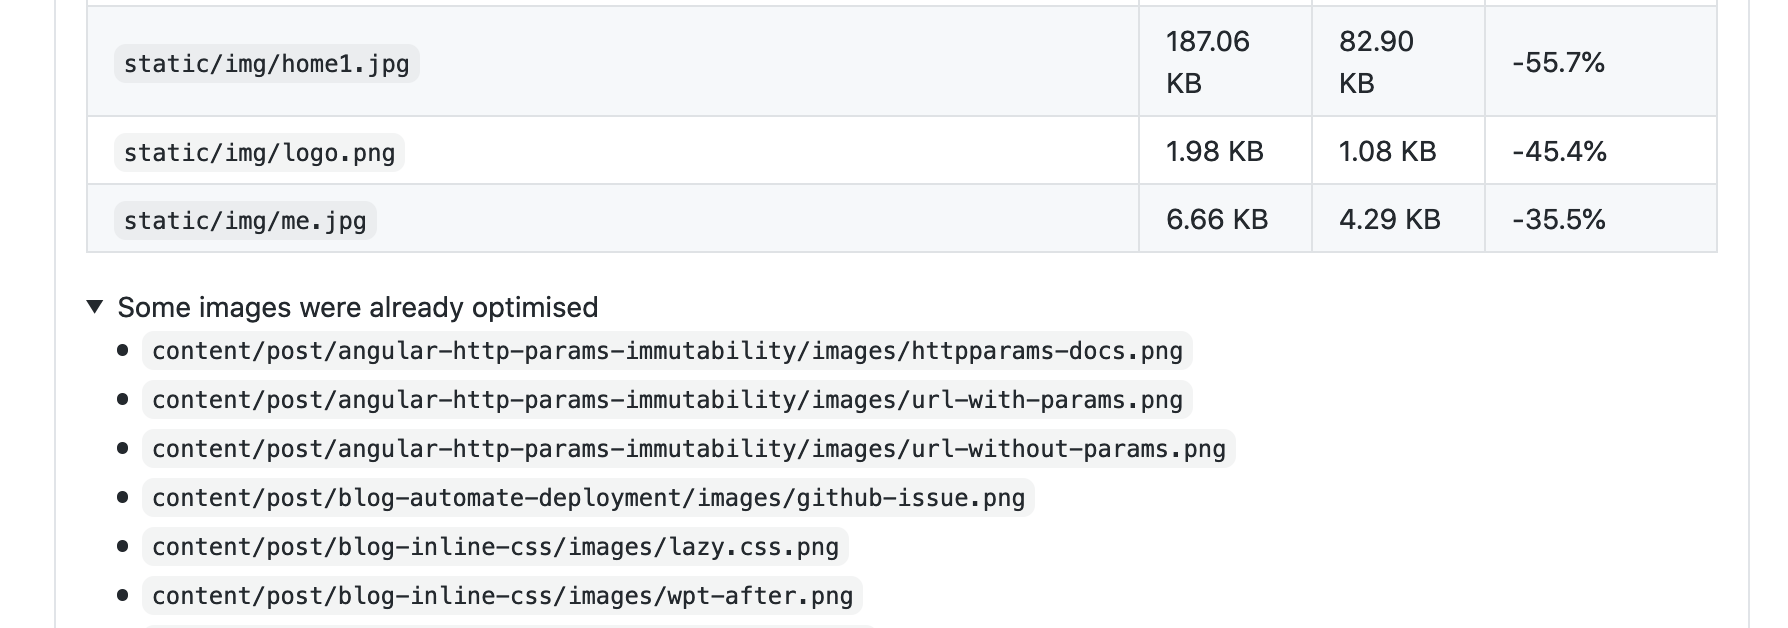
It also creates a new comment with optimization results into the pull request.
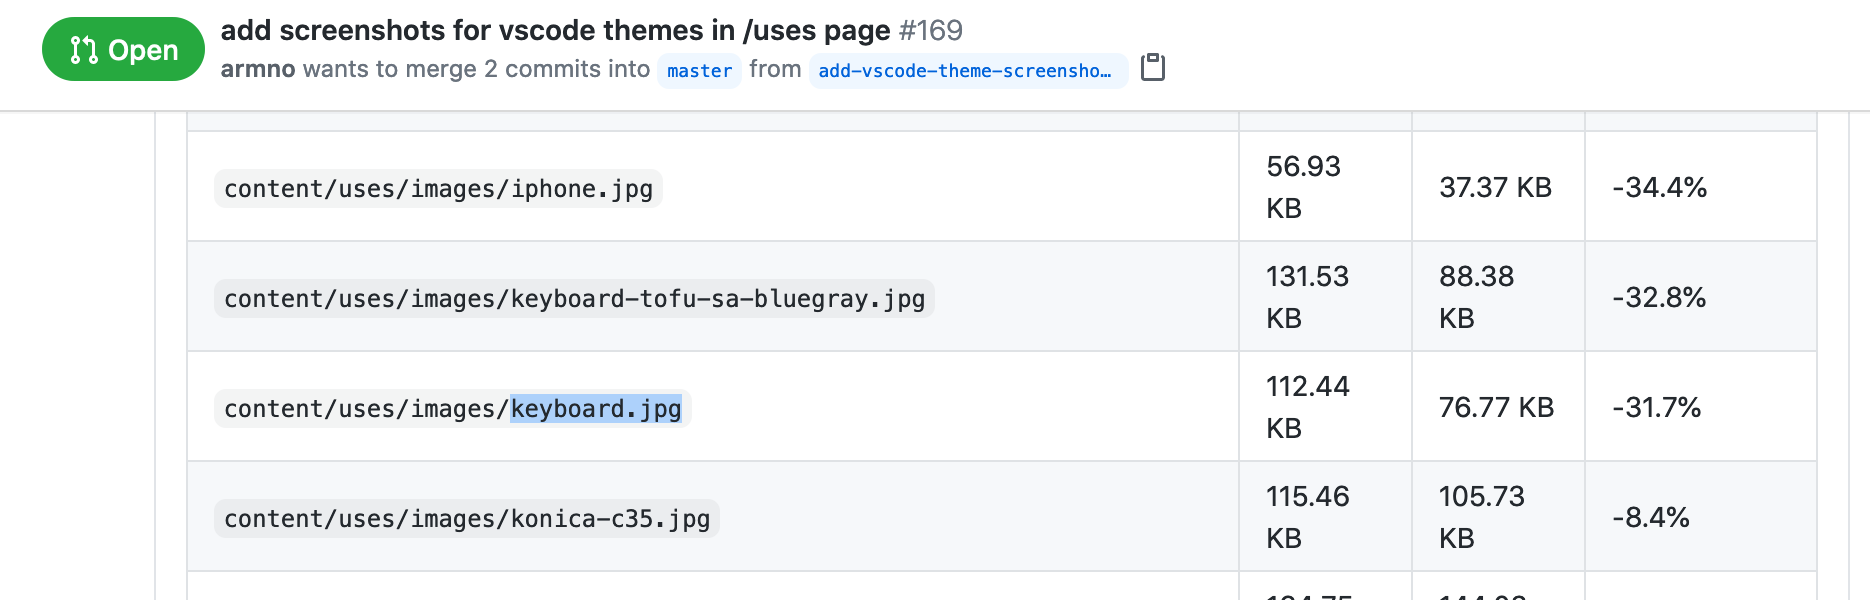
Some images are already optimized, so they are skipped.
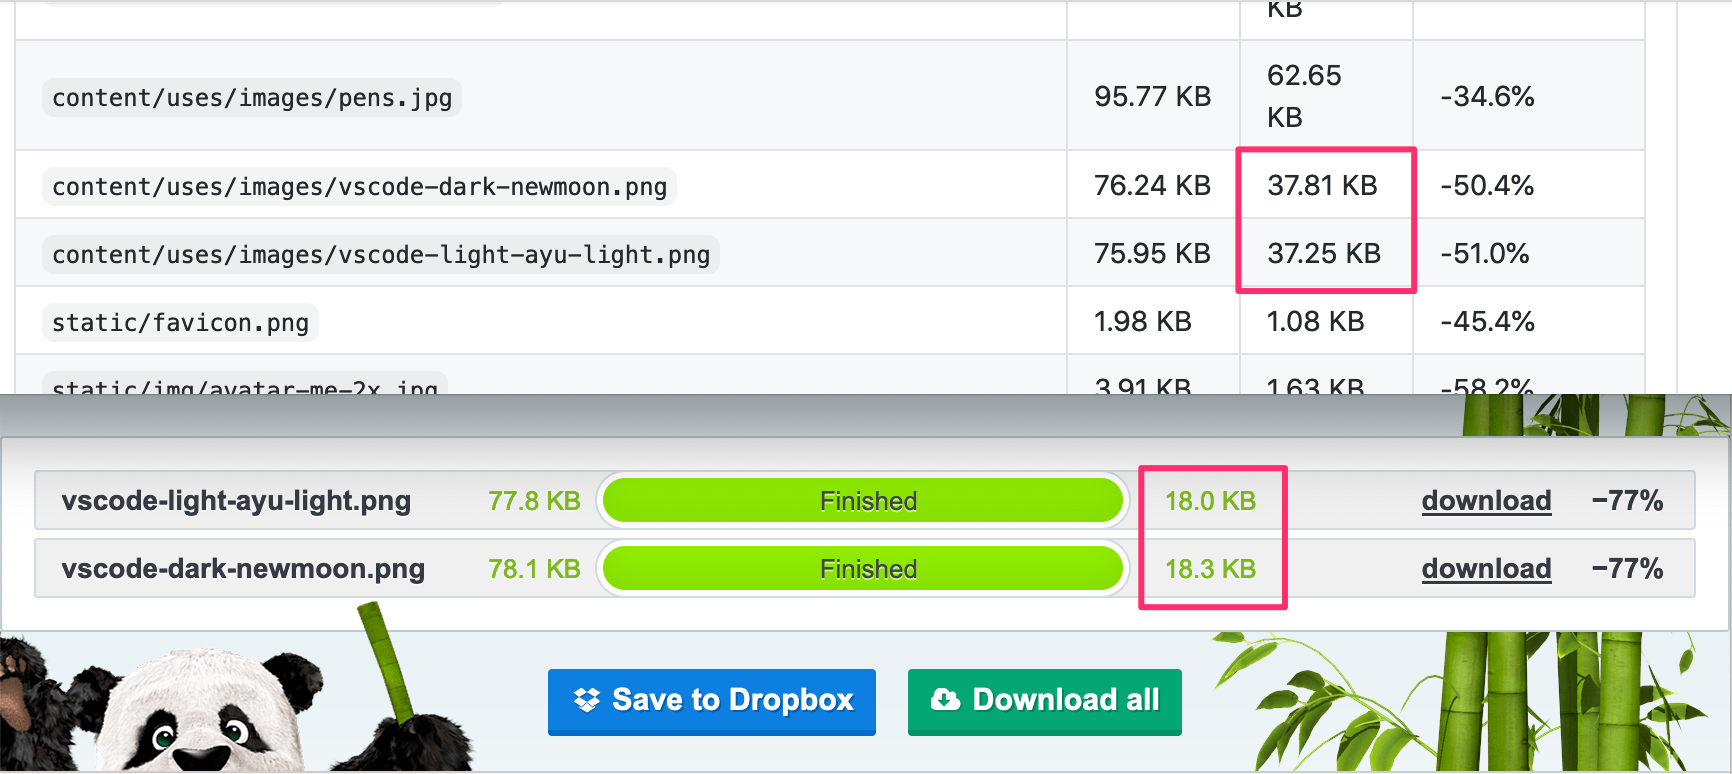
Comparing results with TinyPNG
Tinypng.com is an online image optimization service I usually use. It can still do a better job than the Image Actions in terms of producing smaller file size.
Summary
The Image Actions is a good addition to my workflow. Although it doesn’t produce the smallest file size of the images, but what I get back is an automated workflow and I don’t have to manually optimize images again when writing a blog post.
Another thing I like about GitHub Actions is the marketplace: there are plenty actions in various types created by the community and are ready to use.
Happy automating 🦾.
Related posts