Hugo: สร้าง template ของ front matter ด้วย Archetypes
Archetype คืออะไร
ก่อนอื่นต้องเข้าใจ content type ใน Hugo ก่อน
เวลาใช้ Hugo ทำเว็บ เราสามารถกำหนด content type หลายๆ แบบขึ้นมาได้ เช่น สำหรับเว็บโรงแรม ก็สามารถมี content type หลายๆ แบบ
- type
roomสำหรับแสดงข้อมูลห้องแต่ละประเภทของโรงแรม - type
eventสำหรับข้อมูลที่เป็น event ที่โรงแรมกำลังจะจัดขึ้น - type
postสำหรับแต่ละโพสต์ในบล็อก
การกำหนด content type ที่แตกต่างกัน ทำให้เราสามารถแสดงข้อมูลที่ต่างกัน ใช้ design ที่ไม่เหมือนกันได้
- type
roomแสดงผลข้อมูลห้อง ราคา พร้อม gallery รูปภาพ - type
eventแสดงผลข้อมูลของ event นั้นๆ, วันที่ เวลา หรือปุ่มกดจอง - type
postแสดงผลแบบ blog ทั่วไปที่มีชื่อโพสต์ เนื้อหา วันที่
ชื่งความหมายในโลก static site generator คือทำให้เราใช้ view/template/layout ที่แตกต่างกันไป ตามแต่ละ content type ได้นั่นเอง
(ในโลก WordPress อาจใกล้เคียงกับ post type)
นอกจากการแสดงผลที่ไม่เหมือนกัน แต่ละ content type อาจต้องเก็บข้อมูลแตกต่างกันด้วย
- type
roomก็ต้องมีชื่อห้อง, จำนวนแขกที่พักได้สูงสุด, จำนวนเตียงเสริม, option เสริมต่างๆ - type
eventมีวันที่จัด, สถานที่ (ชื่อห้อง) - type
postมีวันที่โพสต์, หมวดหมู่ (category), tags เป็นต้น
เราสามารถเก็บข้อมูลพวกนี้ ของแต่ละ content object ไว้ใน front matter ของแต่ละ object ได้
ตัวอย่าง front matter ของ content type: room อาจจะหน้าตาเป็นแบบนี้
---
title: "post-name"
pubDate: 2018-09-03T16:56:20+07:00
price: 3000
max_guests: 2
max_extra_beds: 1
gallery:
  - photo1.jpg
  - photo2.jpg
  - photo3.jpg
---
ซึ่งเราสามารถใช้ค่าต่างๆ ใน front matter นี้ ใน template ของ content type นั้นๆ ได้
archetype
archetype คือ template ของไฟล์ที่จะถูกสร้างขึ้นจาก command $ hugo new <content type> ตาม content type ที่เราระบุ
เราสามารถใช้ archetype กำหนด template ของ front matter ของ content type แต่ละประเภทได้
ตัวอย่างจากบล็อกนี้เลย: ปกติผมสร้างโพสต์ใหม่ในบล็อกโดยใช้ command
$ hugo new post/<post-name>/index.mdHugo จะสร้างไฟล์ใหม่ index.md ในโฟลเดอร์ content/post/<post-name>/ พร้อมกับ
Front Matter (YAML) แบบนี้ให้
---
title: "post-name"
pubDate: 2018-09-03T16:56:20+07:00
draft: true
---
ผมจะต้องเติม property อื่นๆ ที่จะใช้เข้าไปอีก เช่น url, layout, description ให้กลายเป็น (ตัวอย่าง)
title: "ทดสอบฟีเจอร์ก่อน deploy ด้วย Netlify Deploy Preview"
pubDate: 2018-09-02T11:14:22+07:00
url: /2018/09/02/netlify-deploy-preview
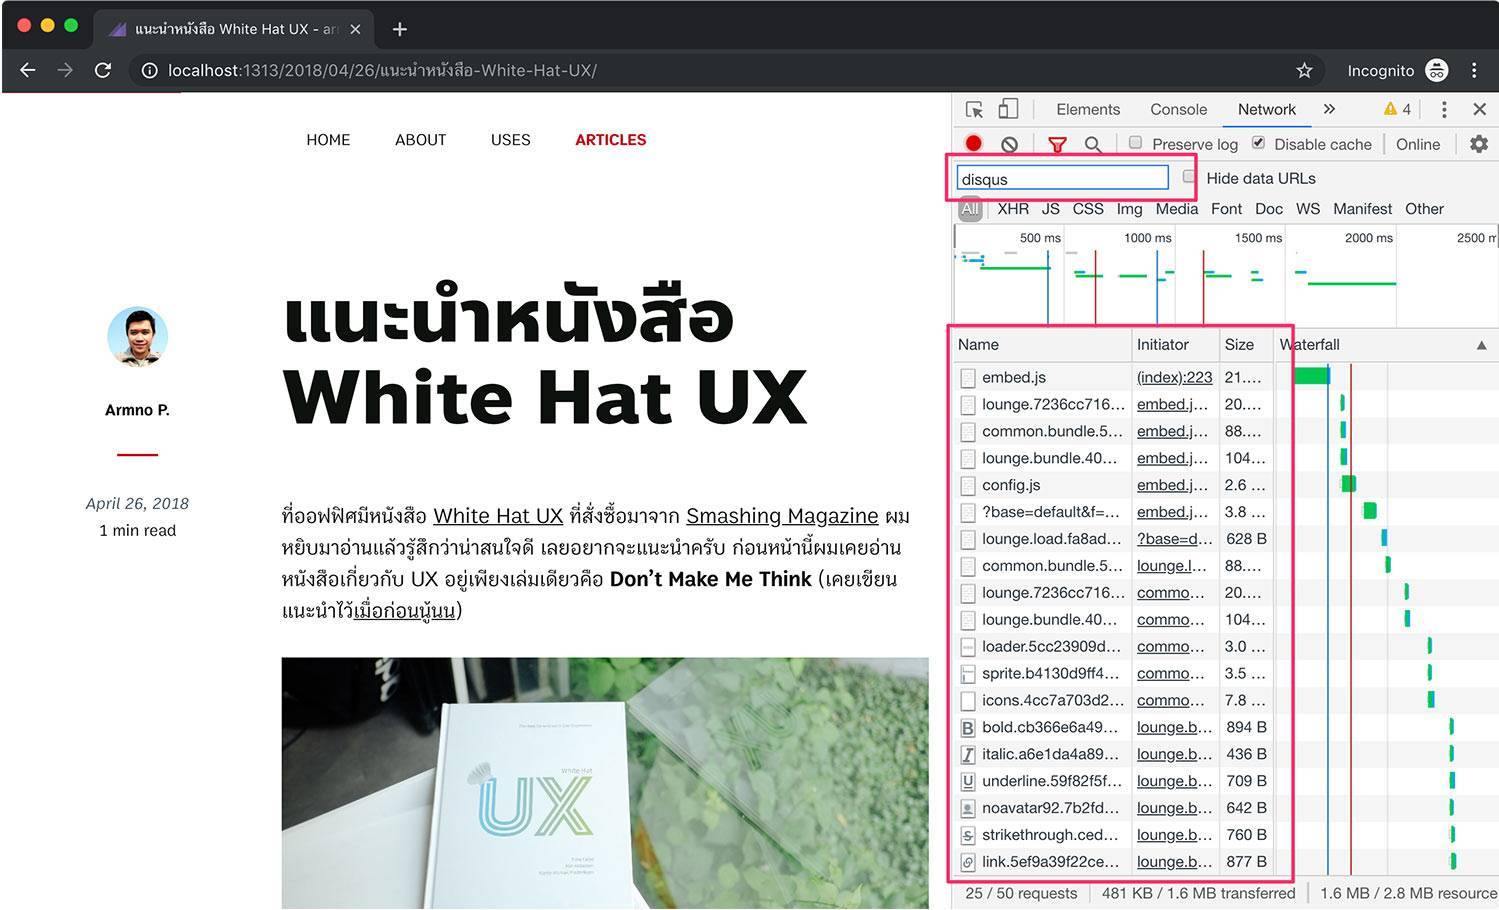
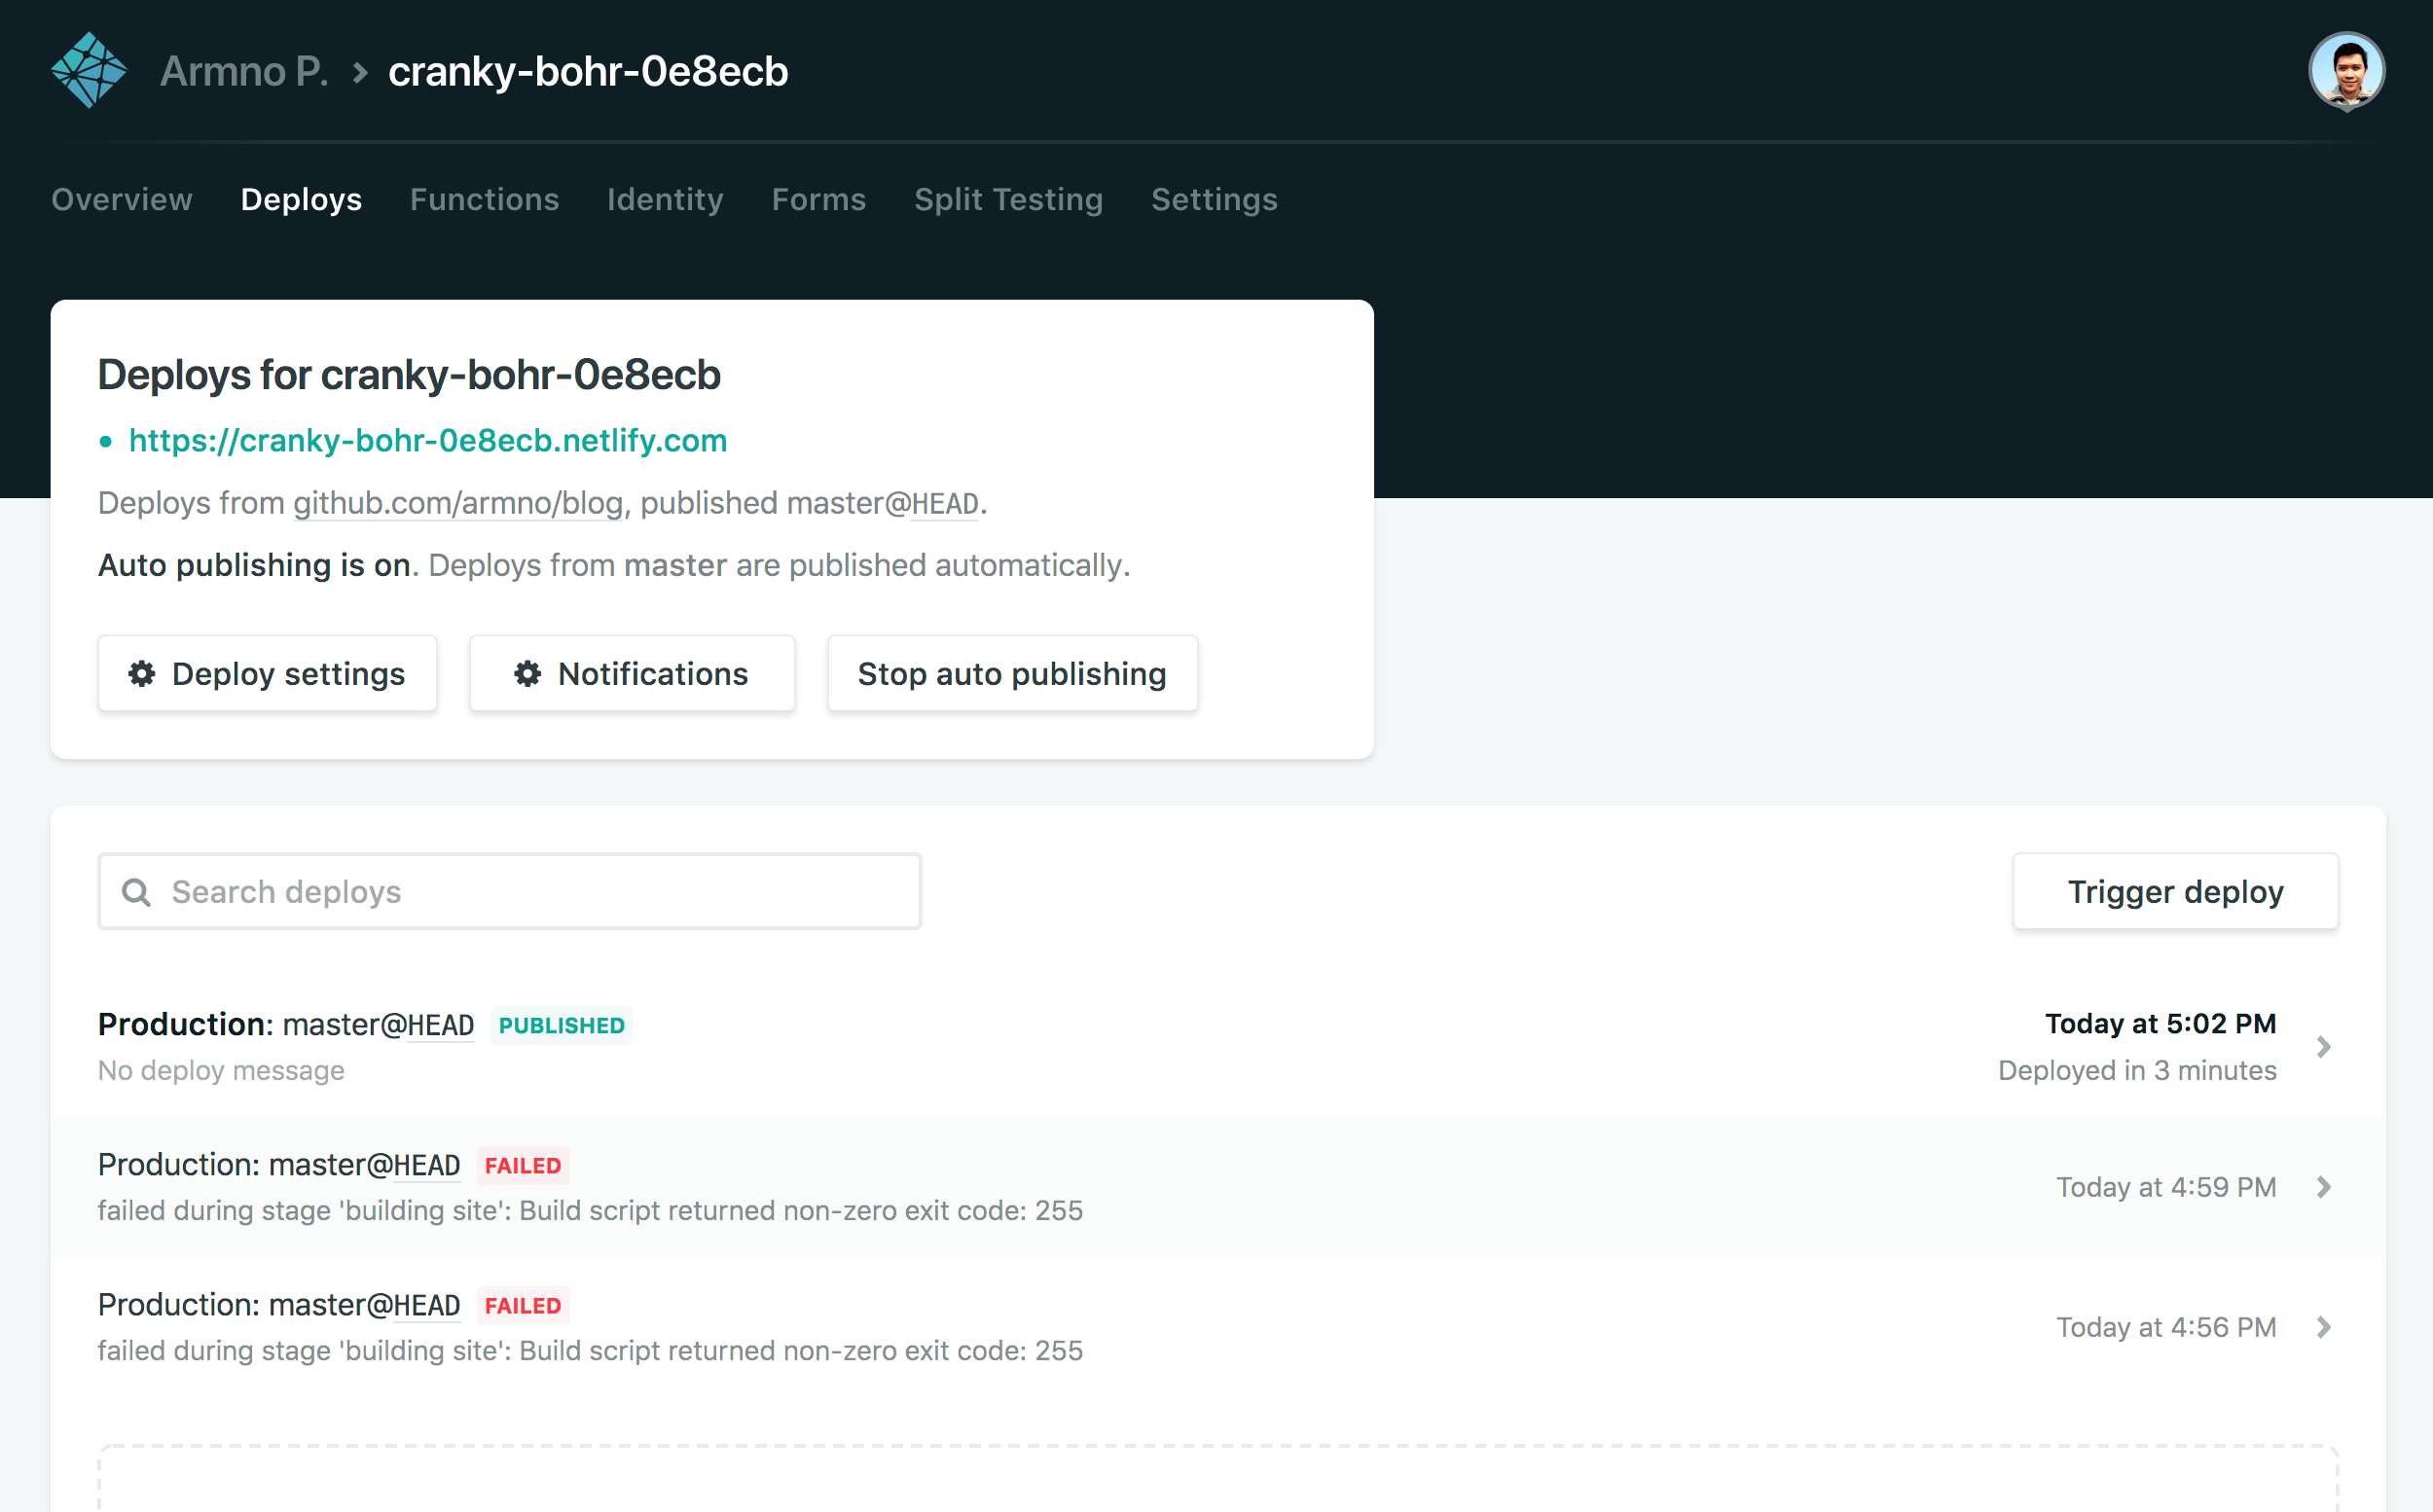
description: Netlify มีฟีเจอร์หนึ่งชื่อว่า Deploy Preview ที่ทุกครั้งที่เราสร้าง pull request (หรือ merge request สำหรับ GitLab) Netlify จะสร้าง URL สำหรับ pull requets นั้นให้โดยอัตโนมัติ ทำให้เราสามารถเช็คดูก่อนได้โดยที่ยังไม่ต้อง merge branch นั้น เข้า production branch
thumbnail: /images/hugo-archetypes/idea.png
tags:
- Netlify
- Continuous Deploymentแทนที่จะต้องมาเติมแบบ manual ทุกครั้ง เราสามารถใช้ archetype ใน Hugo มาช่วยทุ่นแรงได้ โดยให้ทุกไฟล์ที่ถูกสร้างขึ้นมาใหม่ ให้ Hugo เติมค่าใน front matter พวกนี้ให้ไว้ก่อน
สร้าง archetype สำหรับ post
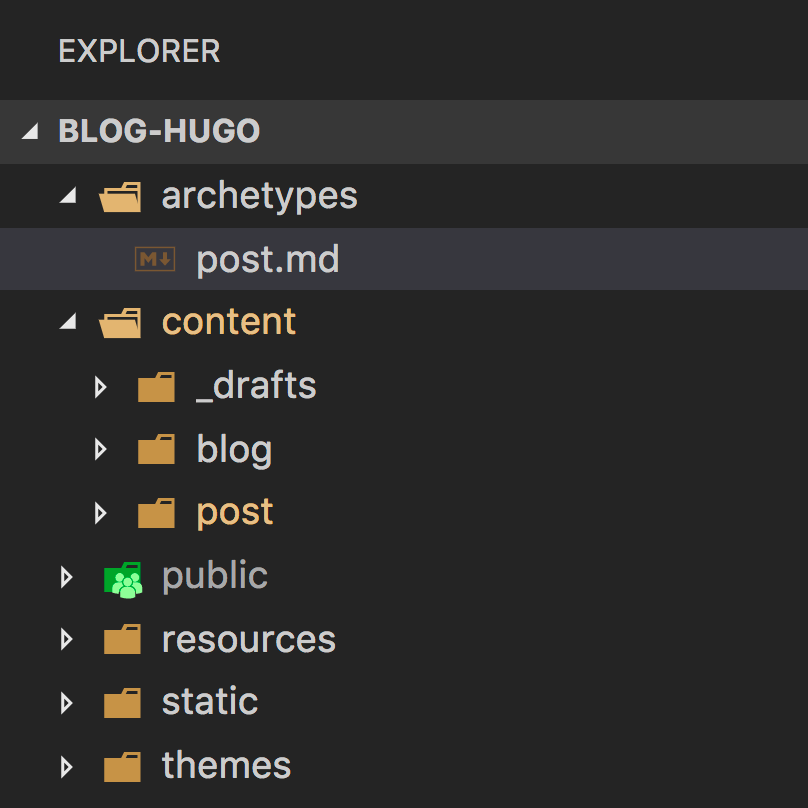
การสร้าง archetype ทำได้โดยการสร้างไฟล์ใหม่ในโฟลเดอร์ archetype อย่างเช่นผมจะสร้าง archetype สำหรับ content type ที่เป็น post
ก็ต้องสร้างไฟล์ archetypes/post.md
$ touch archetypes/post.mdในไฟล์ post.md สร้าง template สำหรับ front matter ไว้แบบนี้
---
title: "{{ .Name }}"
pubDate: {{ .Date }}
url: {{ dateFormat "/2006/01/02/" .Date }}{{ .Name }}
cover-image: /images/hugo-archetypes/cover.jpg
thumbnail:
description:
tags:
---titleให้เป็นชื่อตาม<post-name>ที่เราตั้งตอนรัน$ hugo new post/<post-name>/index.mddateให้เป็นวันเวลาตอนที่สร้างไฟล์urlใช้dateFormatfunction ของ hugo เพื่อสร้าง URL ตาม pattern ที่กำหนดไว้ คือ/year/month/day/post-namelayoutให้เป็นwideใช้กับ theme ปัจจุบันcover-imageใช้กับส่วน header ของ post ปกติจะตั้งชื่อไฟล์ให้เหมือนกันคือcover.jpgthumbnail,description, กับtagsให้เป็นค่าว่างๆ ไว้
ทดสอบโดยรัน $ hugo new post/test-new-post/index.md ในไฟล์ที่ถูกสร้างมาก็จะมี front matter เตรียมไว้ให้ตามที่ต้องการ
---
title: "test-new-post"
pubDate: 2018-09-04T08:39:14+07:00
url: /2018/09/04/test-new-post
cover-image: /images/hugo-archetypes/cover.jpg
thumbnail:
description:
tags:
---Related posts