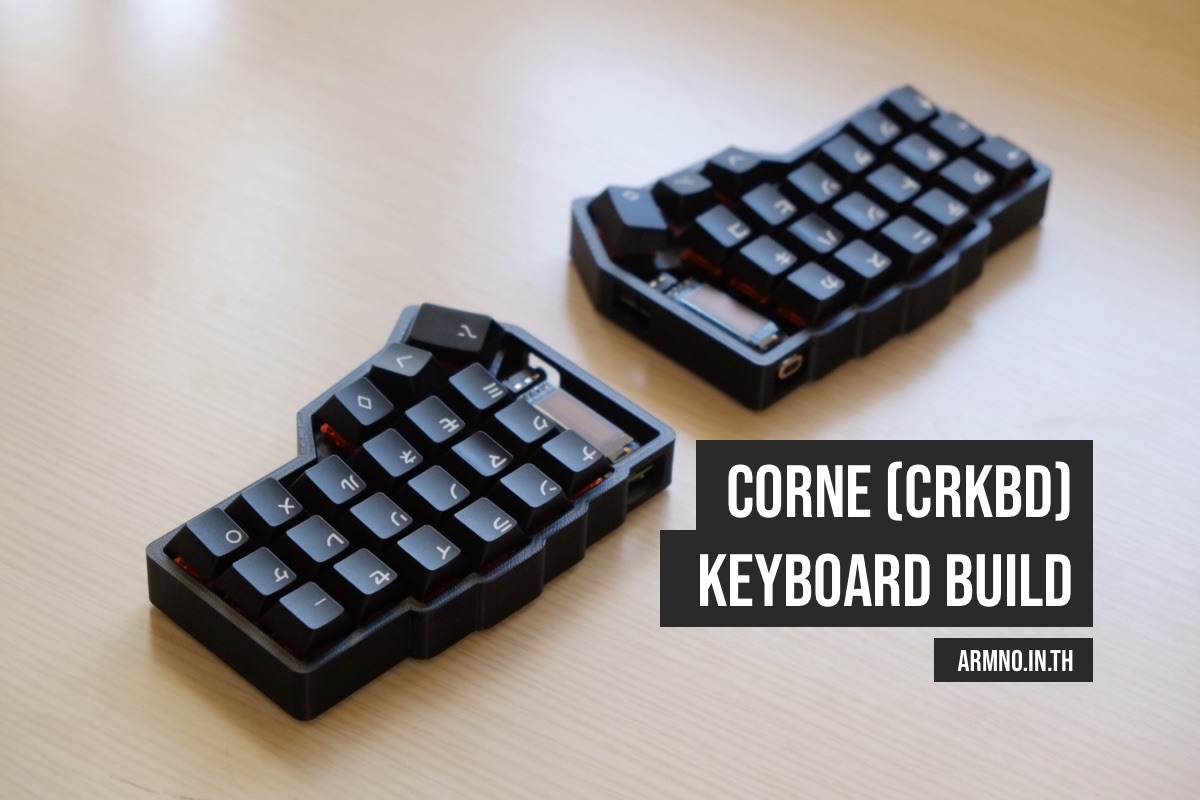
Low Profile Wireless Corne Keyboard
When I learned how to build my wireless Corne keyboard on YouTube, I saw some people choose low-profile switches for their Corne builds. I was curious if they are any good besides being lightweight and portable. So I decided to give it a try.
This is part 3 of my Corne keyboard posts. Previous posts are:
The plan is to build another Corne keyboard with low-profile switches. I will use the same nice!nano controllers and batteries from my previous keyboard, which I have already made hot-swappable.
I will follow Rafael Delboni's guide again this time: the davidphilipbarr's Choc-Spaced-Corne Keyboard build logs on GitHub.
Getting parts
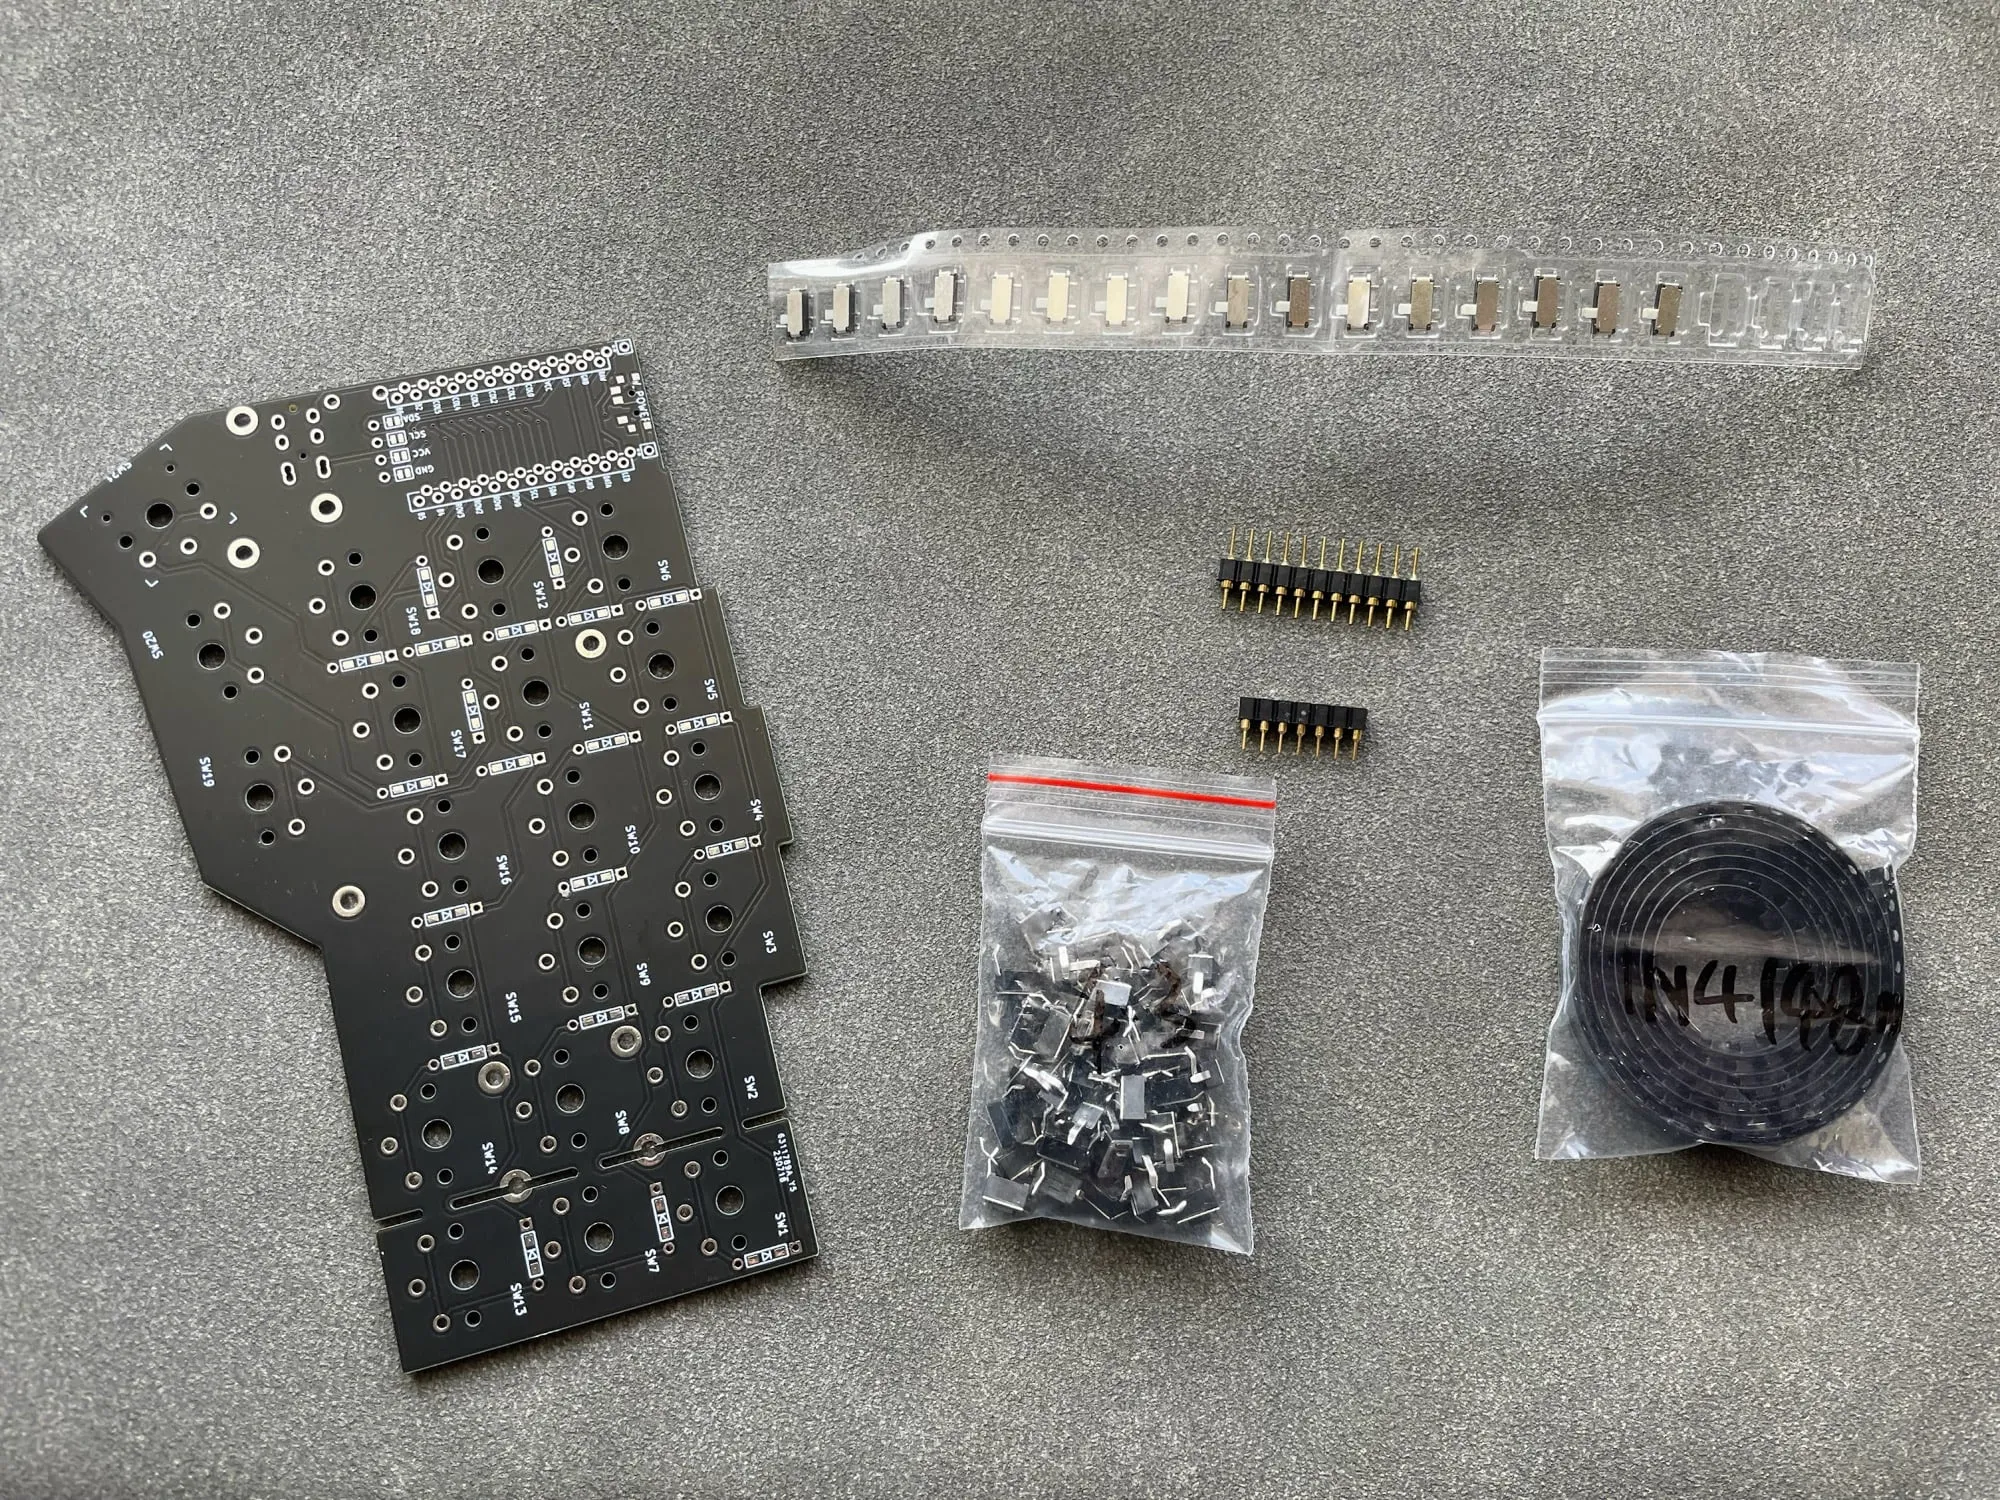
Instead of getting a full package from the store, I will gather each part of the keyboard separately as listed in the Part List section of the guide. I try to find them locally first, if not I will get them from AliExpress. Here is my part list:
- PCB: ordered from JLCPCB. 410THB / $11.11. More on this later.
- Controllers: 2x Nice!nano (already have)
- Batteries: 2x Lithium-Polymer 3.7v 160mAh (361230) Lazada (100THB / $2.80) (already have)
- Male pin connectors: 5x (40 pins each) Shopee. 80 THB / $2.1
- Female pin headers: 5x (40 pins each) Shopee. 80 THB / $2.1
- Power switches: 20x AliExpress 41 THB / $1.12
- Reset switches: 20x AliExpress 35 THB / $0.96
- Diodes: 100x AliExpress 11 THB / $0.3
- Switches: 70x Kailh Choc Red v1, AliExpress 910 THB / $24.81
- Keycaps: Low prorfile keycaps, AliExpress 787 THB / $21.5
- Rubber feet: from local stationary shop 30 THB / $0.82
Note: this build doesn't have hot-swap sockets and LED lights.
The total cost is about 2,400 THB / $65.5 for the new parts. It is much cheaper than buying a set in my previous build. I also have plenty of leftover parts for spare, or even to build another keyboard.
Ordering PCB from JLCPCB
JLCPCB (or other similar services: PCBWay, PCBGOGO) is a service that can produce custom PCB for small amounts and low prices, ideal for hobbyists and prototyping. It only needs Gerber files of the PCB.
A new thing I learned: Gerber files are the industry-standard file format for the PCB industry that contain information about the PCB like dimensions, layers, how things connect, etc.
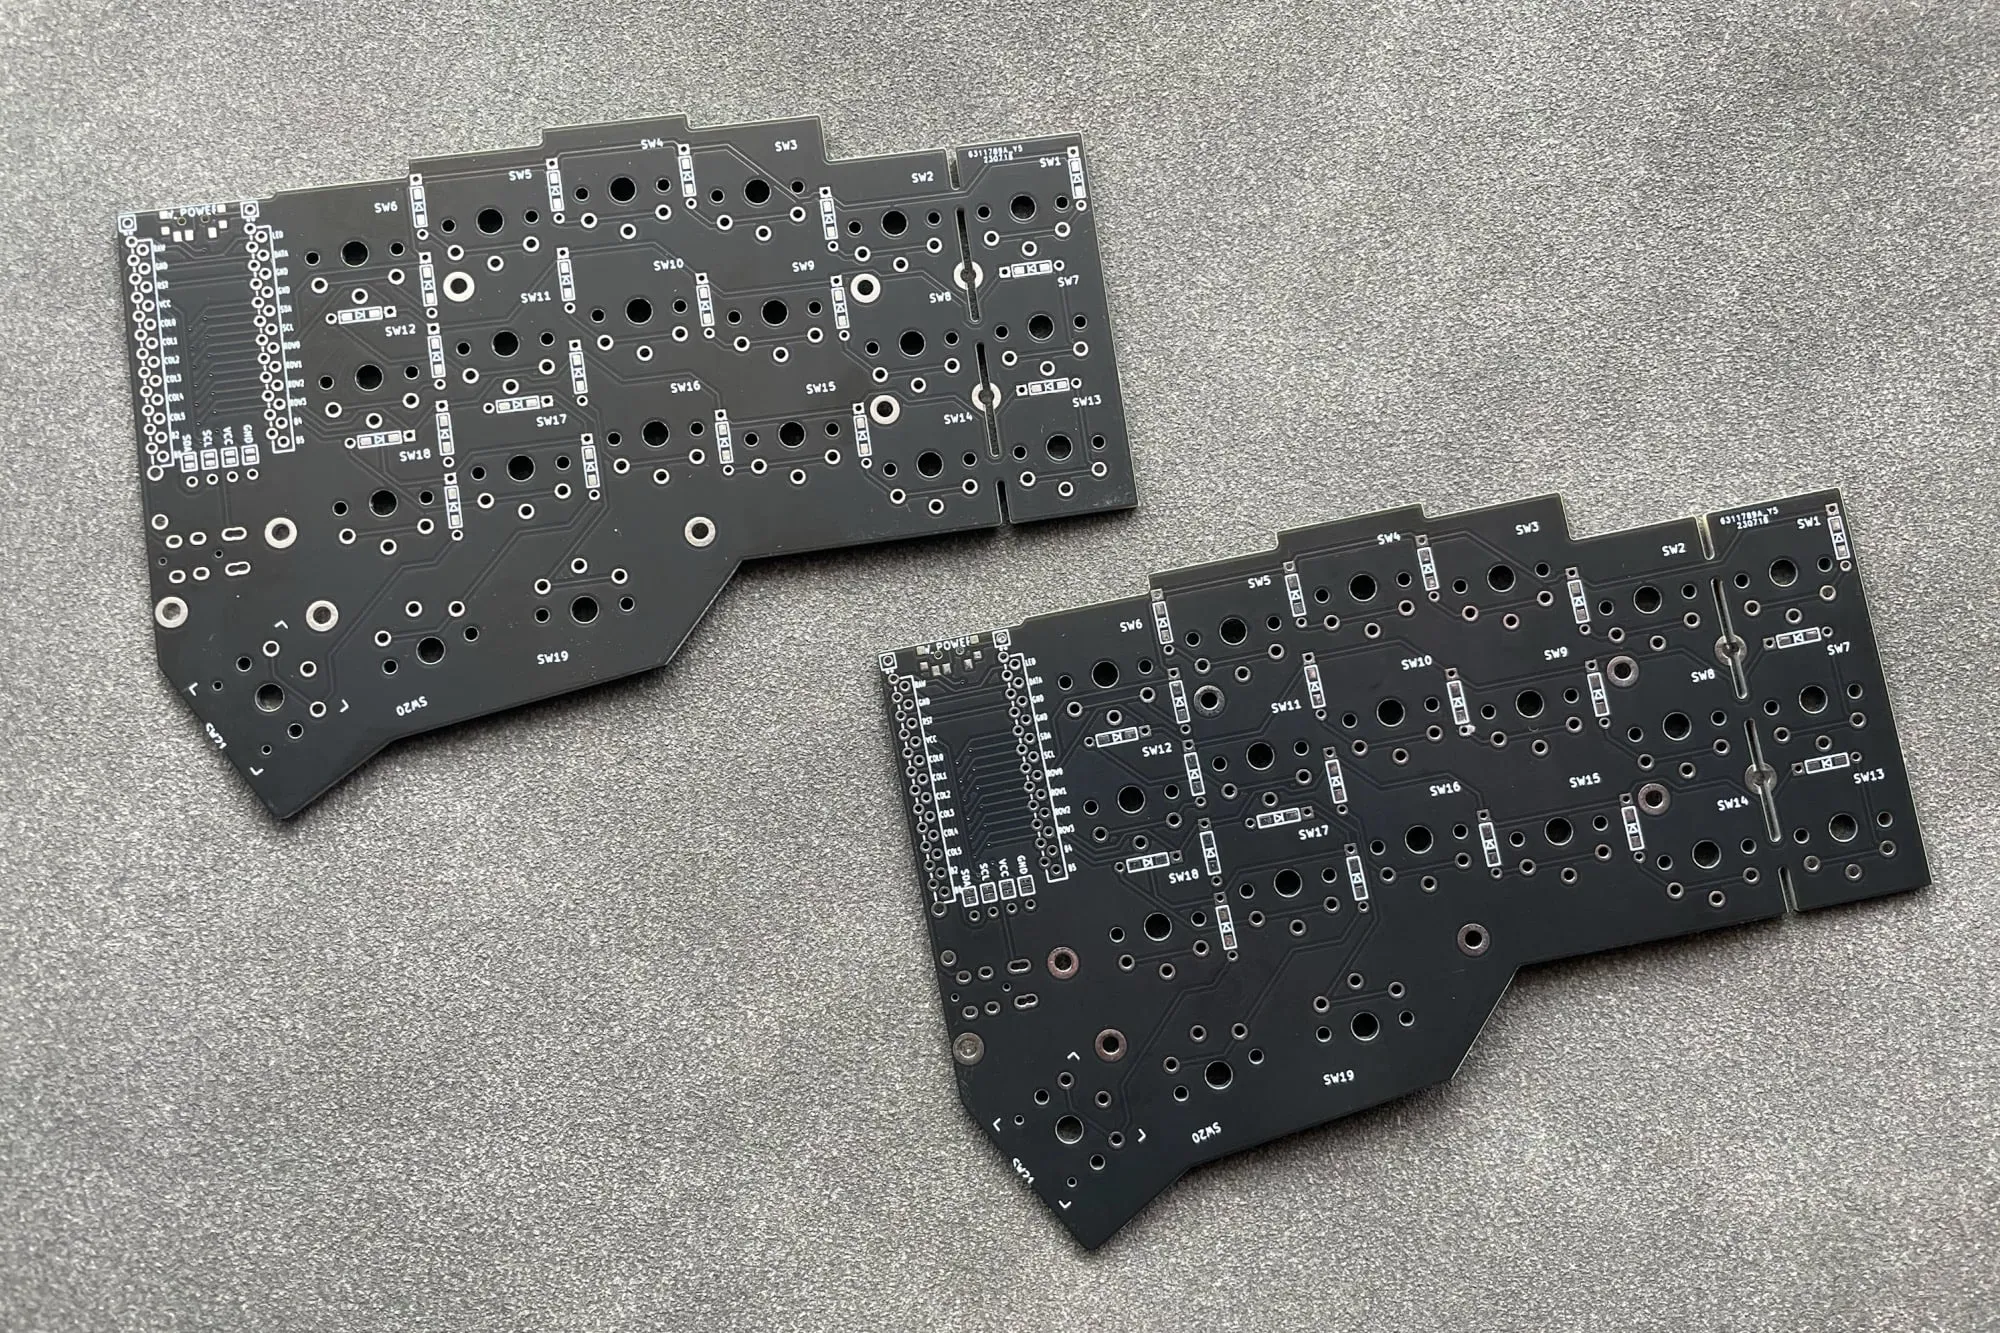
The PCB I'm using is the Choc-Spaced-Corne designed by David Barr. There's not much information on the GitHub repo about the PCB, but as far as I understand, it's the design made specifically for Choc switches with different spacing from MX switches.
The variant I'm using is the chocorne-switch version, which has a power switch pad on the PCB.
Steps to make an order
Download the Gerber zip file from the GitHub repo.
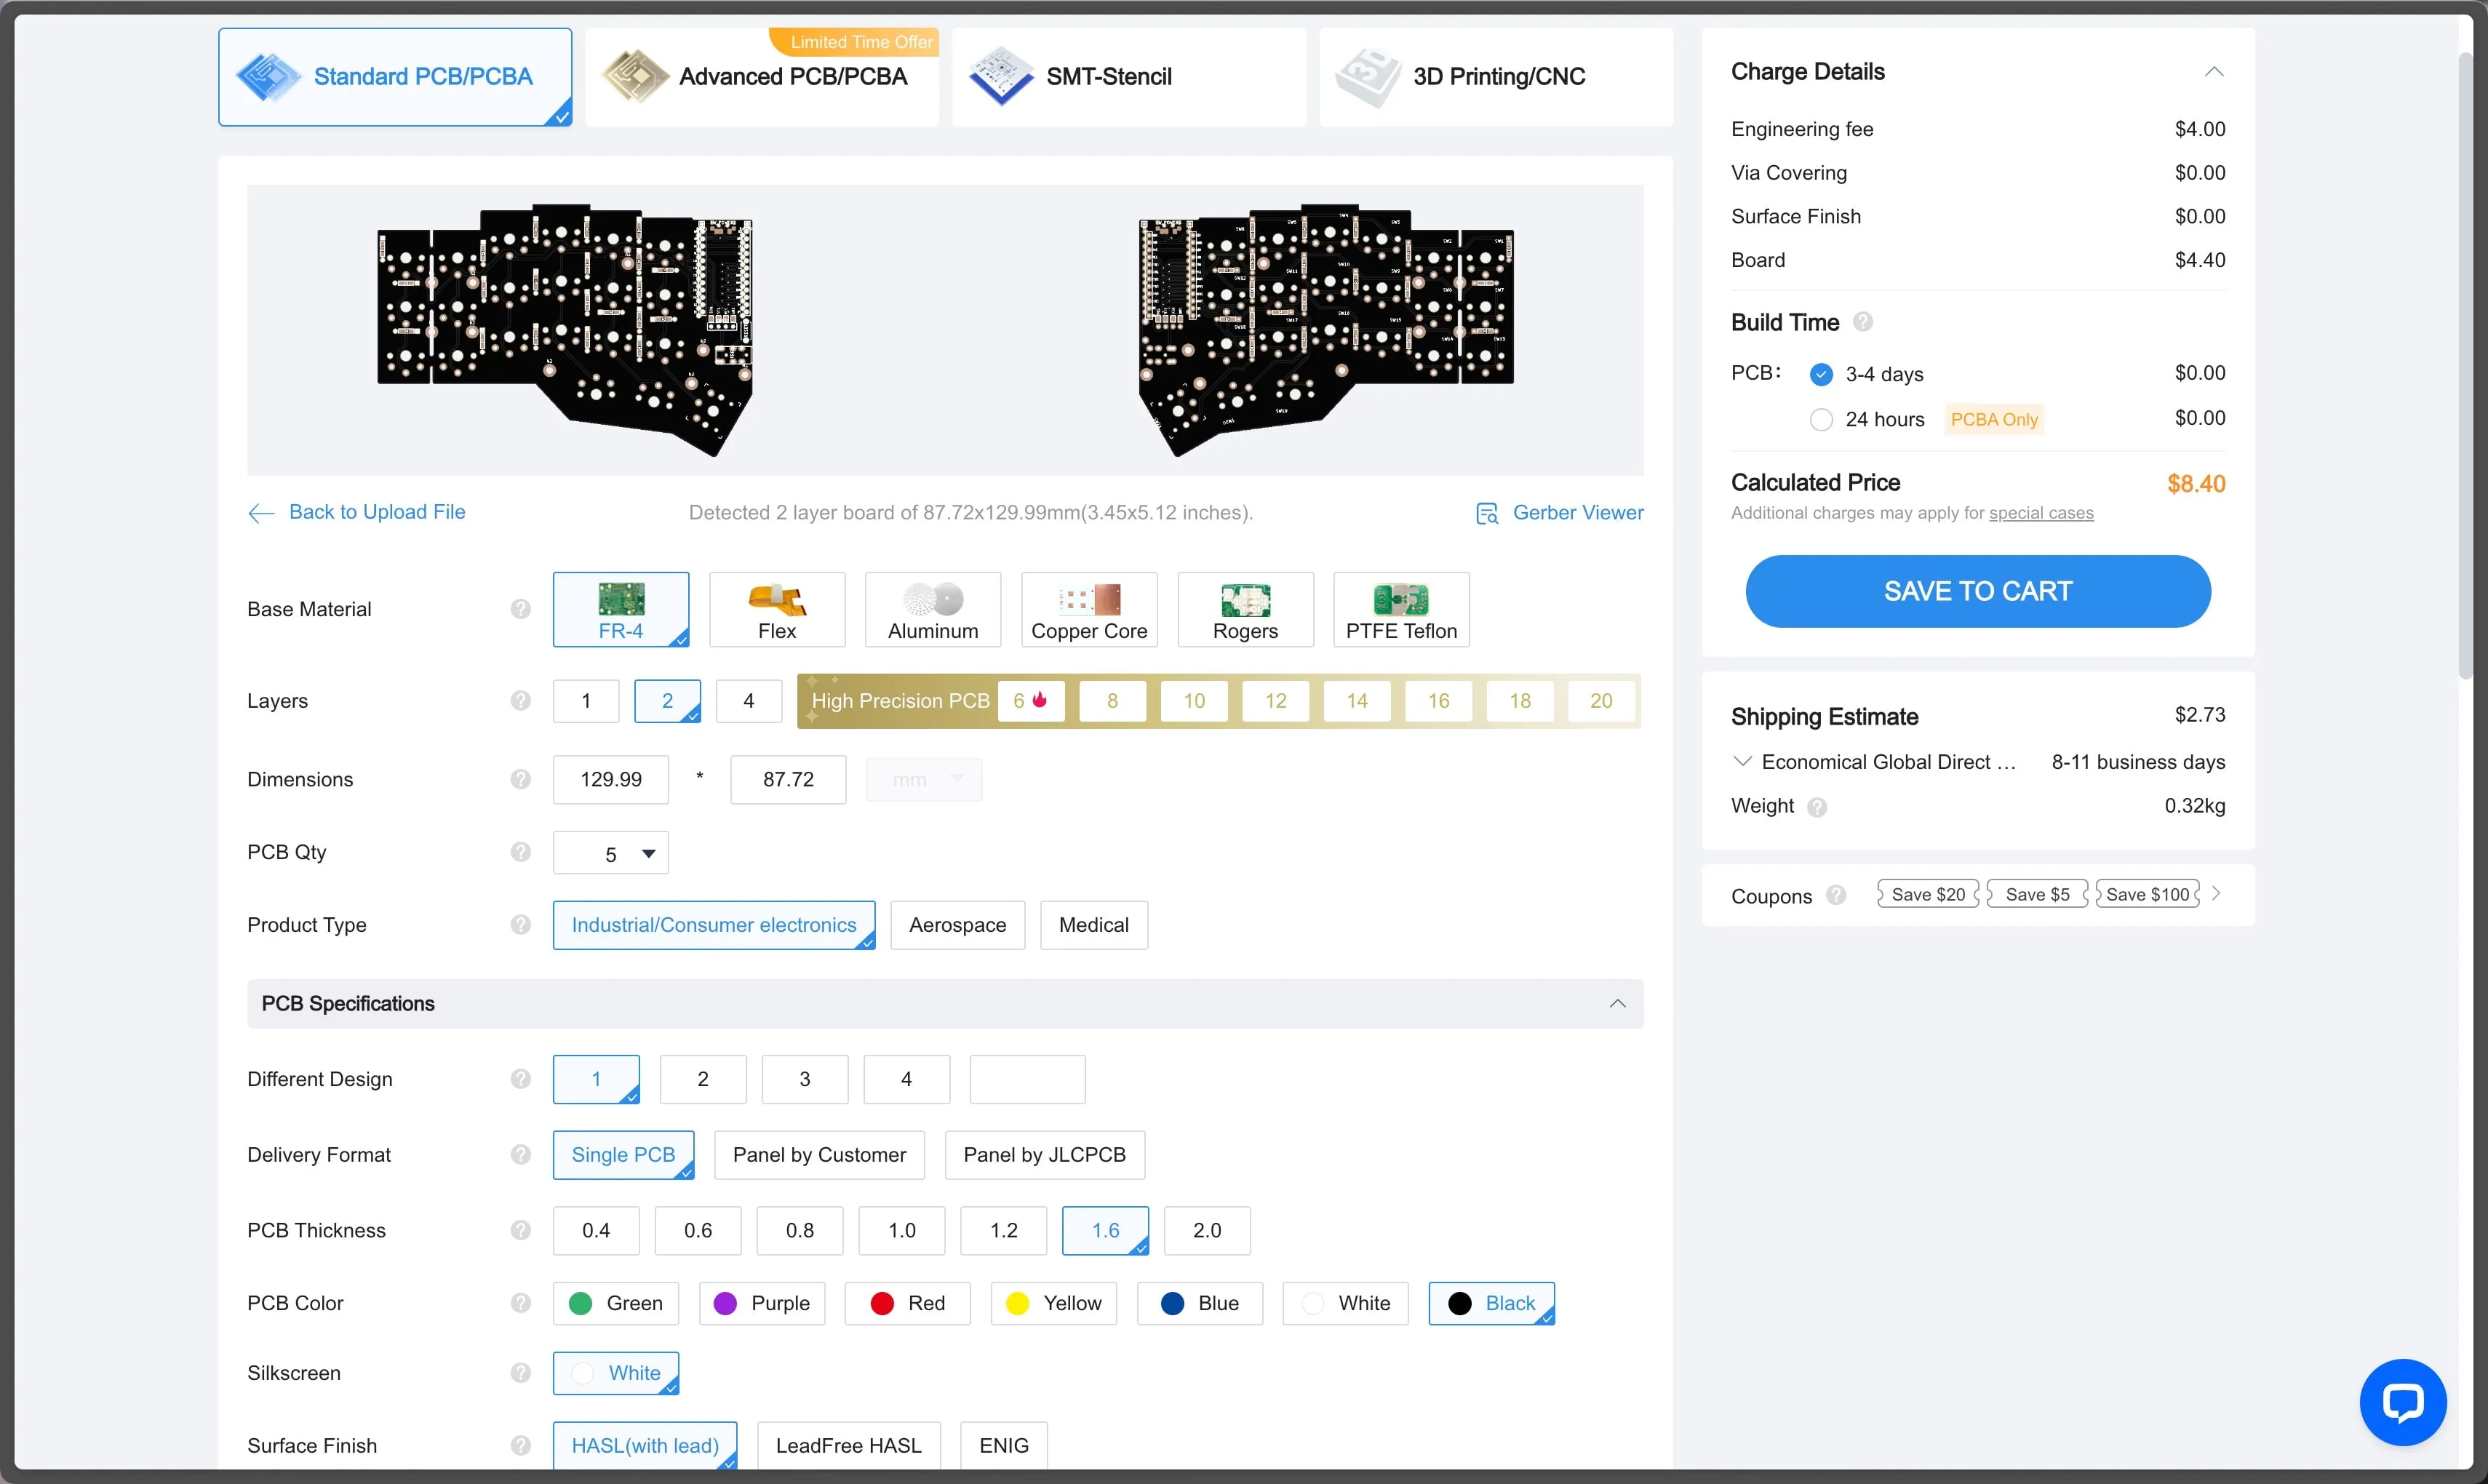
Upload the file to JLCPCB.
- The only configuration I changed is the PCB color from green to black. Others are left default. (Note that the minimum quantity to order is 5 PCBs. One side of the keyboard counts as one PCB. So technically I could build 2.5 Corne keyboards for this order.)
Proceed with checkout and payment.
Done.
It's that simple.
They quote me ~410 THB / $11.11 including shipping to Thailand. To me, that's ridiculously cheap.
After the order is made, they will review the uploaded Gerber files. If there are no issues with that, then it will go to the production. The review process takes a couple of hours for my order.
The production takes about 2 days from start to finish. I like that they have timestamps for every step my PCB goes through, with the video of what's happening in that step.

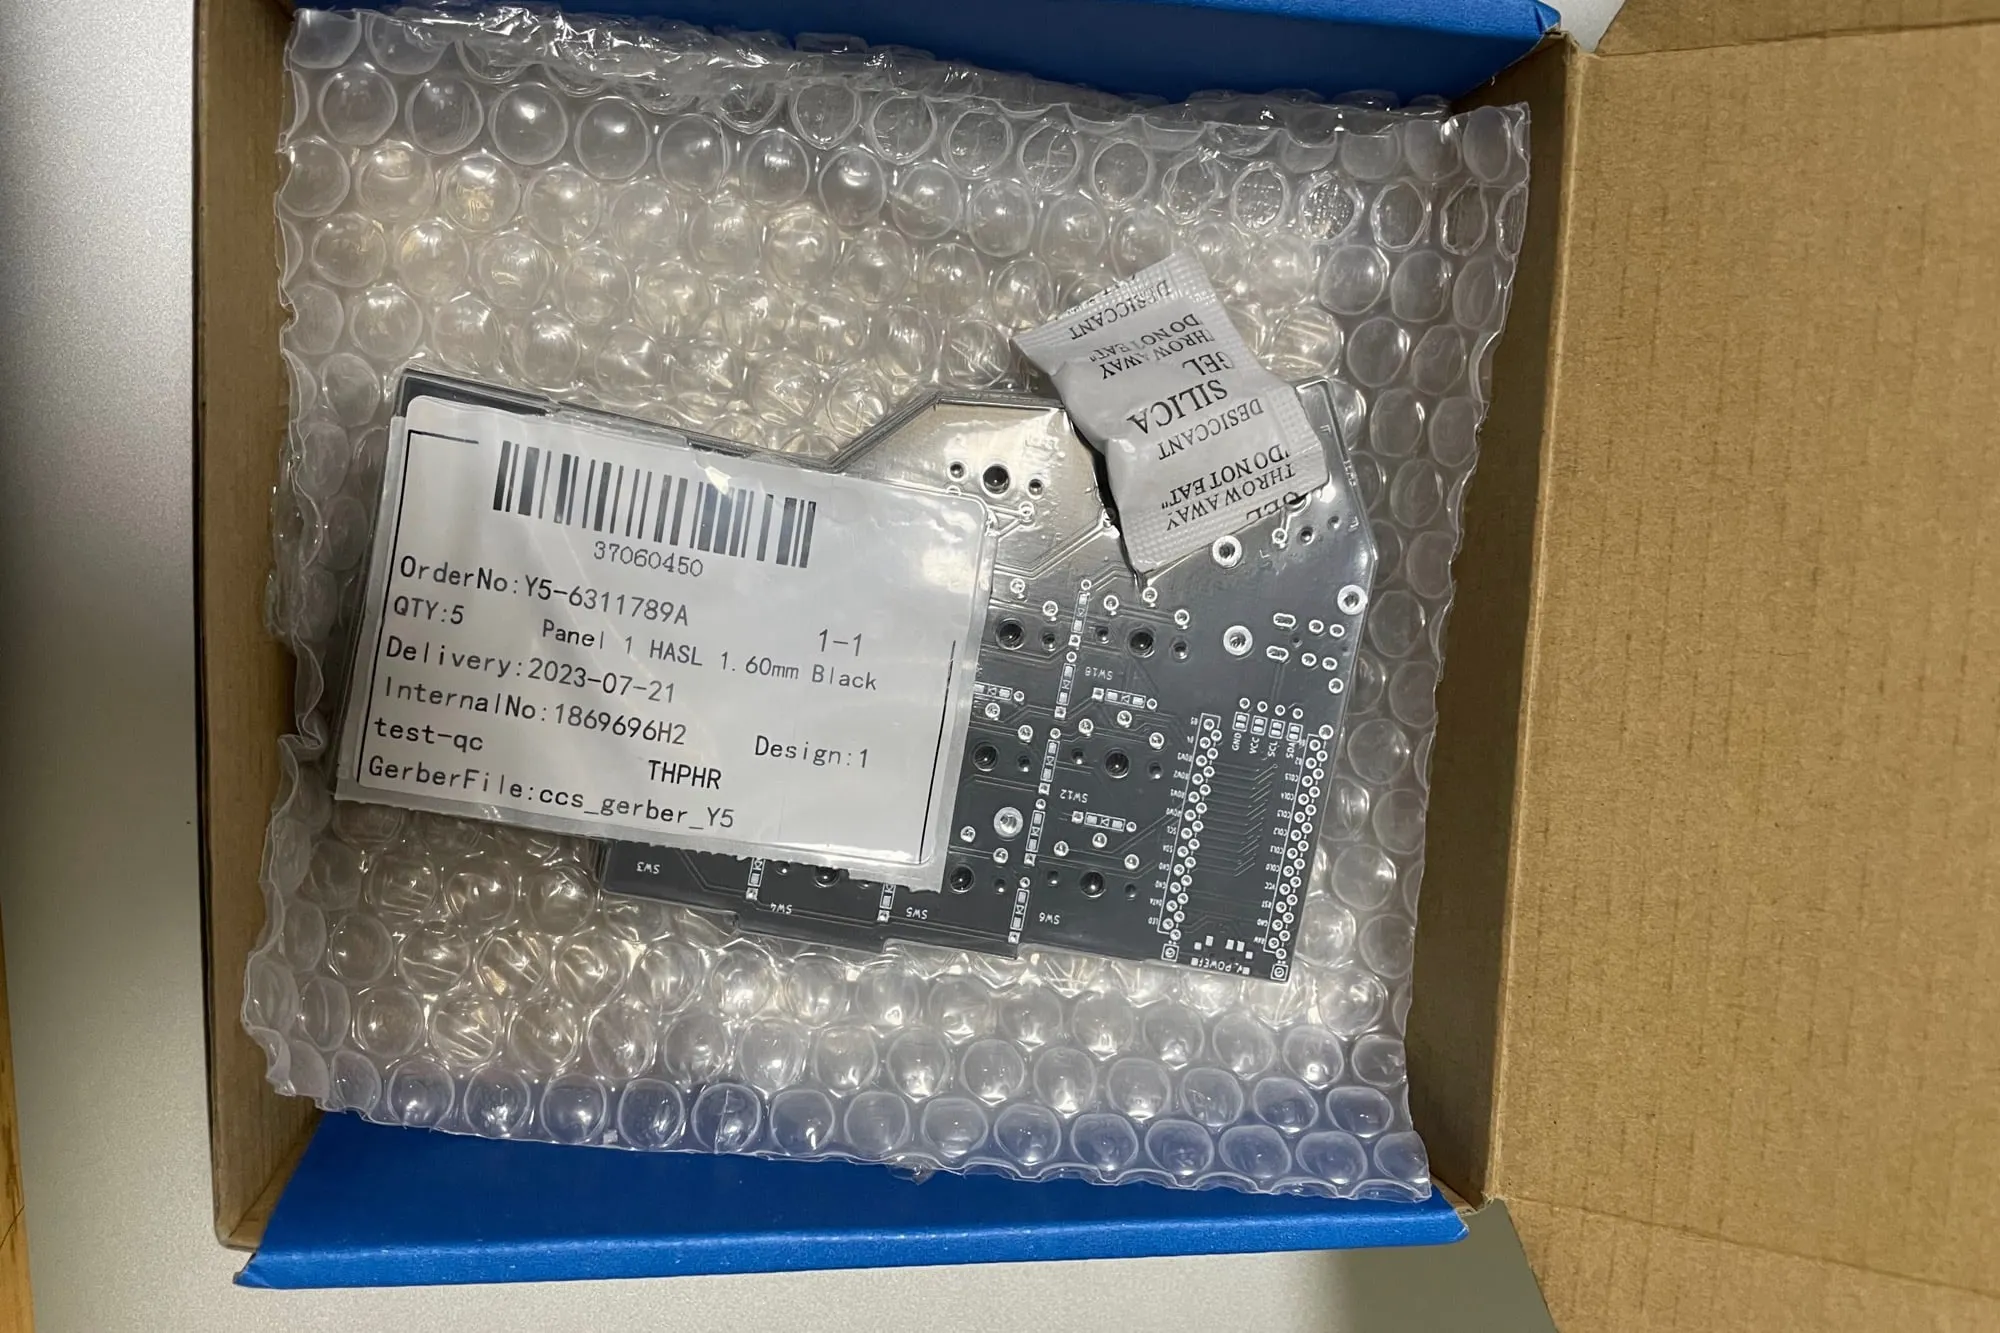
Delivery takes 9 days to arrive. In total, this order takes 12 days. I'm very impressed by the quality of the package and the PCB itself.
Assembling
The steps to build the keyboard are similar to my other 2 Corne keyboards, there are fewer parts to solder. So I will not go into the details here. I will skip the software part because it's the same ZMK on the same Nice!nanos.
One difference though is this board has power switches. I put them on and found out later that they don't work because I'm putting the batteries directly to the Nice!nano controllers, not to the PCB. So the switches are not able to cut the power from the batteries to the controllers.
The PCB has connectors for batteries. Maybe in my next builds I'll put the batteries to the board so the power switches work properly.
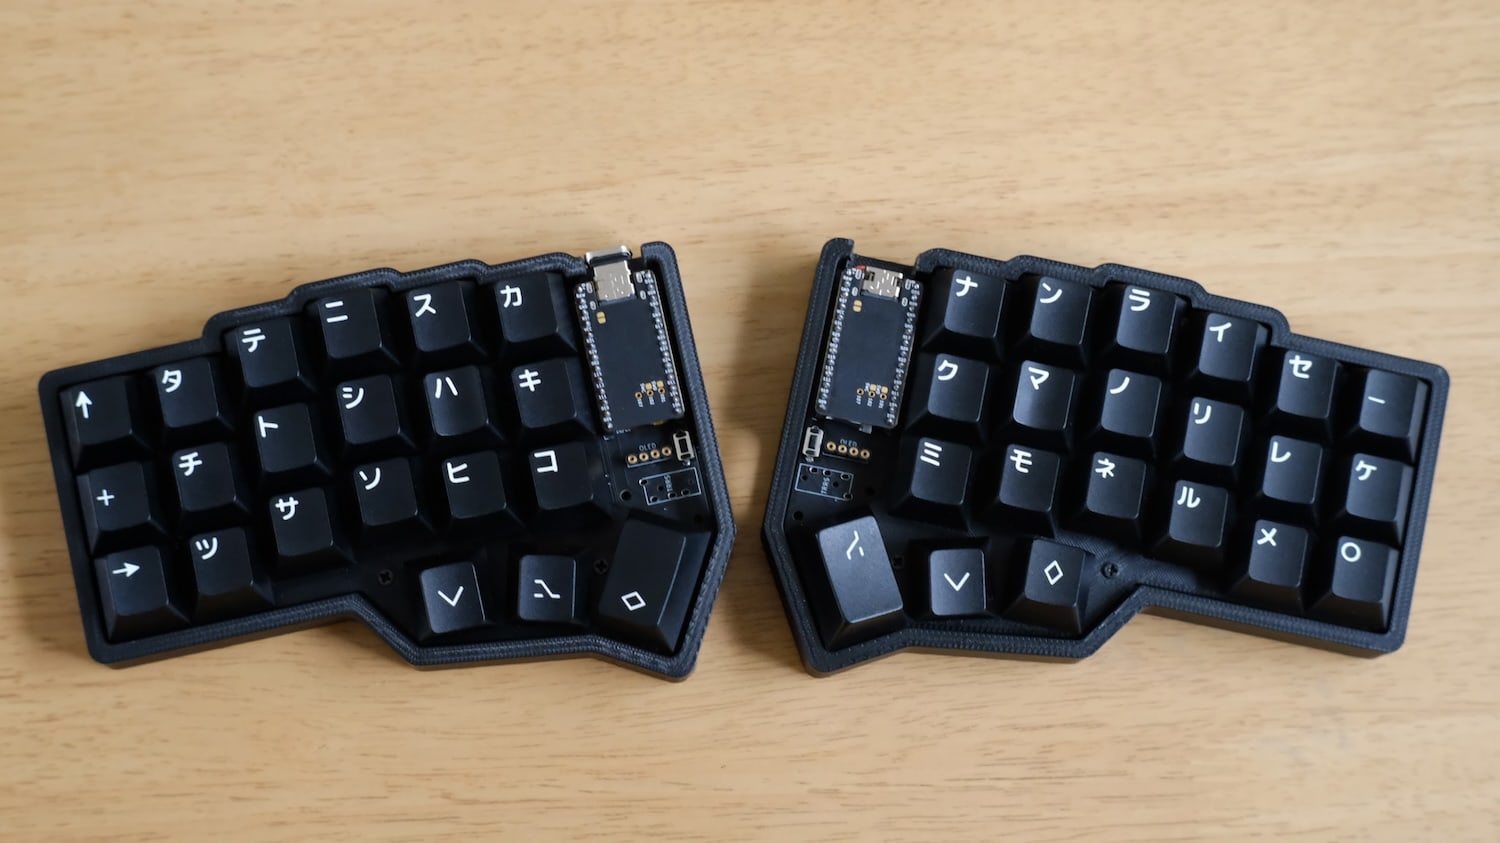
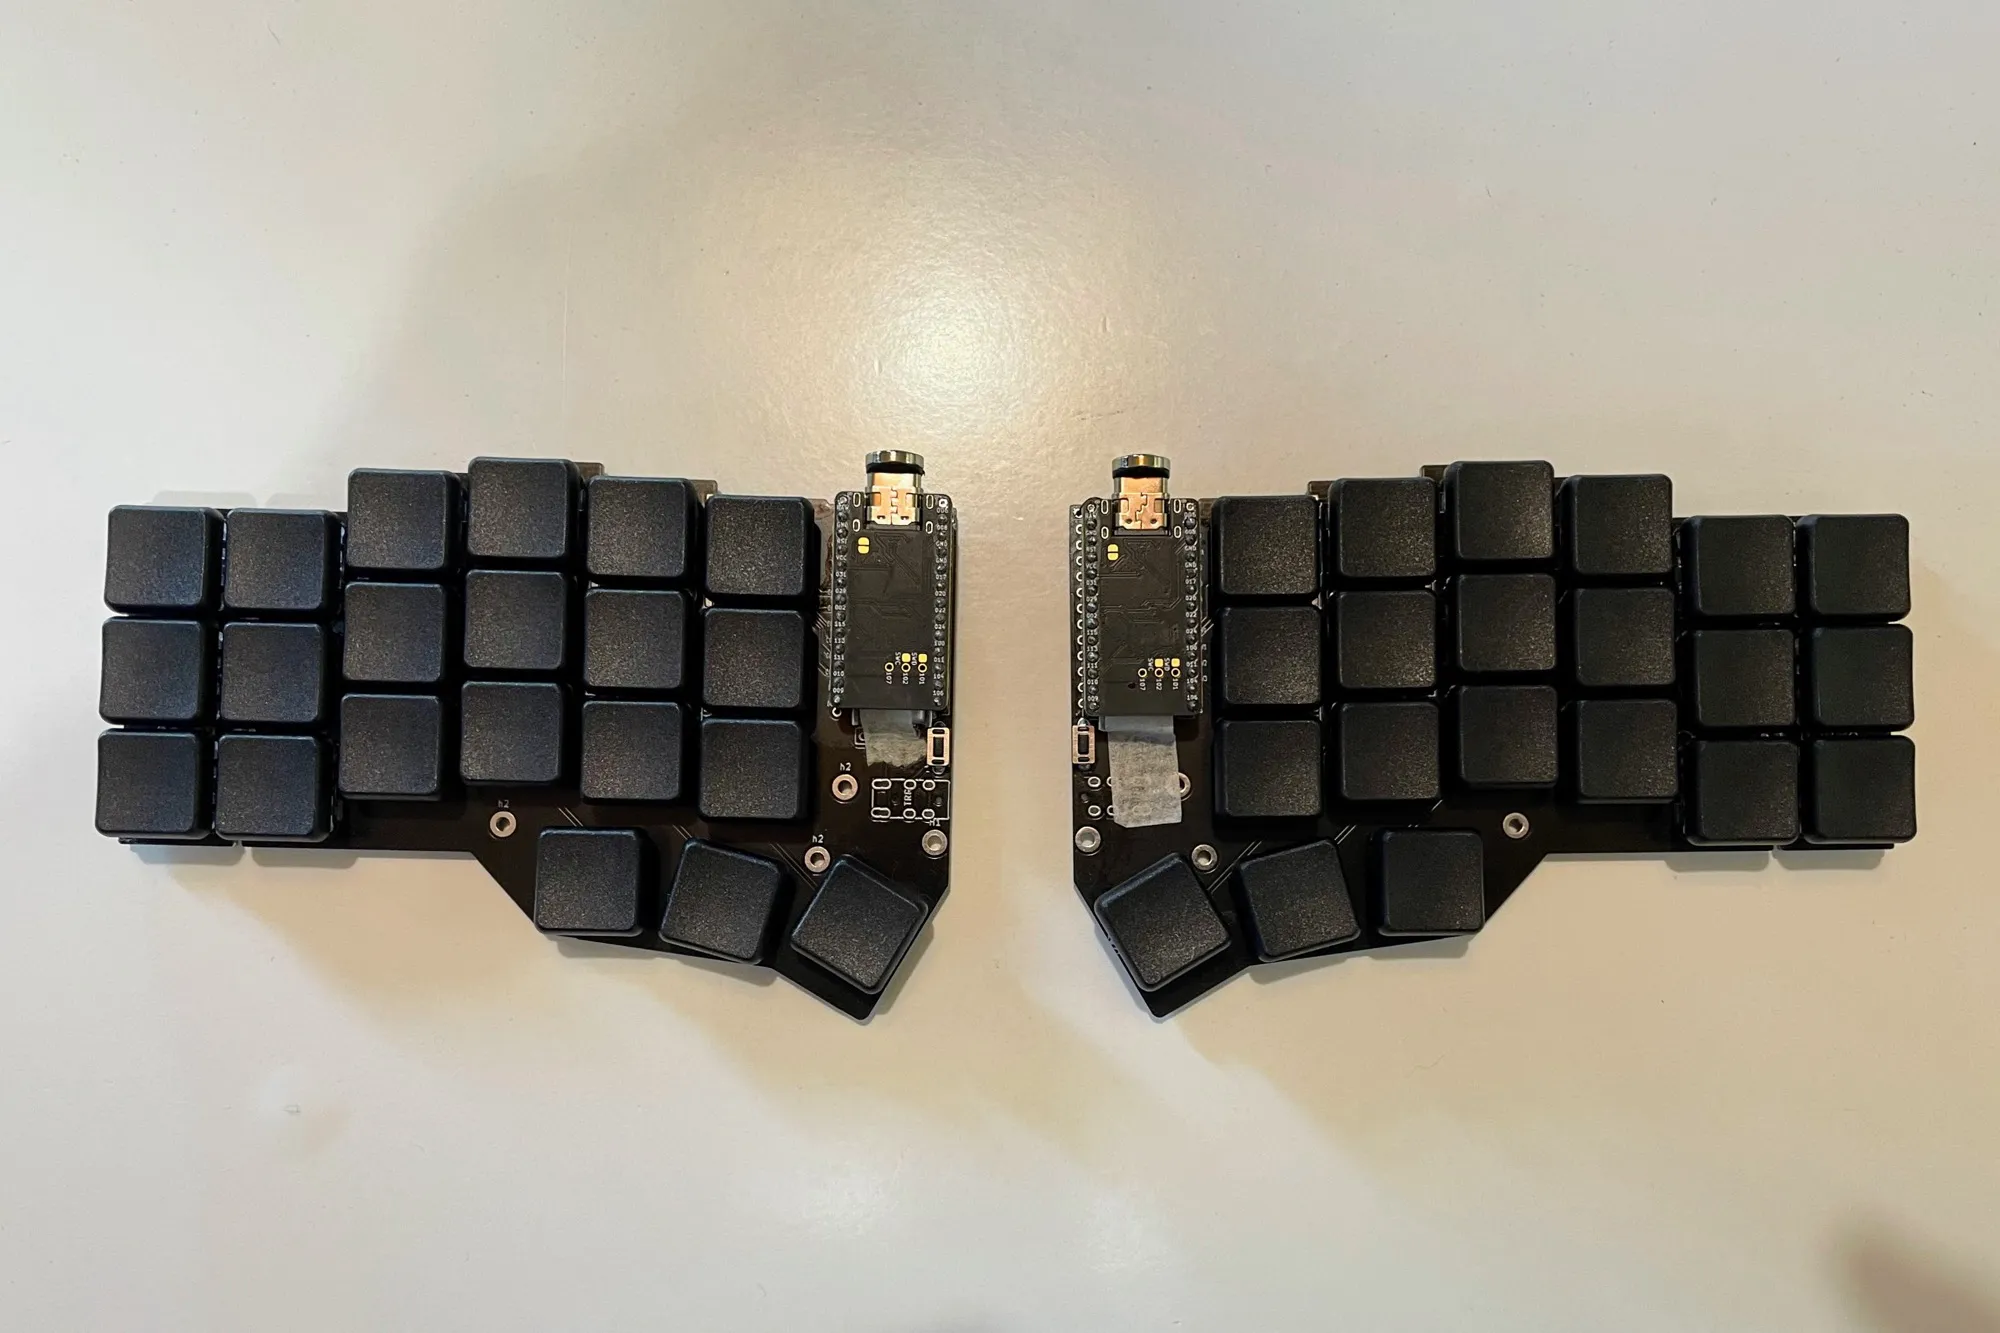
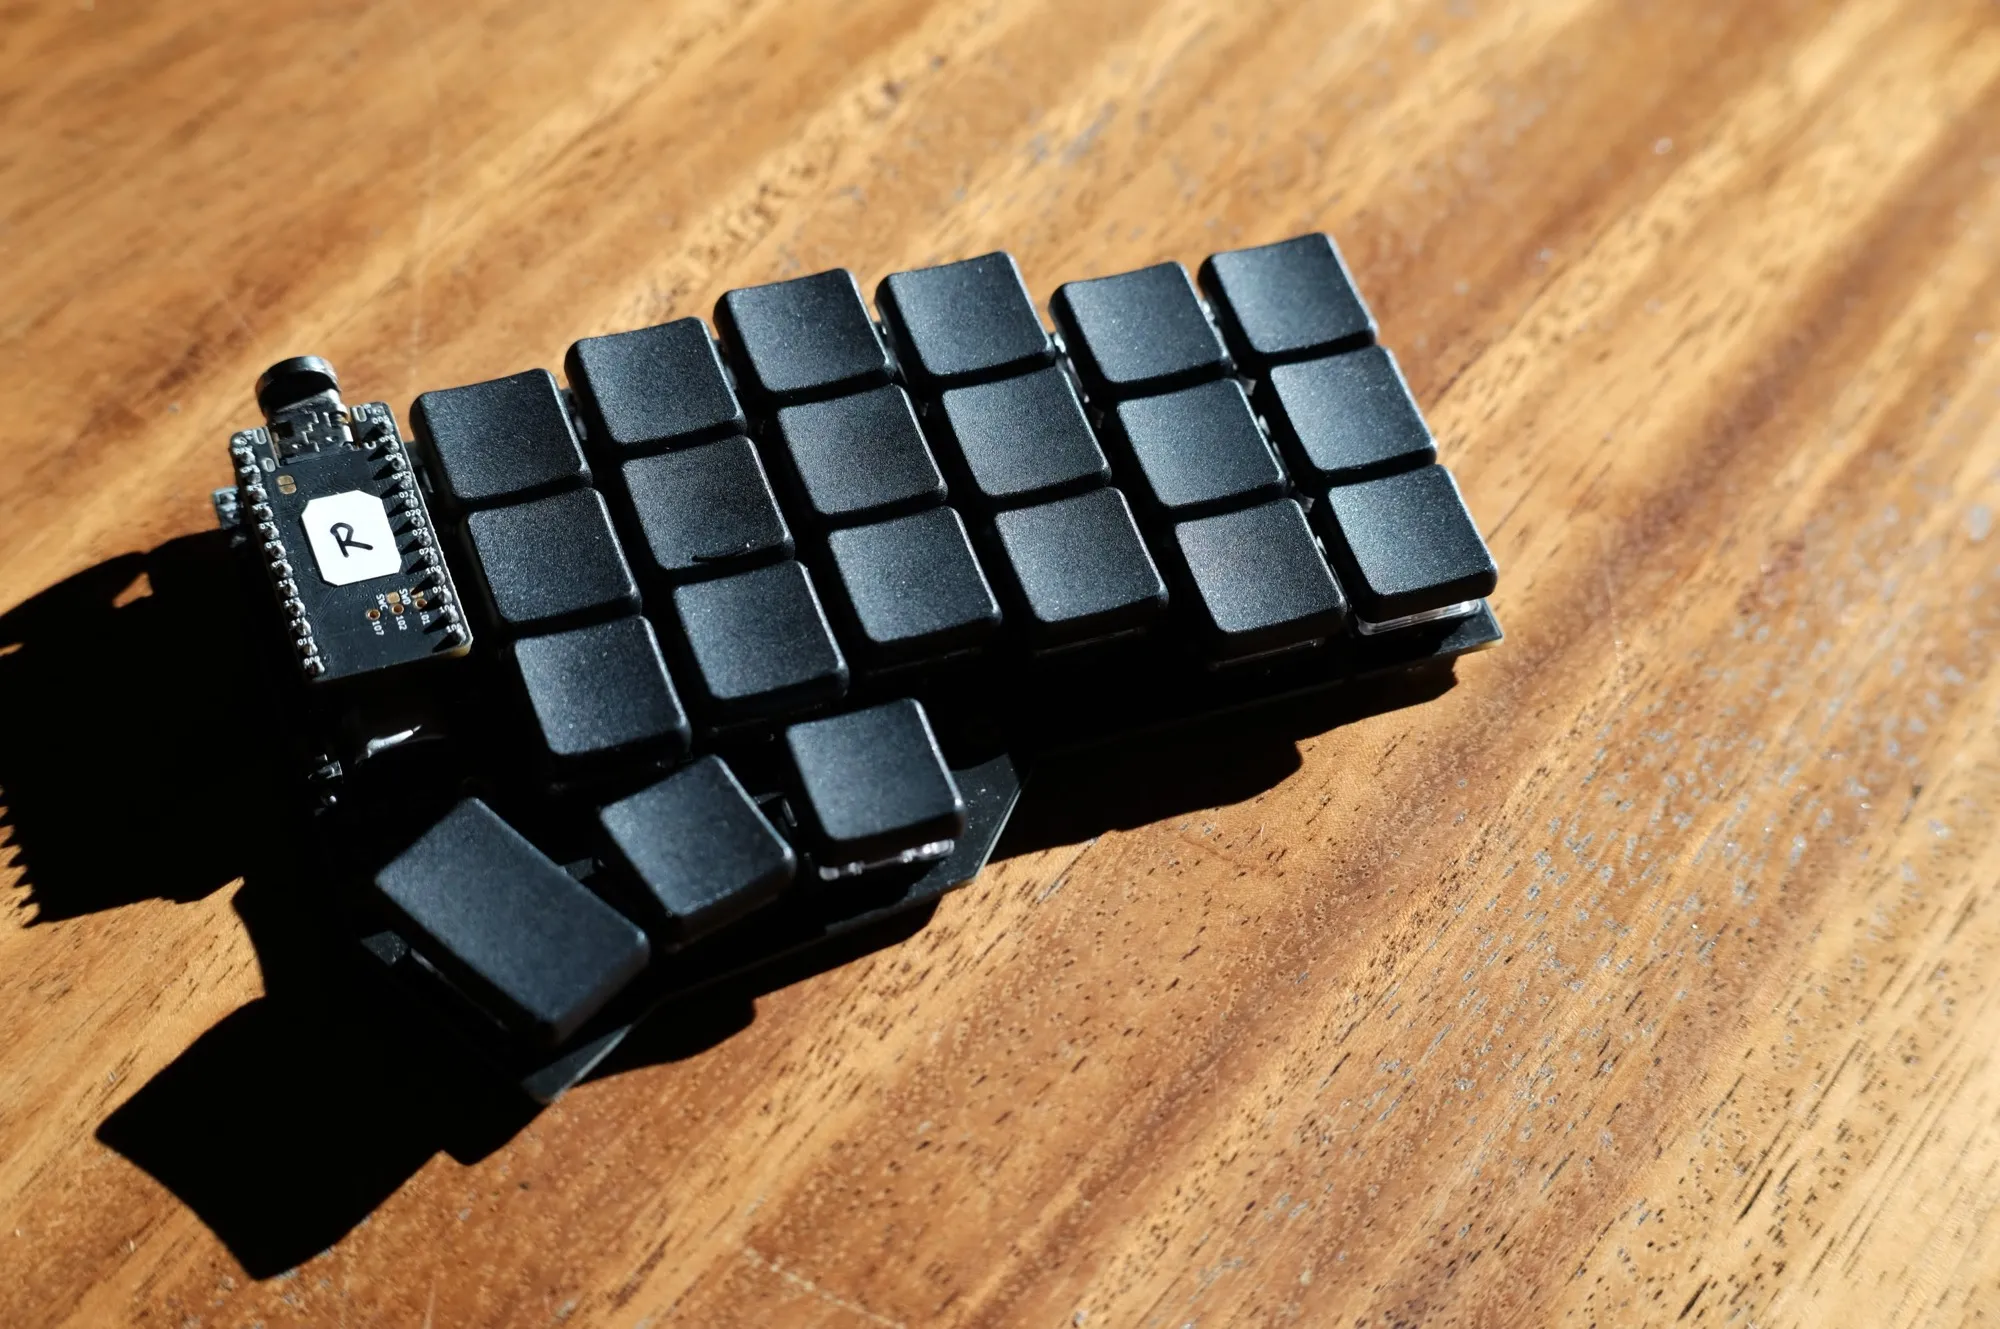
The Keyboard
Here is the final outcome. I don't have a case or plate for it yet. The rubber feet are put directly to the bottom of the PCB.
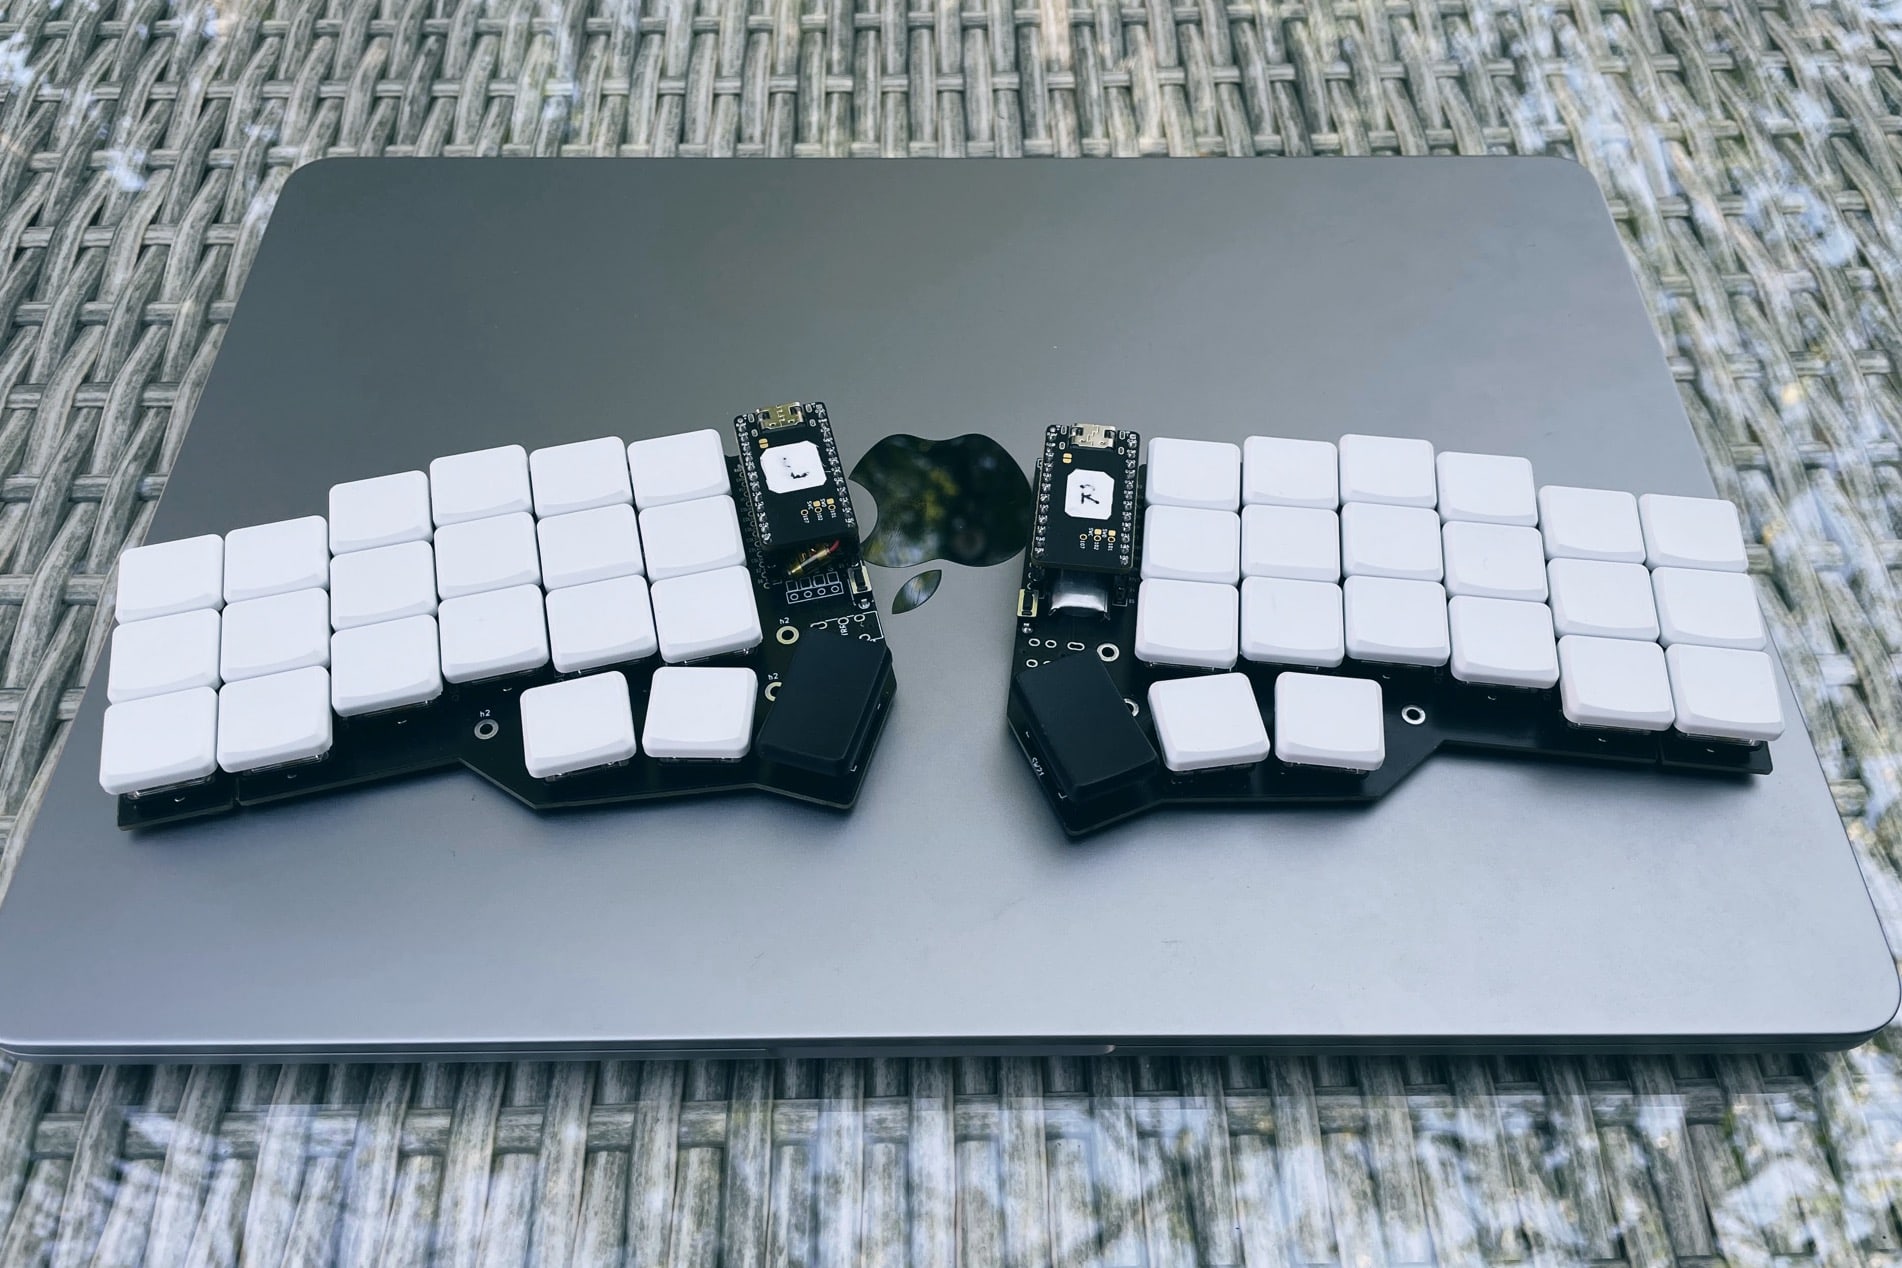
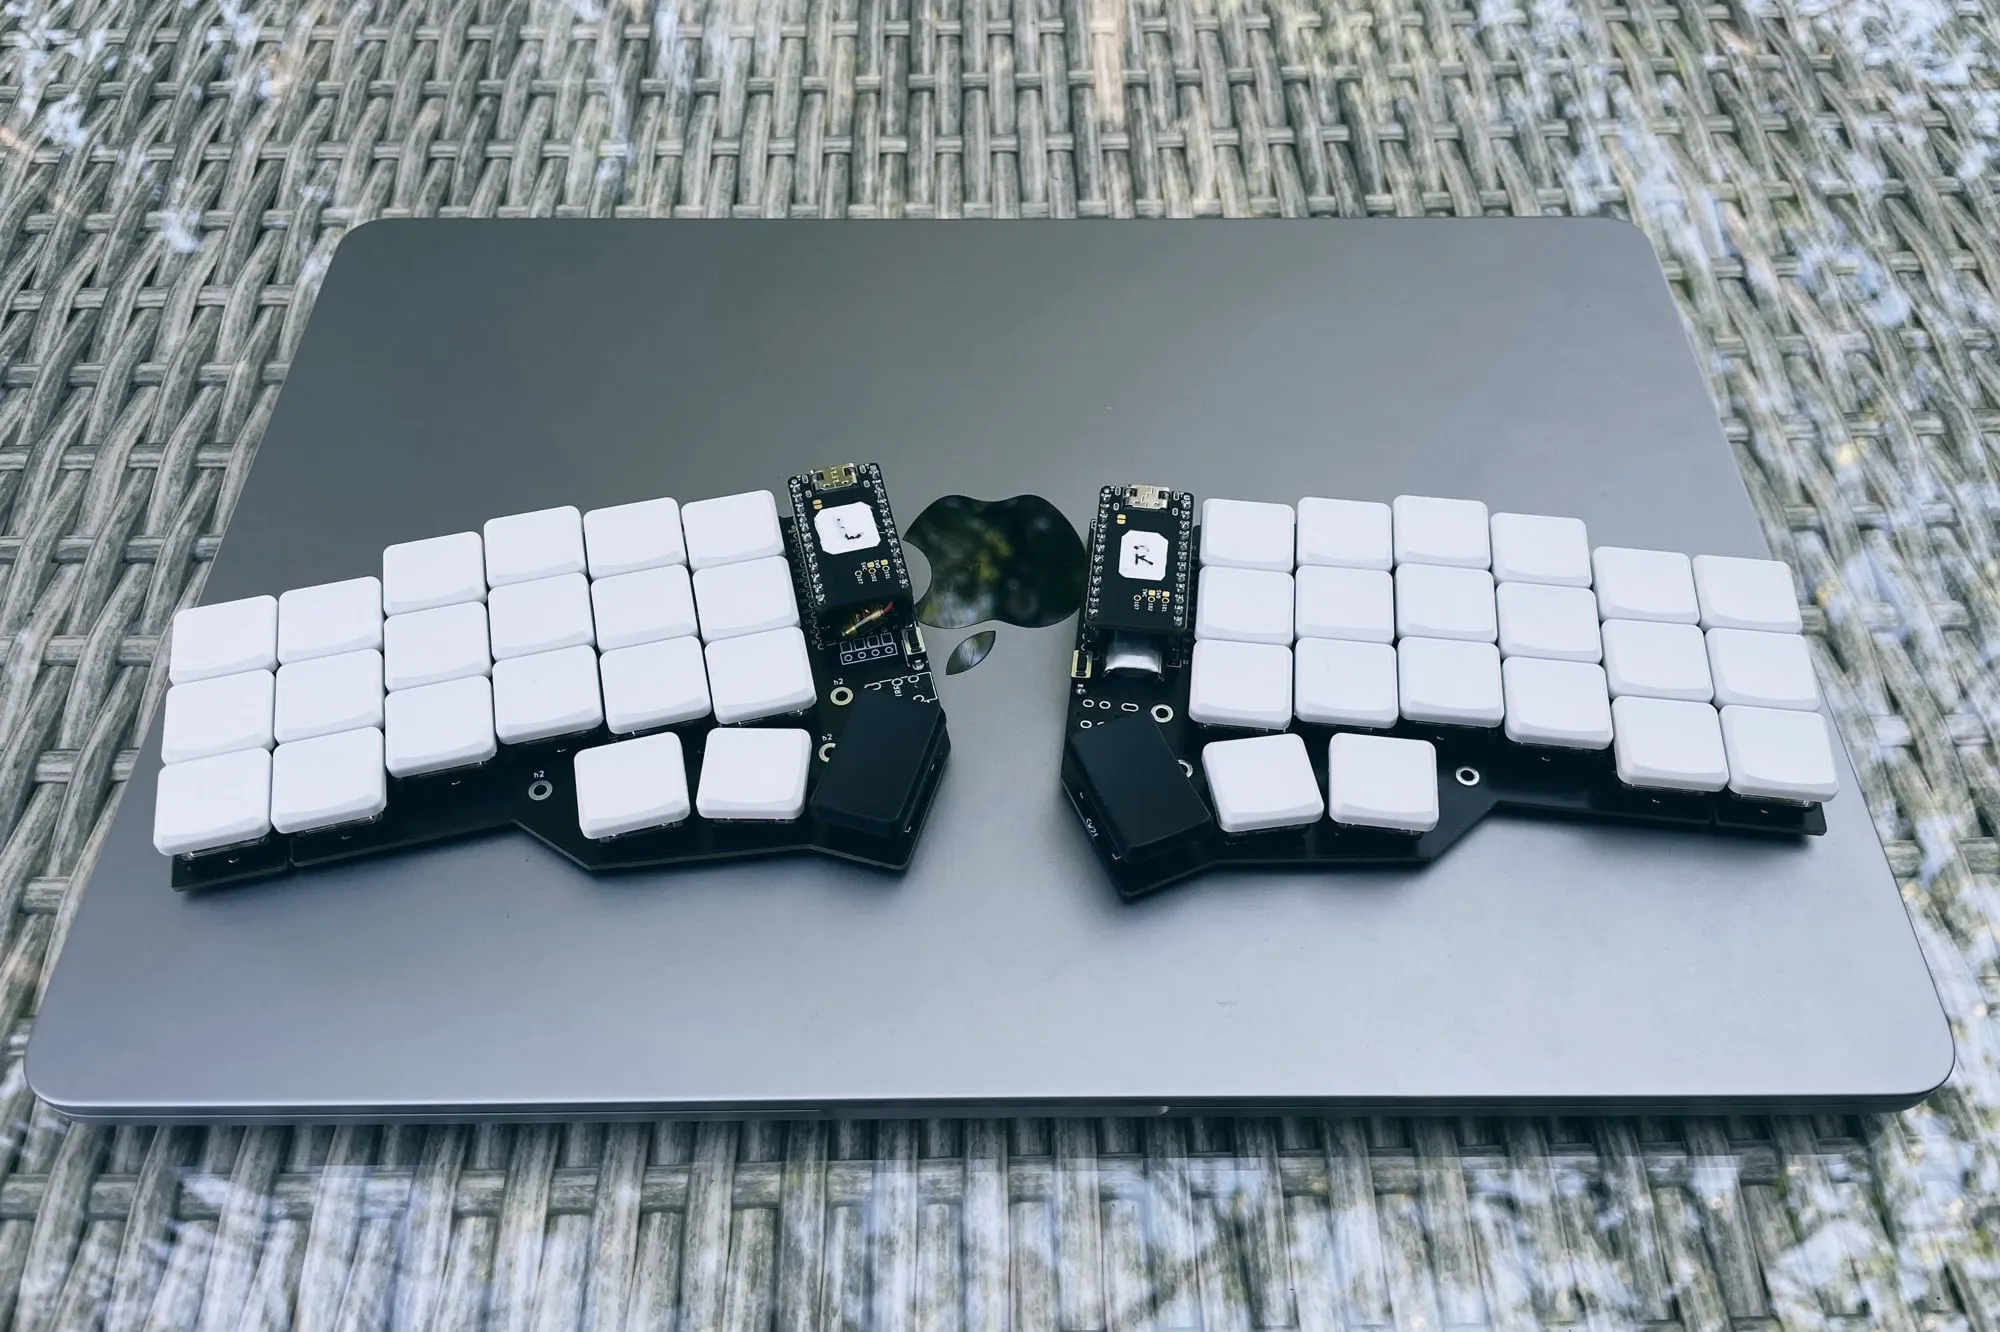
Later on, I grab the MBK profile blank keycaps and put them on. It looks much nicer with all the keys close together.
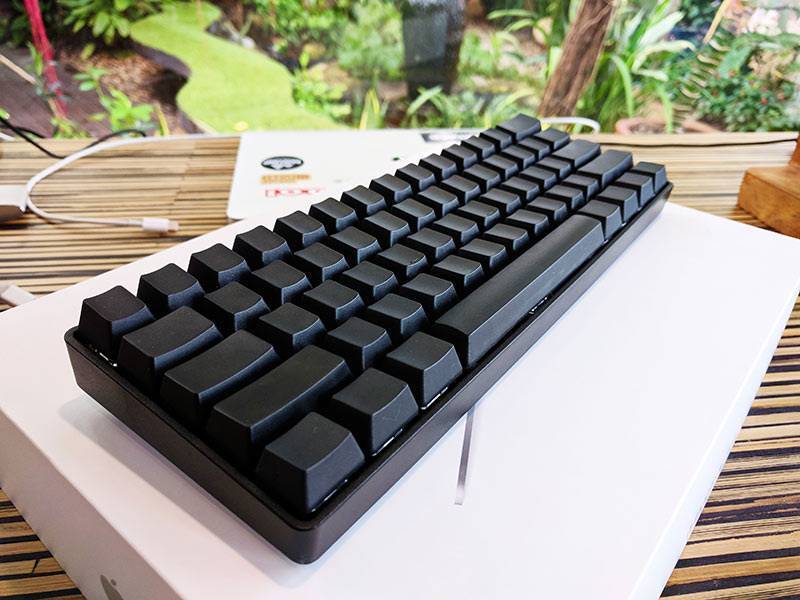
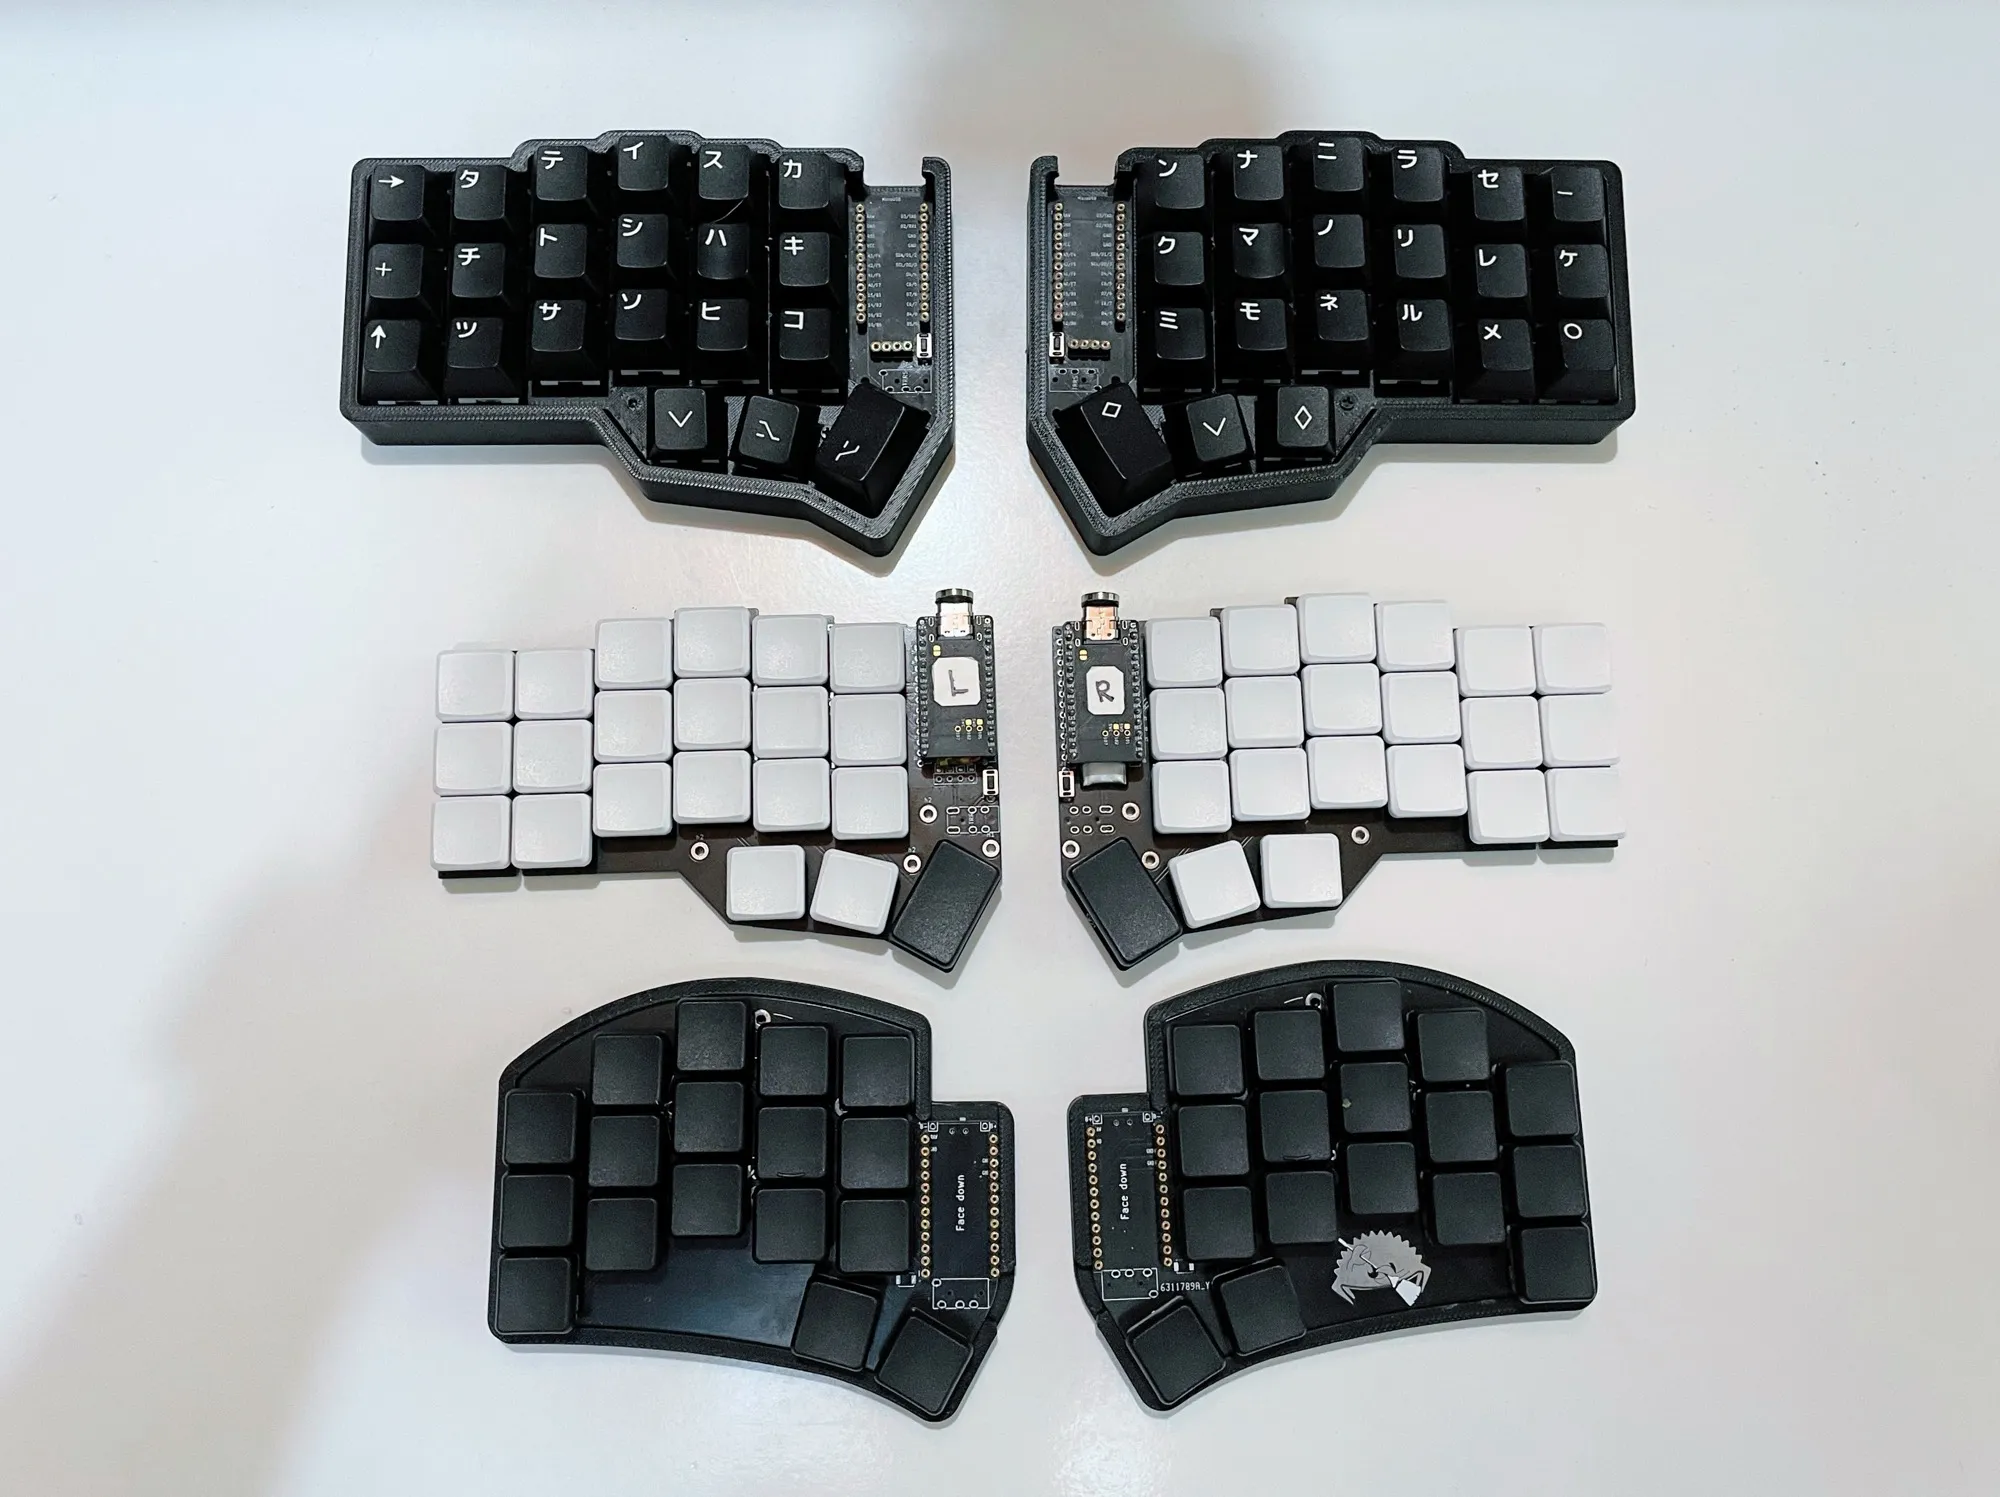
Here is the size comparison of other split keyboards I have: a Corne MX, a Corne Low Profile, and a Sweep which I built shortly after finishing the Corne. (Spoiler alert: I ended up not using the Sweep).
Feeling and sound
I originally used the 50g Red Choc switches. I feel it's a bit too heavy, so I then change to the 20g Pink Choc switches, and turns out to be too light. I eventually get used to it, but if I would build it again, I would go for 30-35g switches instead. I also lube the switches just for the sake of lubing.
In general, the low-profile switches feel and sound worse than my MX keyboards, but to be honest, it's not as bad as I imagined. Given that Choc switches have a shorter travel distance than MX switches (3mm vs. 4mm), they still give the feeling of the mechanical switches.
I think adding a case and plates to the keyboard will help with the sound. It will make the keyboard more sturdy too.
Portability
Being lighter and thiner than the MX version makes the keyboard much more portable. It takes less space and carries less weight. I like this aspect more than the MX version, and get it why people choose the low-profile switches for their wireless split keyboard builds.
I think it's a good trade-off to sacrifice some joy of using it for portability.
Summary
When I build a new keyboard, I try to do things slightly differently than other keyboards so I learn from the process. From this build, I learned a few new things:
- I learned the process to order a custom-made PCB online.
- I learned that gathering individual parts of the keyboard is (much) cheaper than buying a DIY kit. Of course, there's some learning curve, but I think it's totally worth.
- and I learned that low-profile switches are not that bad :)
That's been it for this keyboard build.
Until the next one! ✌️
Related posts