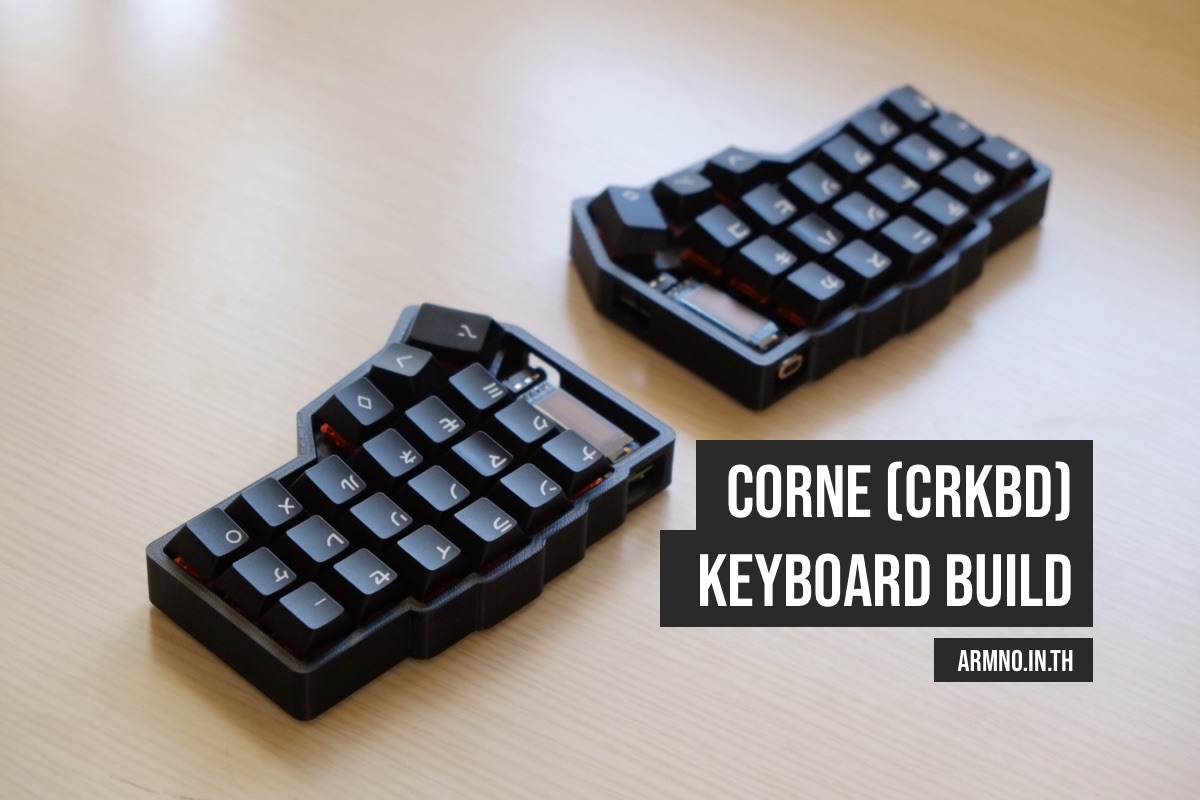
Building a Corne Mechanical Split Keyboard
When it comes to using mechanical keyboards, my preference are the 60%/65% ones where I find a balance between how they look and the ease of use. My previous keyboards were a Gingko65, a Portico, and a few of custom 60% ones.
I think I have enough keyboards … at this size at least.
Recently I stumbled upon a video How to build a handwired keyboard by Joe Scotto. I checked out his channel and I found a few videos about the Corne Keyboard. I knew nothing about a split keyboards and never imagine myself using one. But since I can’t unsee it anymore so I decided to give it a try. Mainly because I’m curious, and partly because there are no stabilizers involved in building this one.
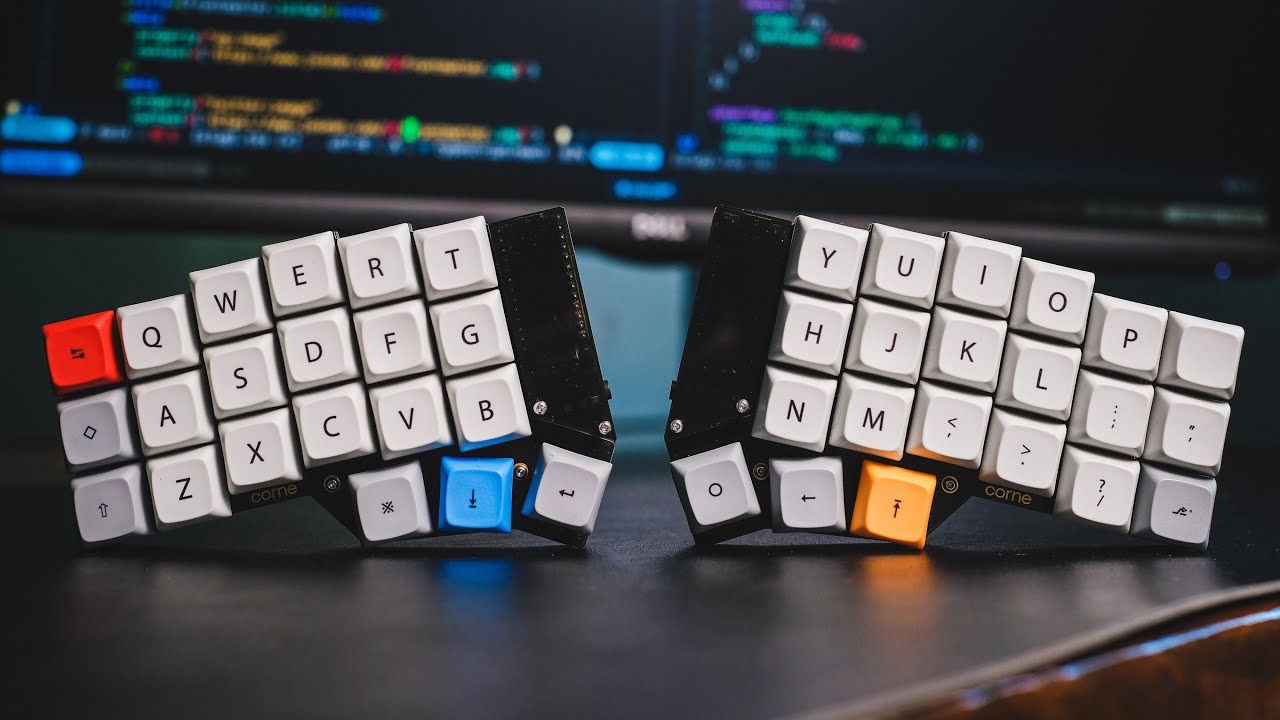
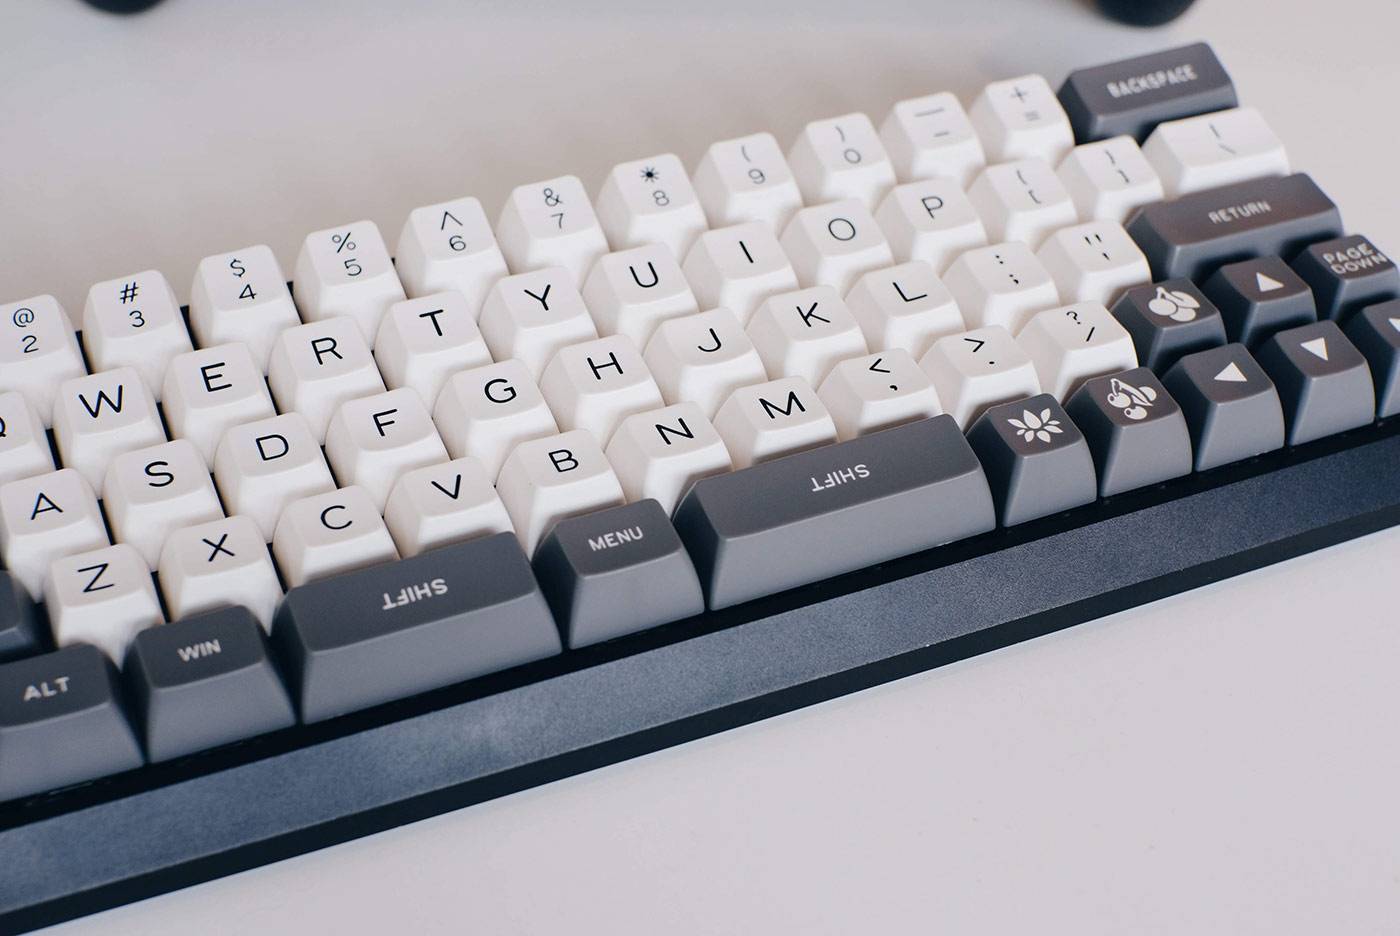
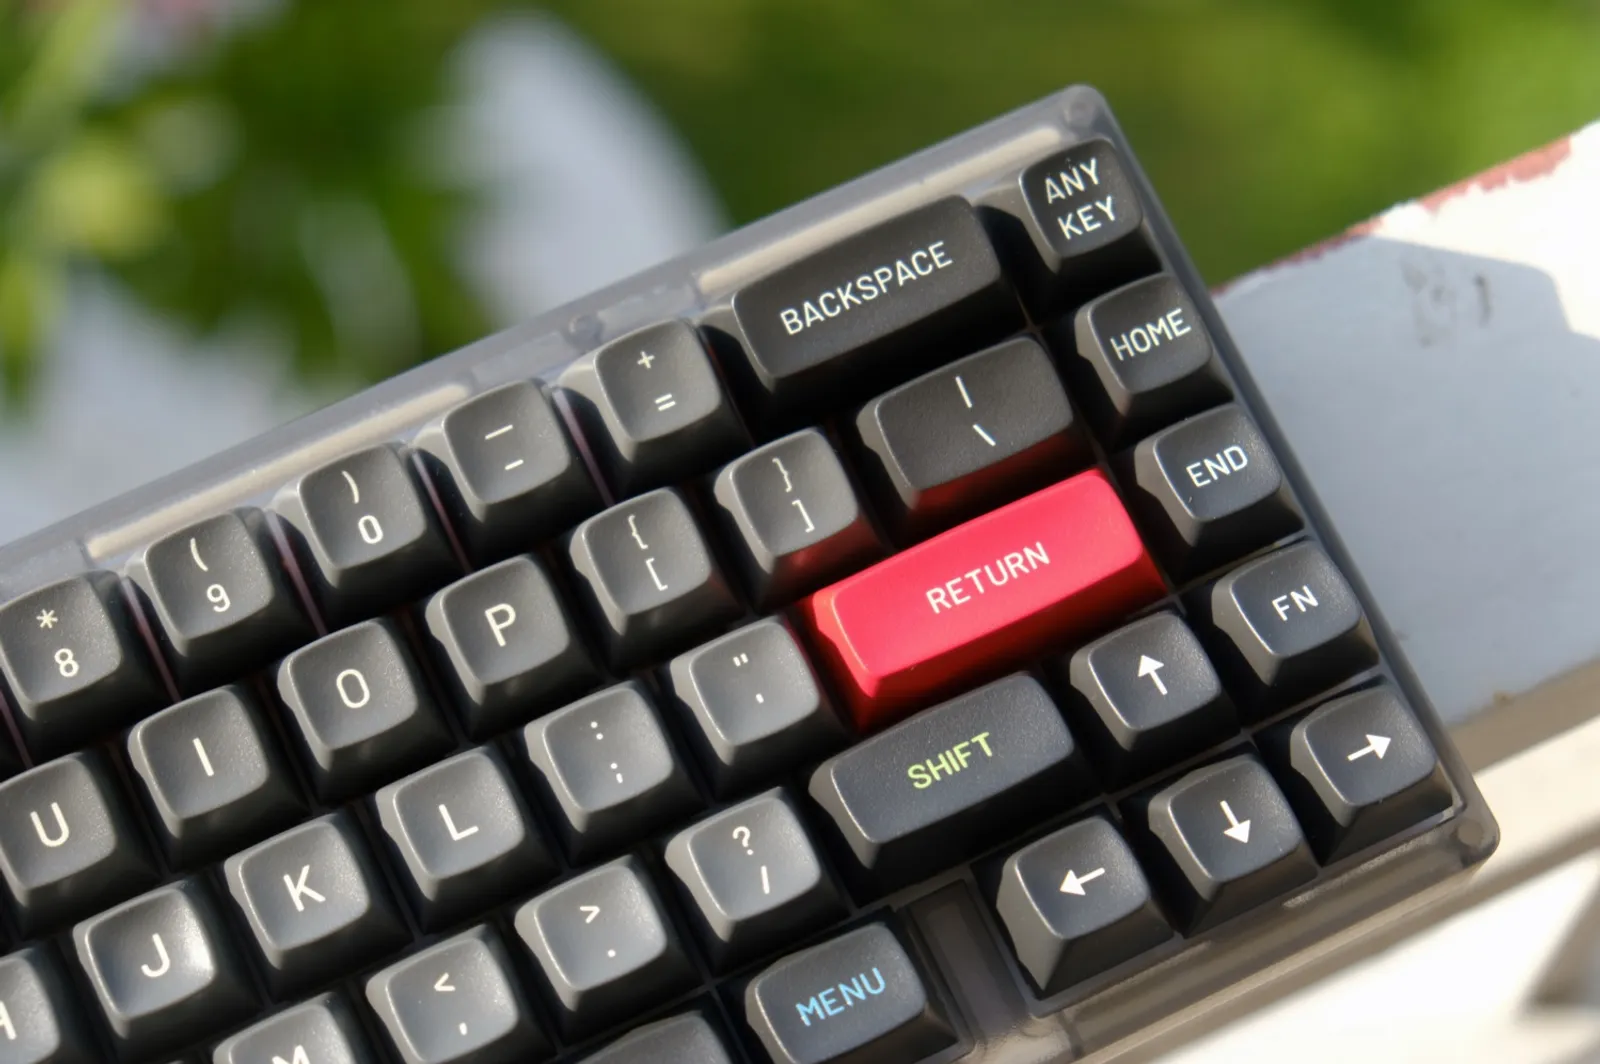
Photo credit: Josean Martinez’s build https://www.youtube.com/watch?v=wTMcH7u-vu0
The Corne Keyboard aka. “crkbd” is an opensource, vertically staggered, split keyboard designed by foostan. It has a few different variations that support both traditional MX or low-profile switches and can be built with either 5 or 6 columns. The GitHub repo also has very details documentation for every variation.
I chose the MX version because I have only MX switches and keycaps around.
Getting parts
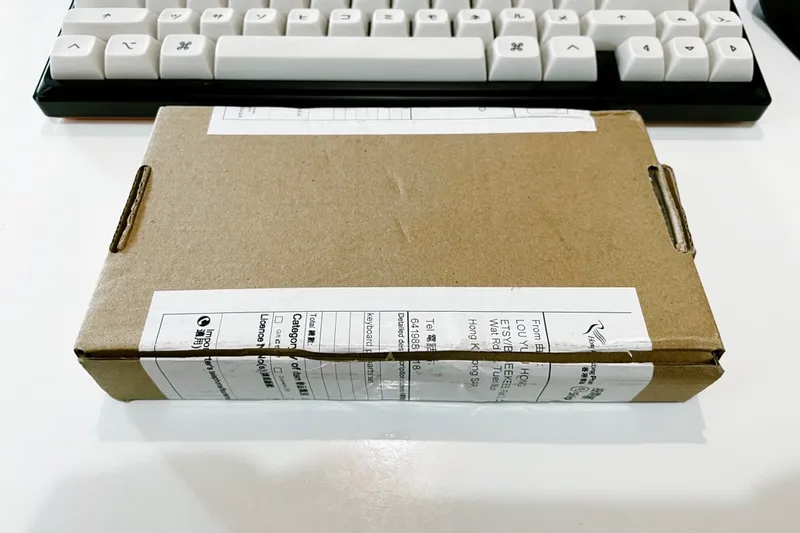
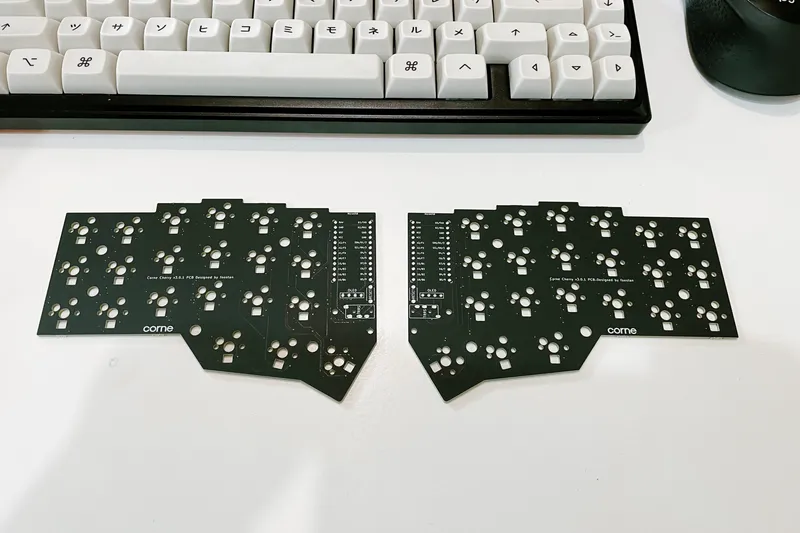
The parts list on build guide looks intimidating to me. I have no idea what TRRS or WS2812B mean. So I play safe by getting a set from Beekeeb shop on Etsy that includes everything I need in one package. The set I get is the Crkbd v3 (Corne Keyboard) MX Hotswap DIY Mechanical Ergonomic Hotswap Split Keyboard PCB. Kit option is “PCB + Parts”. It costs me HKD982.40 or ~฿4,300 / ~$125.
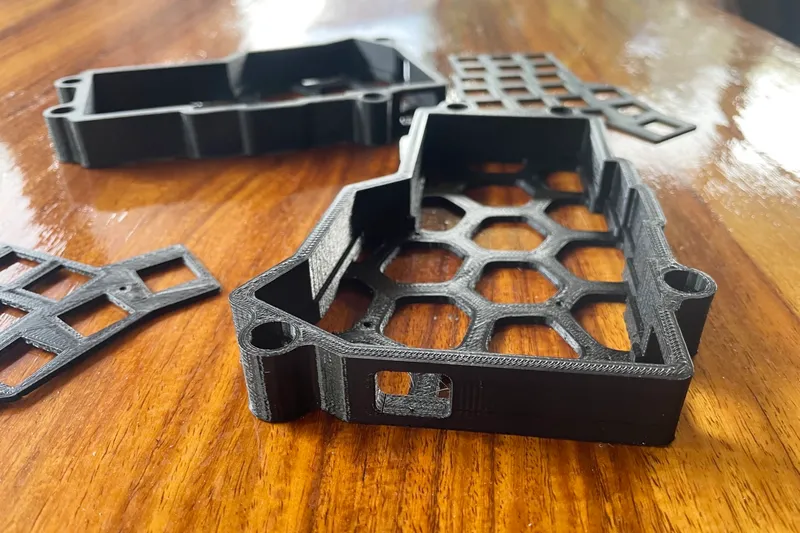
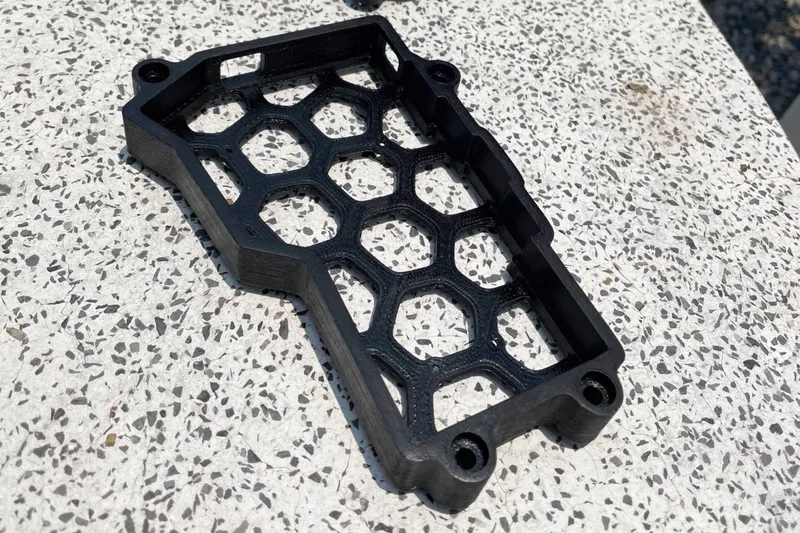
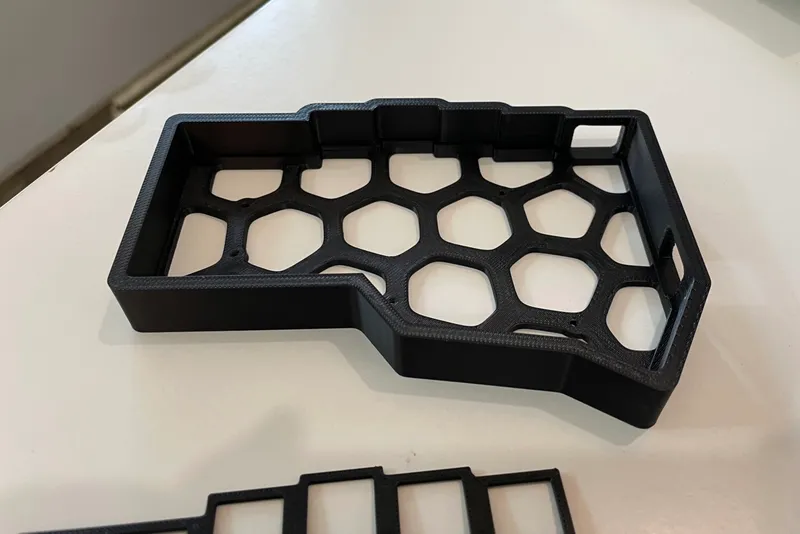
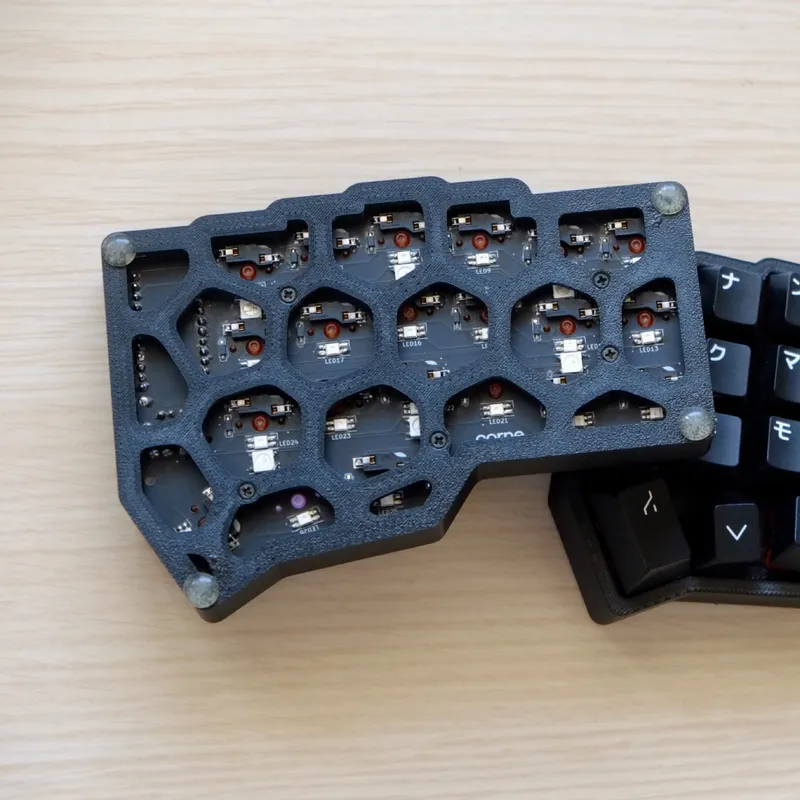
While waiting for the parts to deliver, I check out different case designs and choose the one desinged by VOID. I send the Printable link to a local 3D printing service and get the tented, 6 columns version of the case with PLA material. The case and plates costs me ~฿900 or $26. The outcome is OK though it also has some issues. More on that shortly.

Installing Diodes, LEDs, and Hotswap Sockets
The parts arrive and it’s time to start the build. I follow the official build guide, along with the video from Rafael Delboni (written version is also available). My plan is to finish everything on the right hand side first, then do the same for the left hand side of the keyboard.
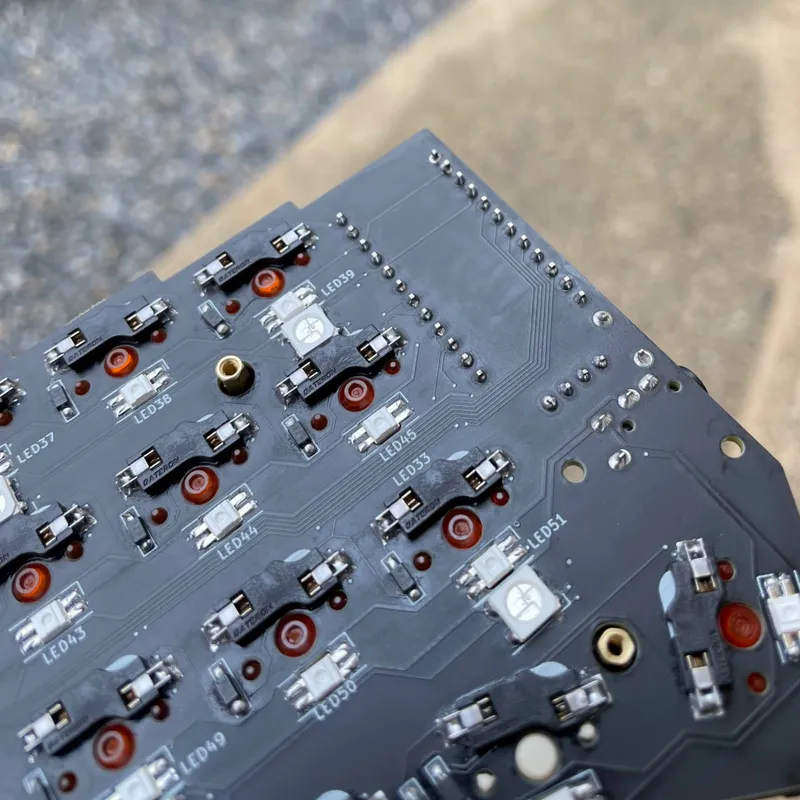
I start with soldering SMD (Surface Mounting Device) diodes (SOD-123), which are tiny and difficult to solder with soldering iron and solder wire. My experiences are limited to only through-hole soldering when building my other keyboards. SMD soldering is a new thing for me.
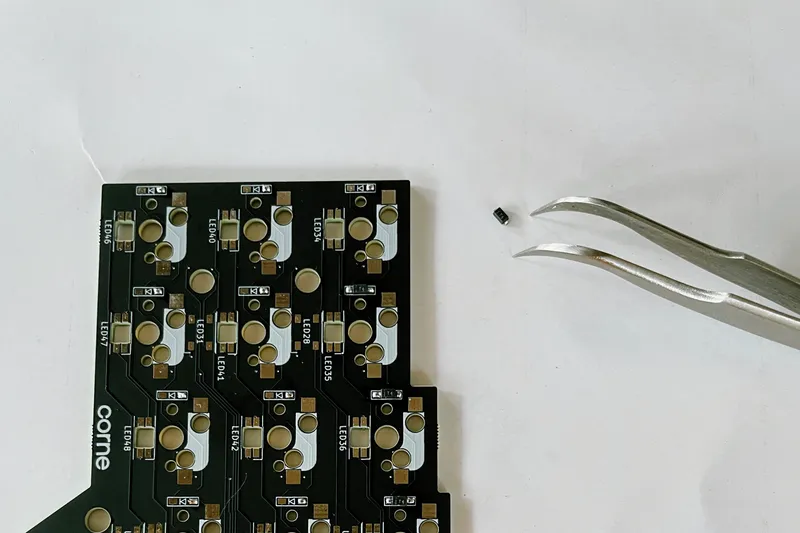
The diodes have polarity - meaning I have to put them in the correct orientation. Since the parts are pretty small and the print on the diode is not very visible, I make some mistakes by putting a few diodes in the wrong direction. In this case, I have to desolder and put them back again correctly. I believe I lost a few of them during the build too.
When I almost finish soldering diodes for the first side, I found the video Soldering Surface Mount Components | Soldering Basics and realize Soldering Paste is a thing. I order some soldering paste online to try it out.
And Soldering Paste is a game changer for me.
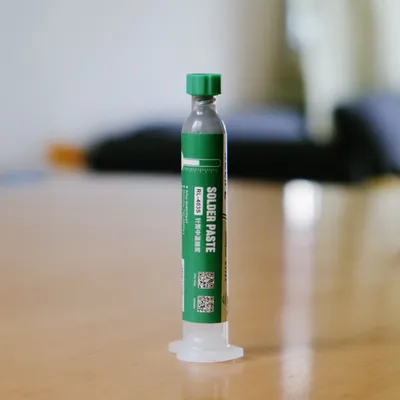
It makes it a lot easier to solder the small SMD parts. It helps to hold the part in place before applying heat to it. I get the job done much quicker.
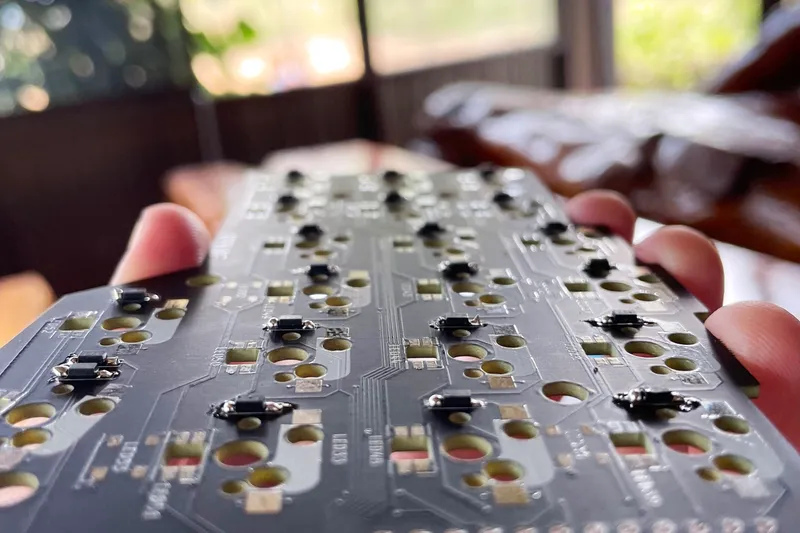
The next parts are the Gateron hotswap socket. This is easier because the parts and contact points are larger. Here I also use the soldering paste to connect the sockets to the PCB.
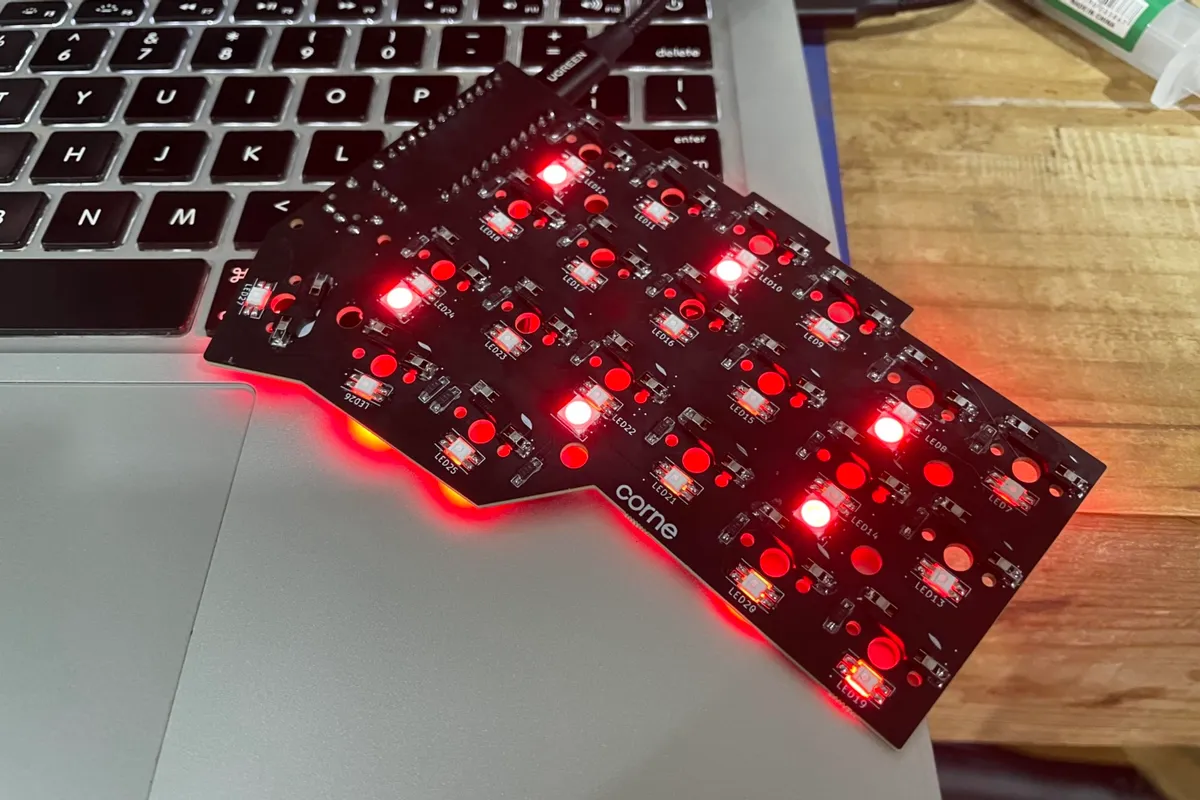
After that, it is soldering the LEDs. There are 12 underglow LEDs (WS2812B) and 42 per-key LEDs (SK6812MINI-E). Both types have polarity so I also have to be careful putting them in the correct orientation. The per-key LEDs are a bit more challenging because they are smaller and the contact points of each leg are very close. The soldering paste helps a lot here.
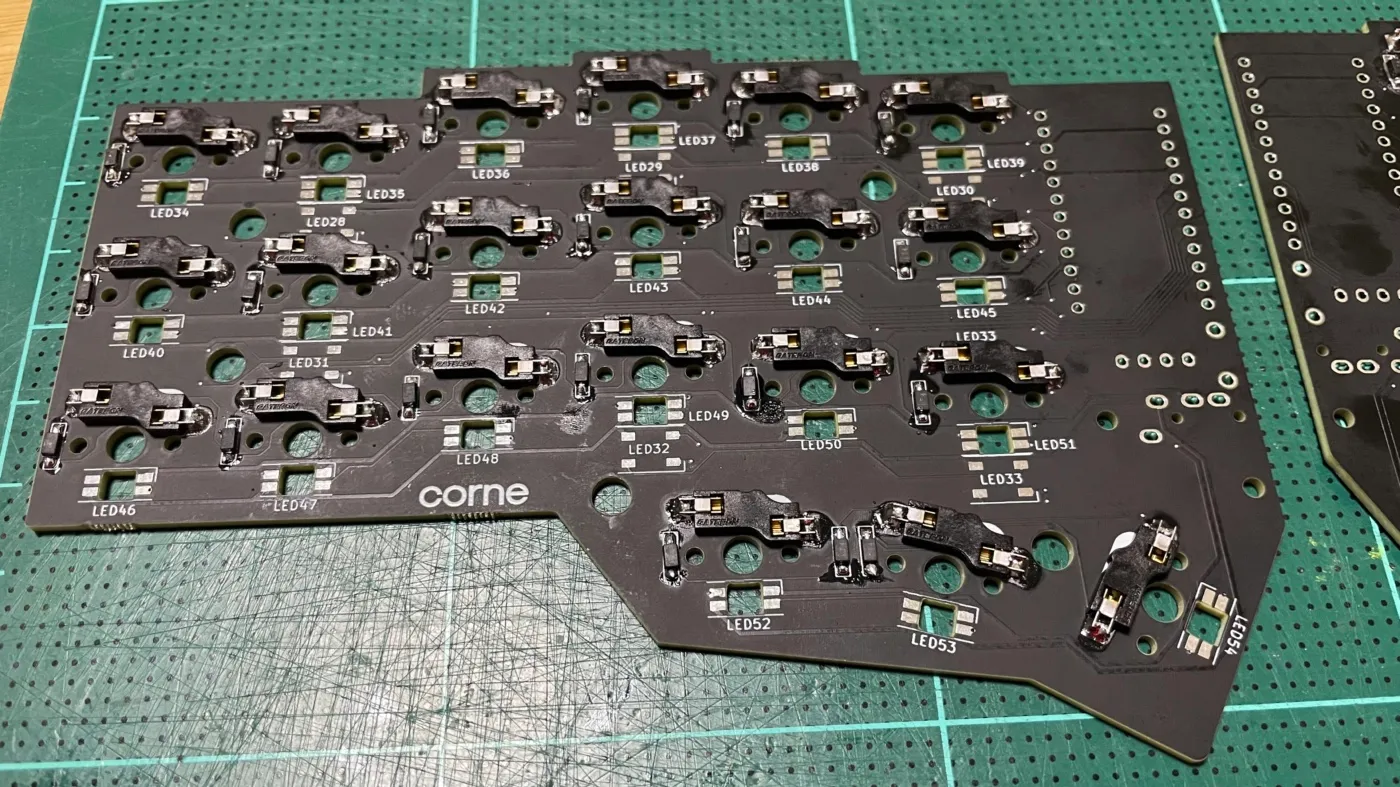
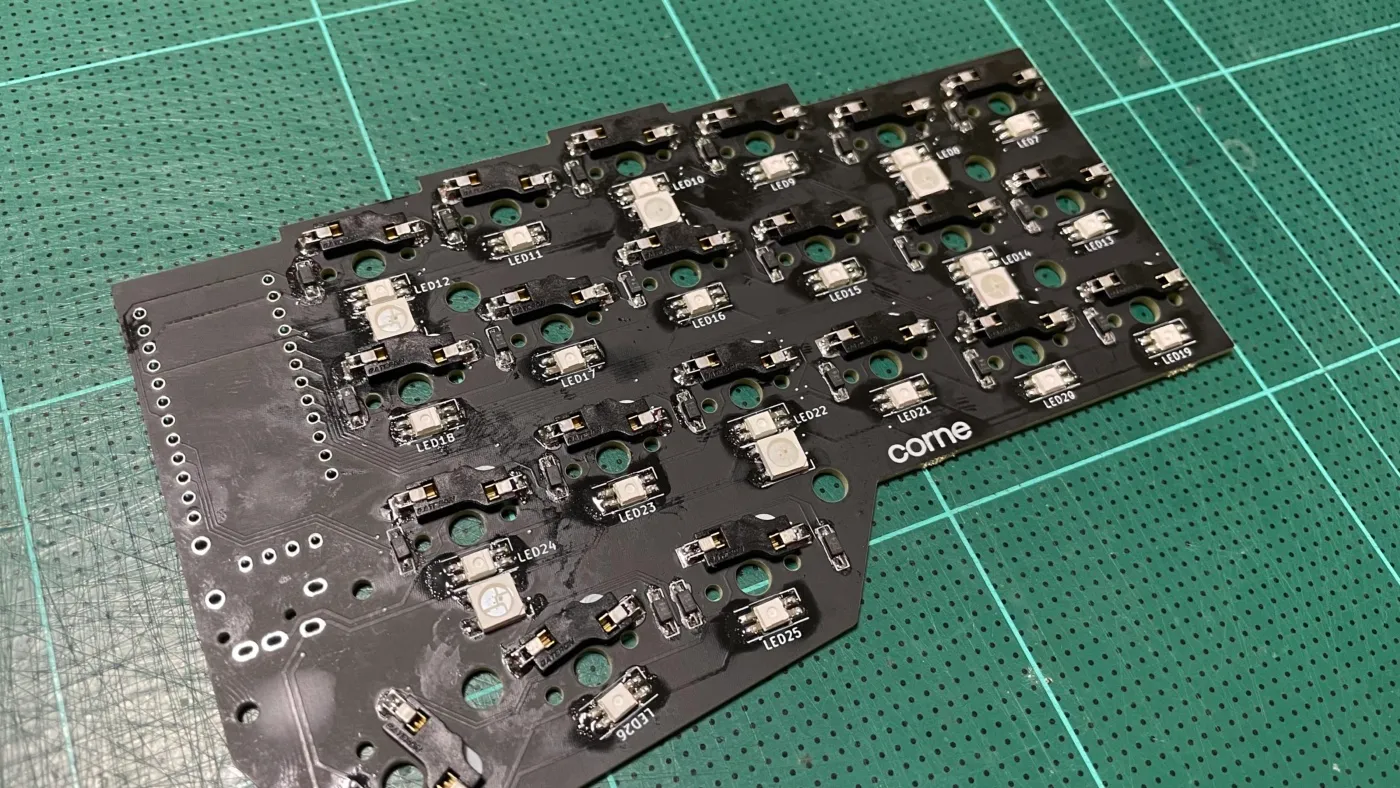
Once I have the right-hand side of the keyboard, do the same for the left-hand side. There is just so much soldering to build this keyboard.
Installing TRRS Jack, Reset switches, and The Controllers
Now for both sides I have all SMD parts installed. The next step is to install the rest of the parts around the controller. I start with soldering the TRRS jack and the Reset switches, which is the normal through-hole soldering.
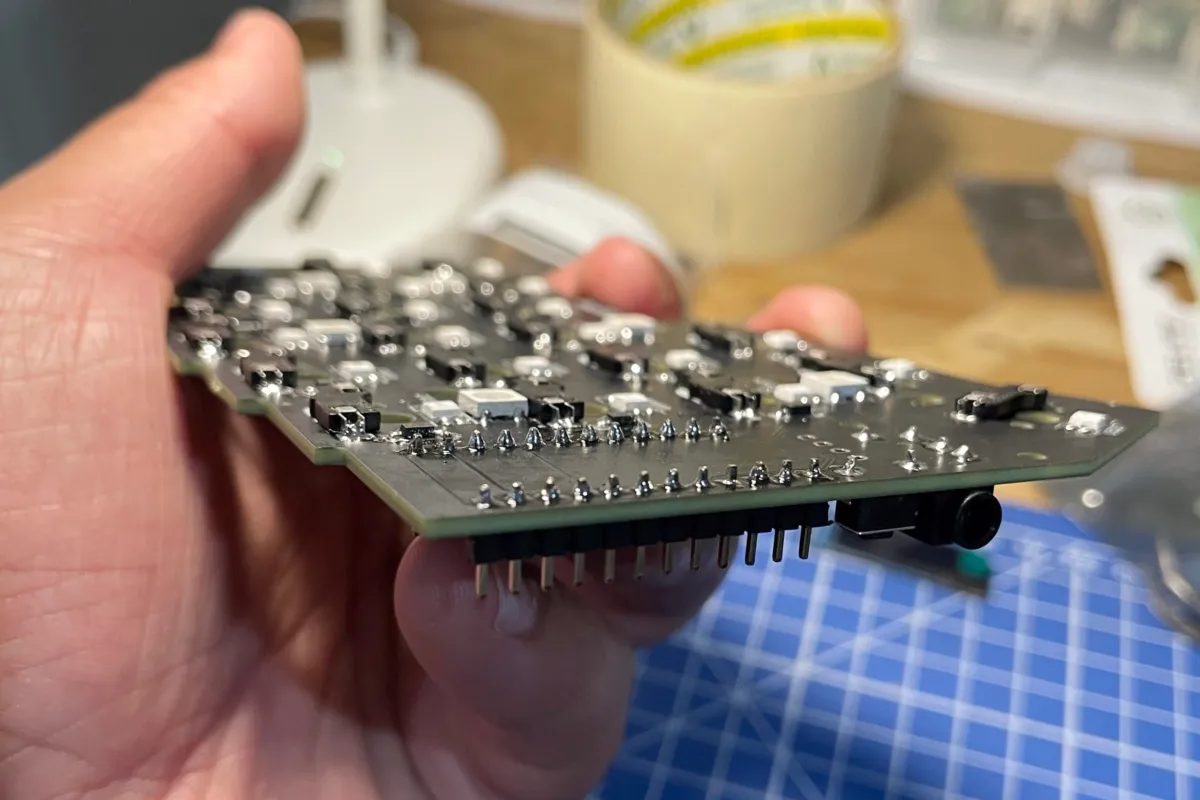
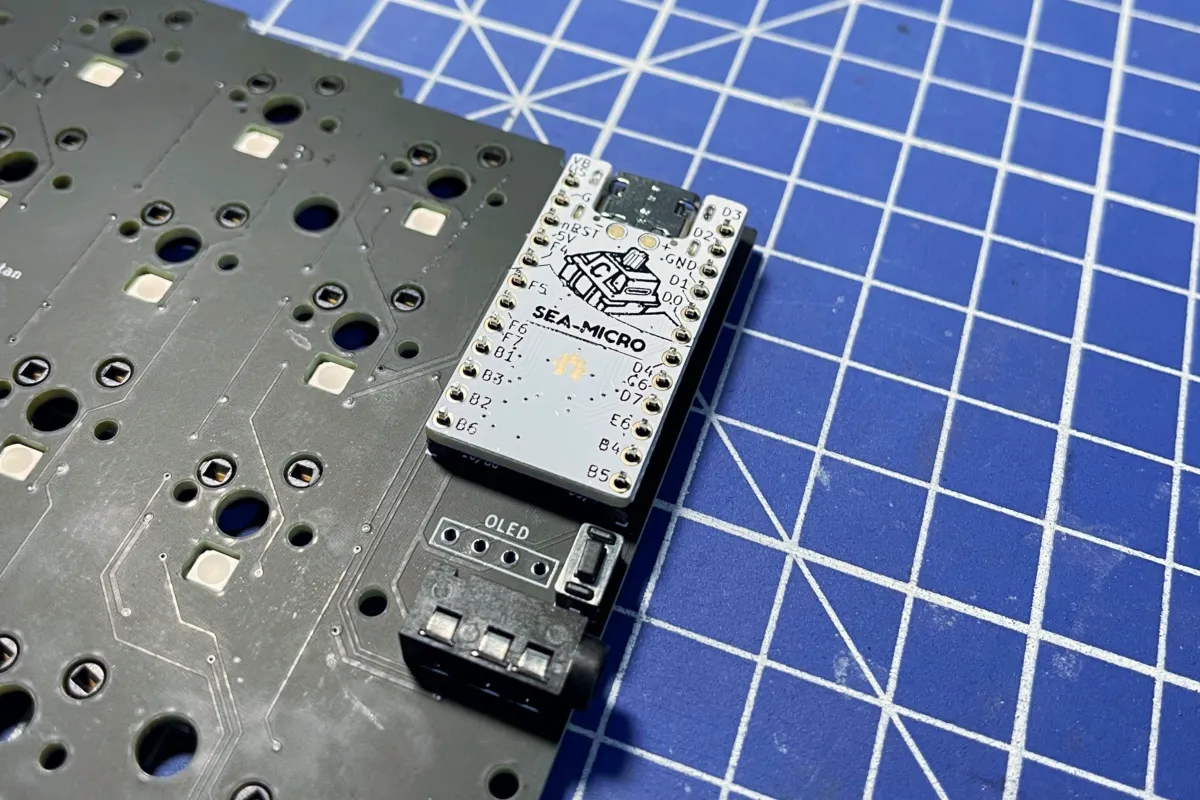
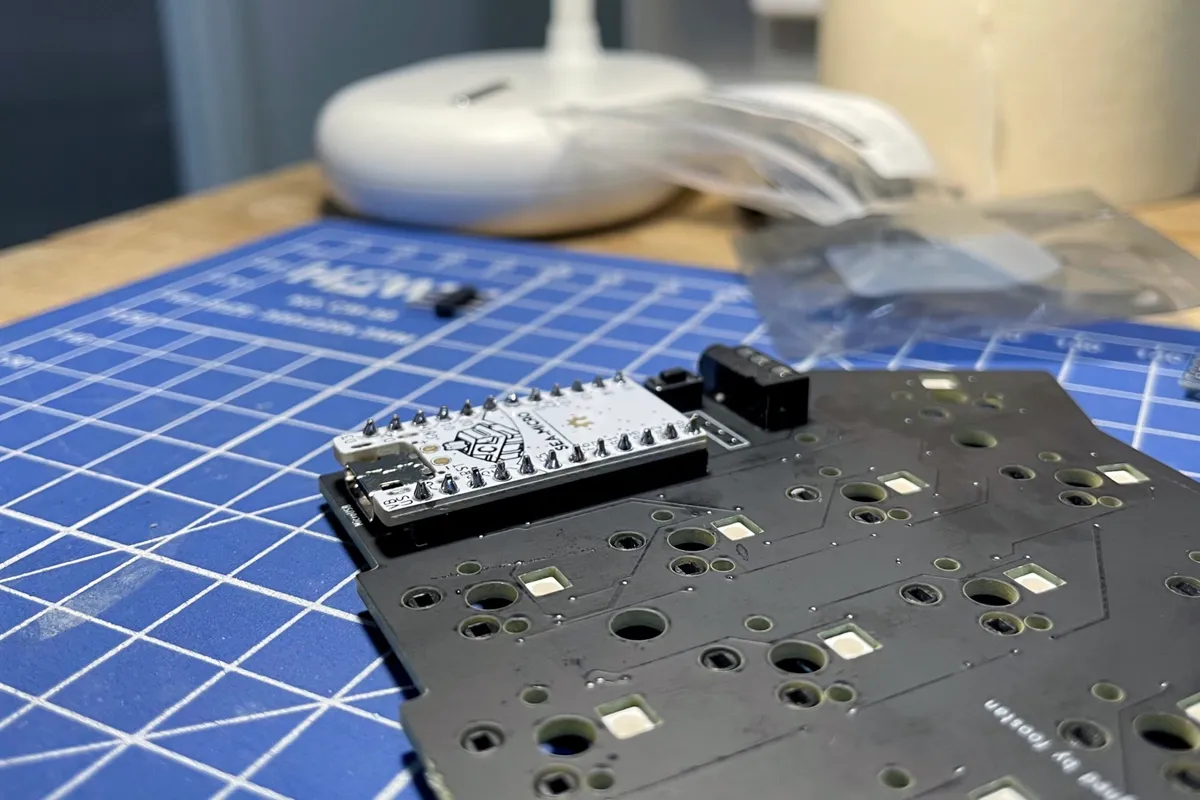
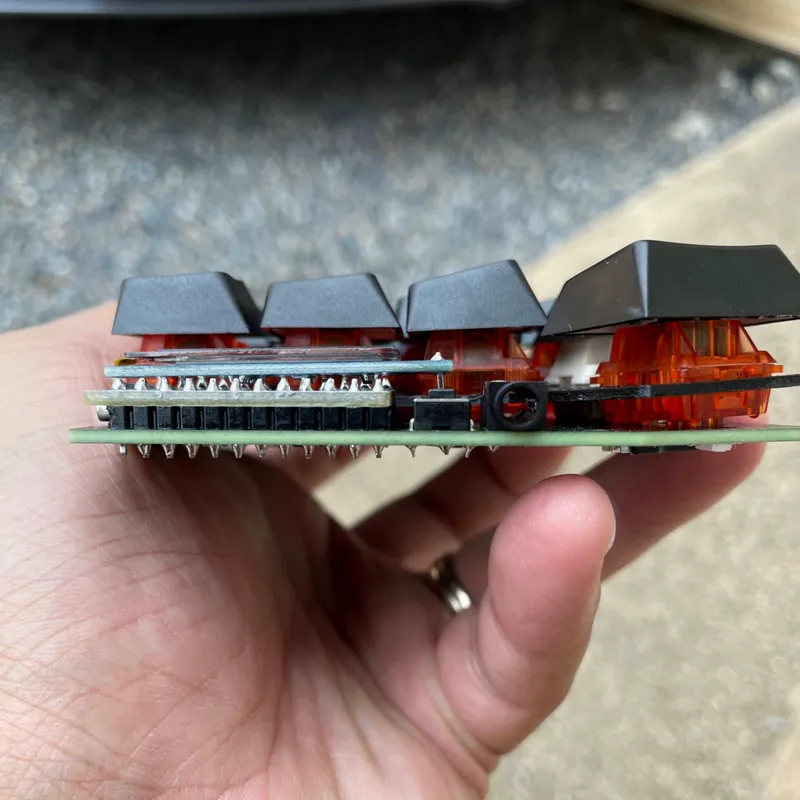
The controllers that come with the set are the Sea-Micro controllers. It is an upgrade from the Pro-Micro controllers. I was a bit confused at this point with all the sockets and the pins - what I have from the set doesn’t look exactly like what Rafael is using in his build logs. I end up soldering the controllers and the pins directly to the PCB.
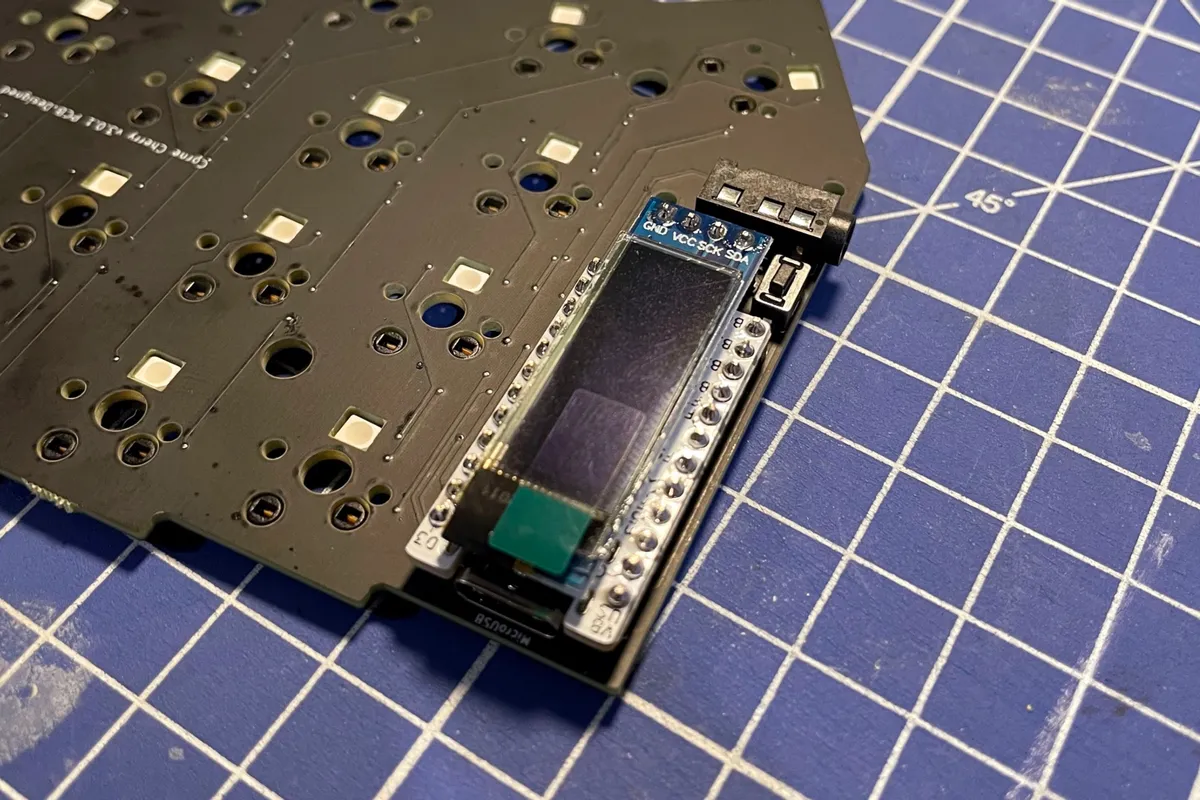
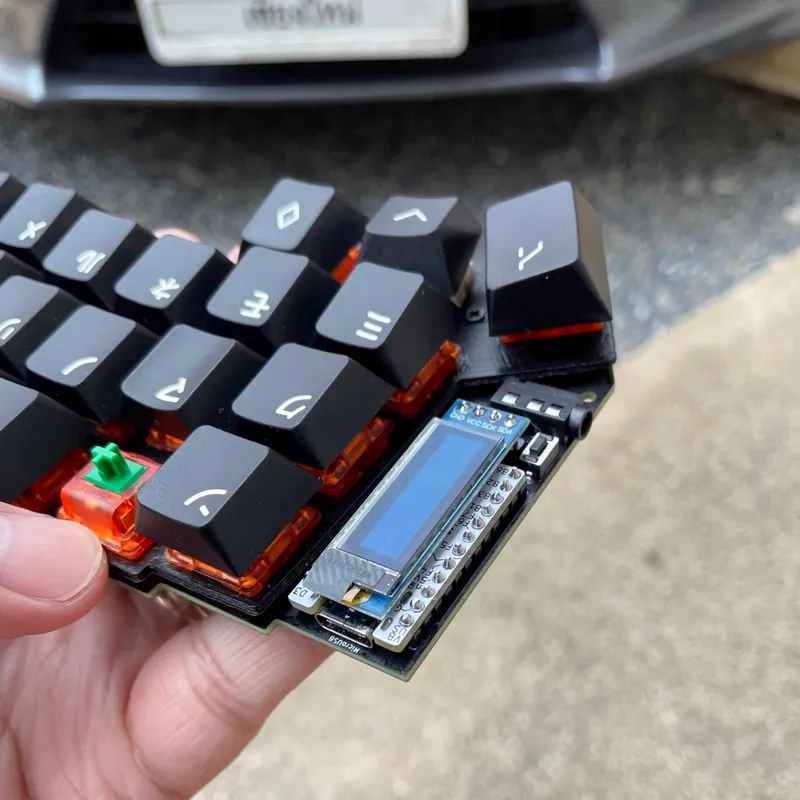
Finally it’s the OLED module, which I also solder them directly to the PCB, just with longer pins so the OLED screens kind of float on top of the controller.
I learn later on that what I miss was socketing the controller and OLED modules - make both modules hotswappable. Without socketing, it will be more difficult if I want to remove them because I have to desolder them off from the PCB.
Testing
After all the soldering work, it’s time to test the keyboard!
I was nervous because up until this point, I had no idea if the keyboard was going to work.
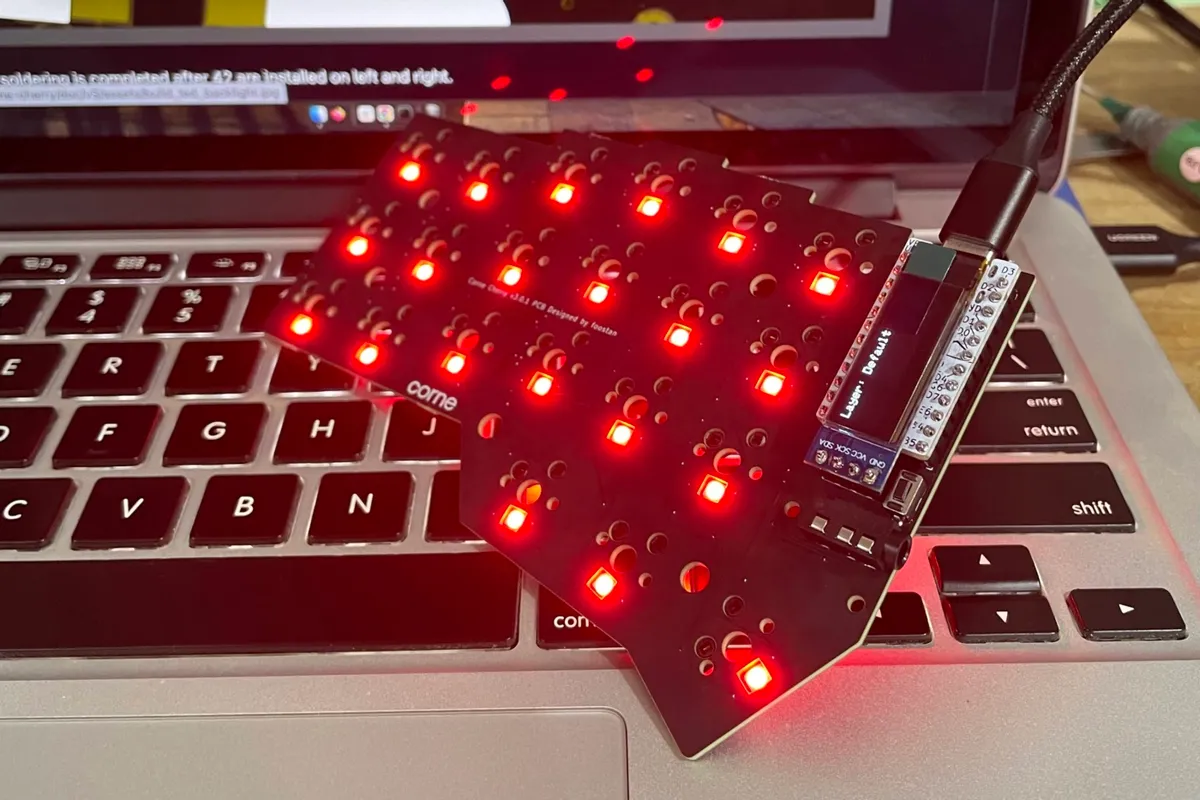
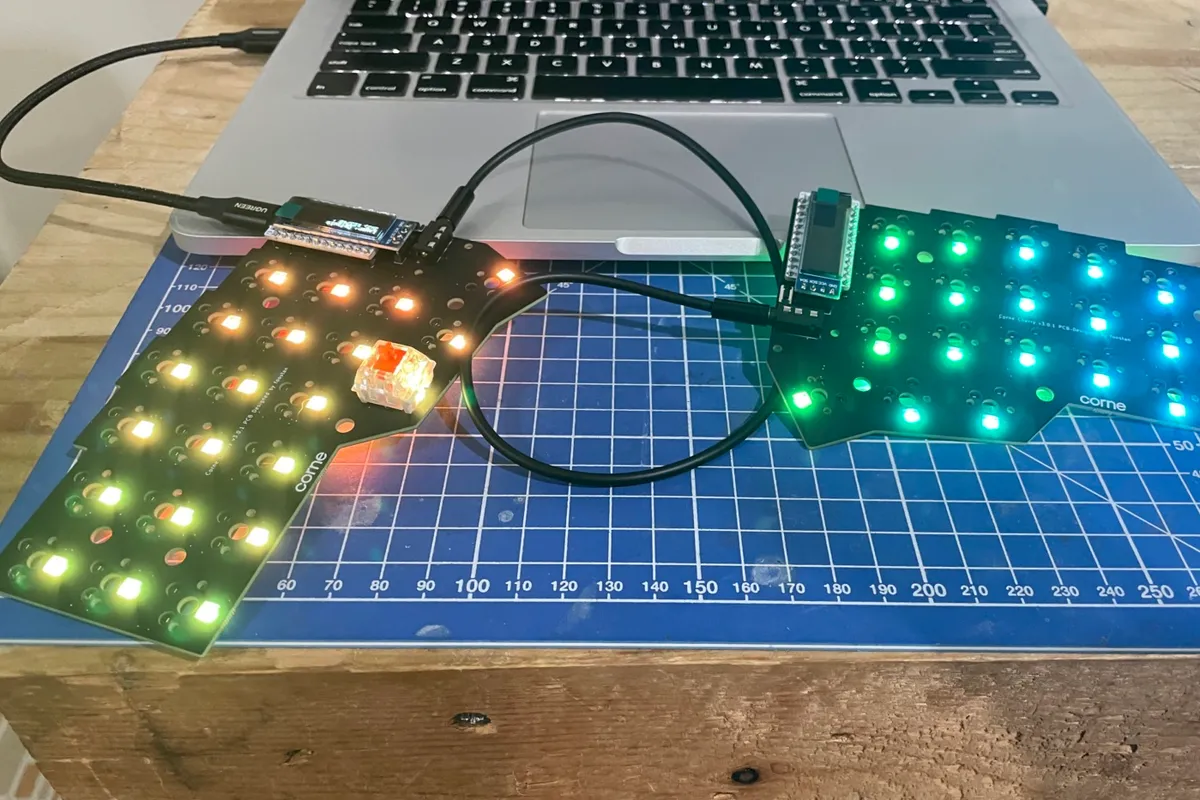
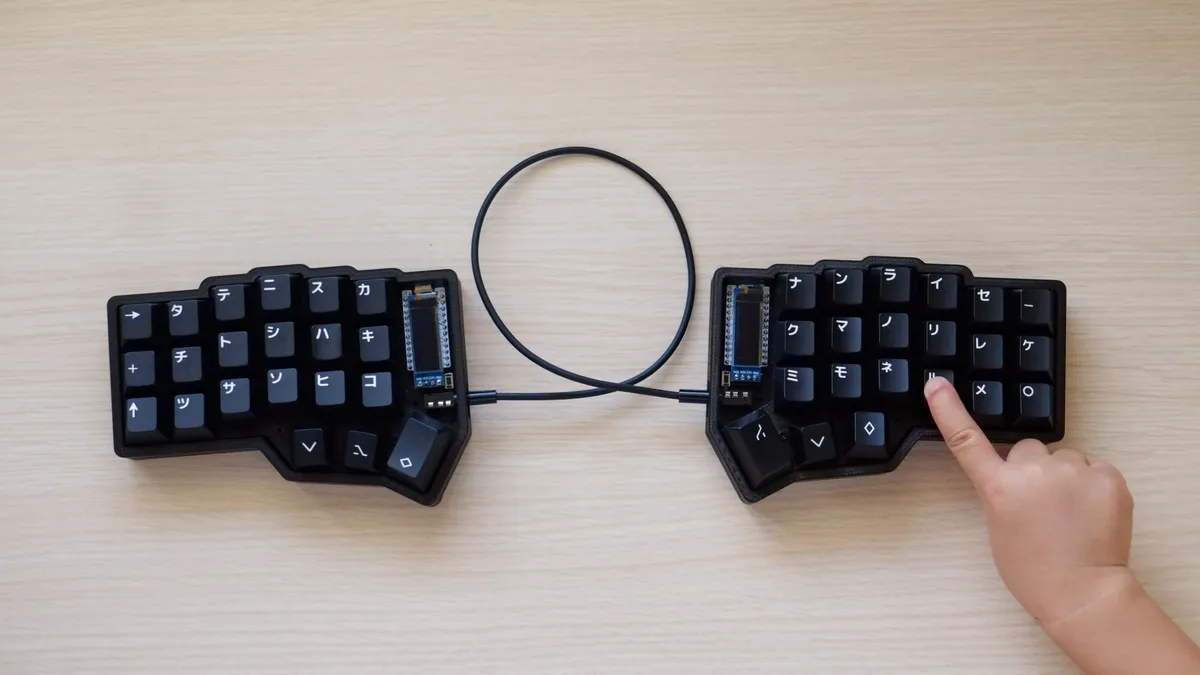
First, I plug each side of the keyboard into the computer via a USB cable to check the controller. All the lights work. They do. Then I connect both sides with the TRRS cable and then plug the USB cable into the computer. All LEDs seem to work fine.
The next step is to check if all the keys work with the key tester in Via. I test each of them by putting a switch in and testing, one at a time. All the keys are recognized in Via.
To be honest, I didn’t expect it to work on the first attempt. But once I realize everything was functional, it is such a relief. All my time (and money) are not wasted. At least I should have a working split keyboard.
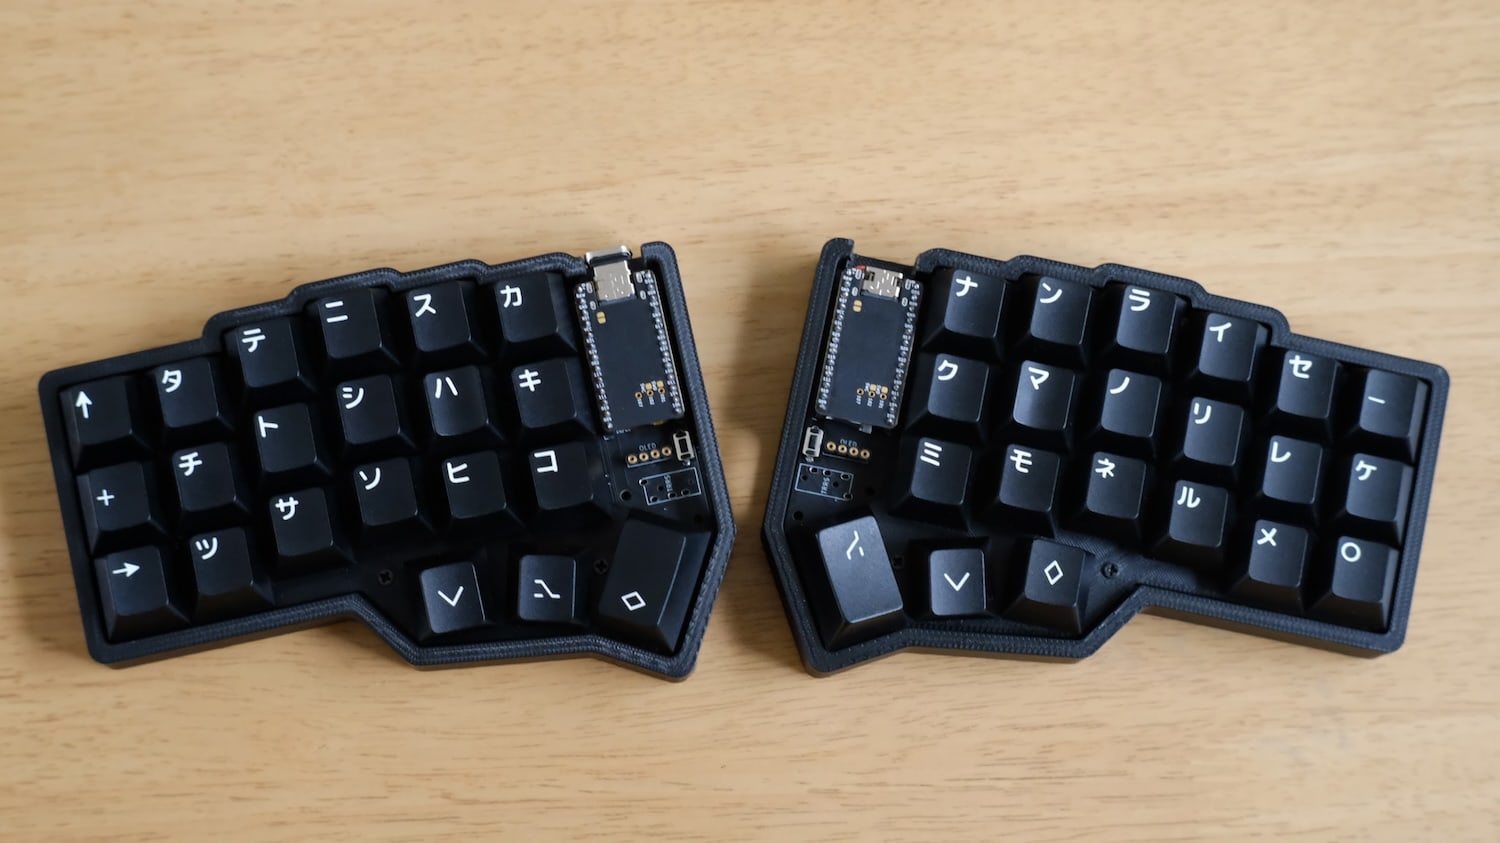
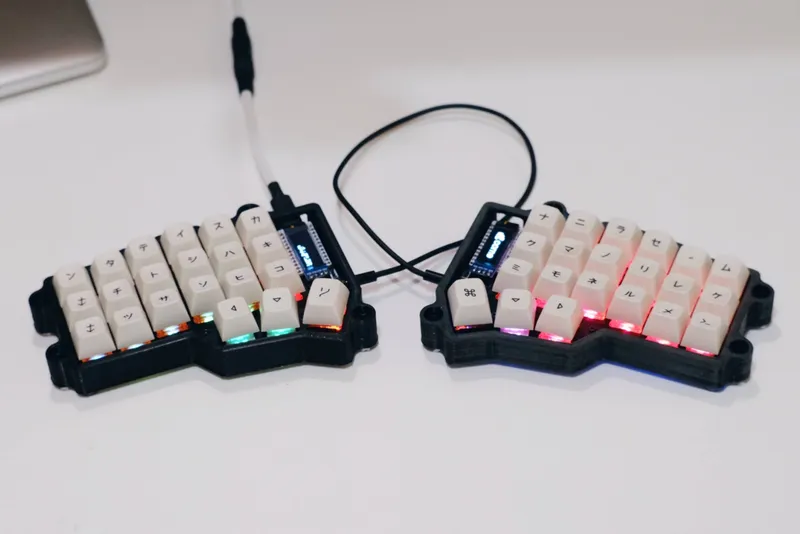
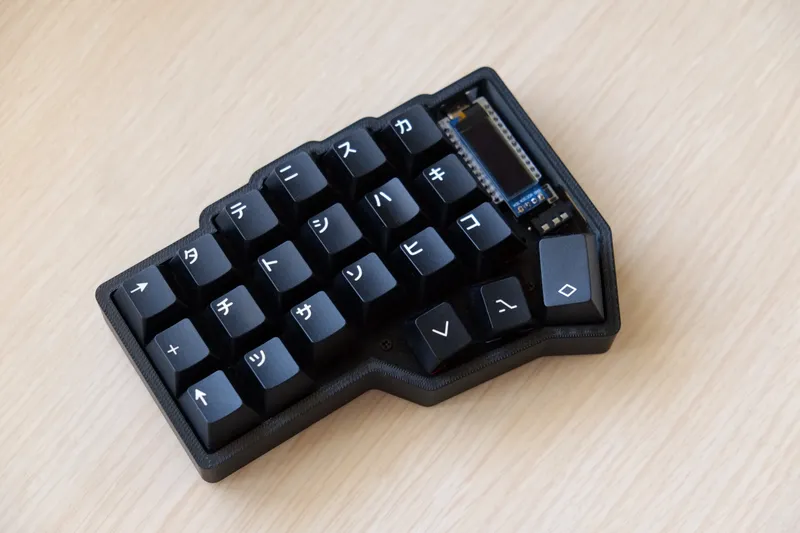
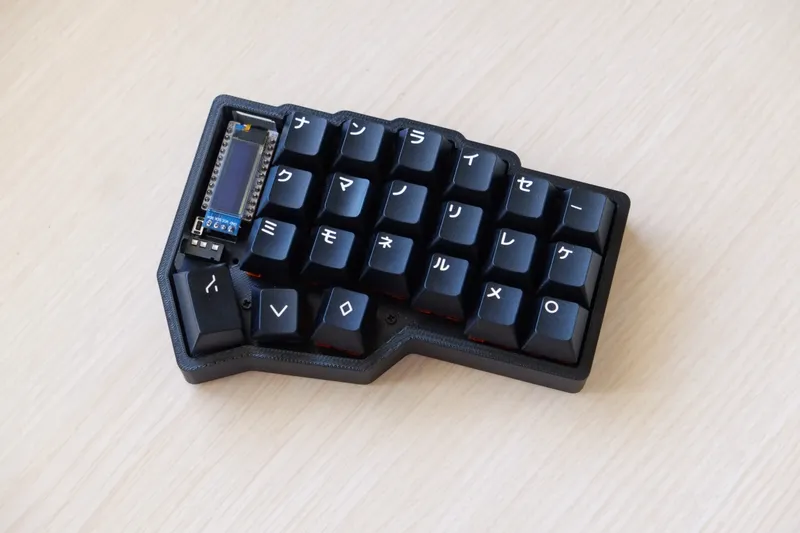
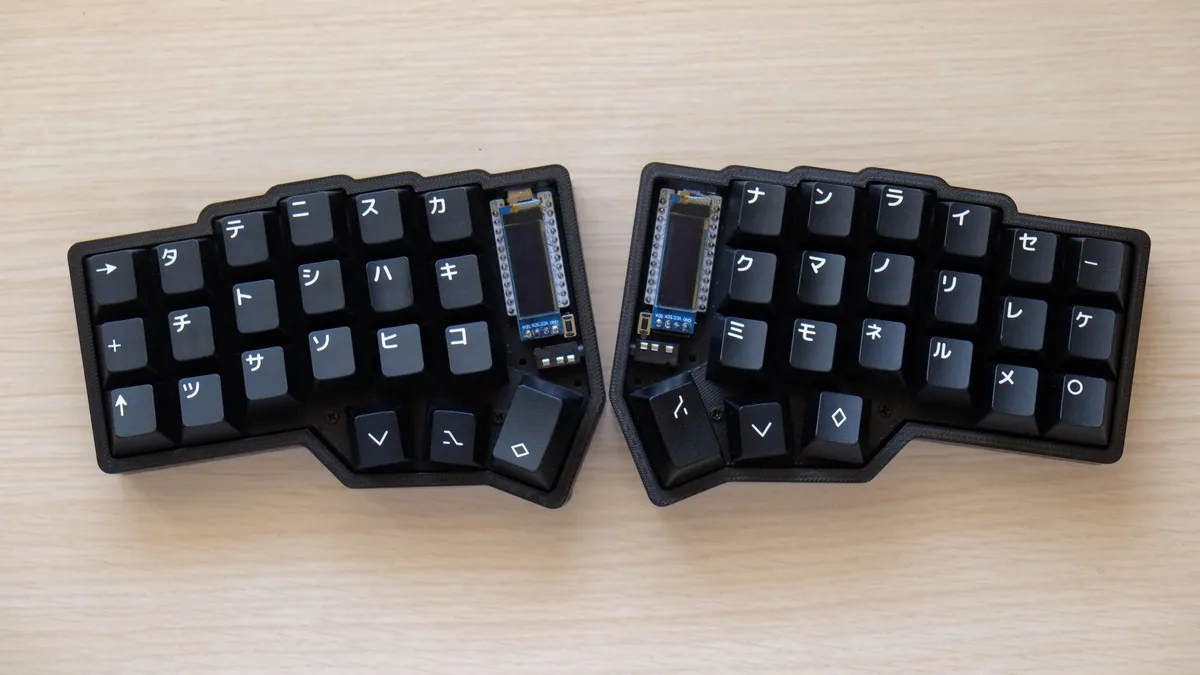
I put the switches and keycaps from my previous keyboards in. And I have to say I’m very happy with the result.
- Switches: C3 Tangerine 67g (lubed & filmed), plus 1 Banana Split and 1 Alpaca switch just for fun.
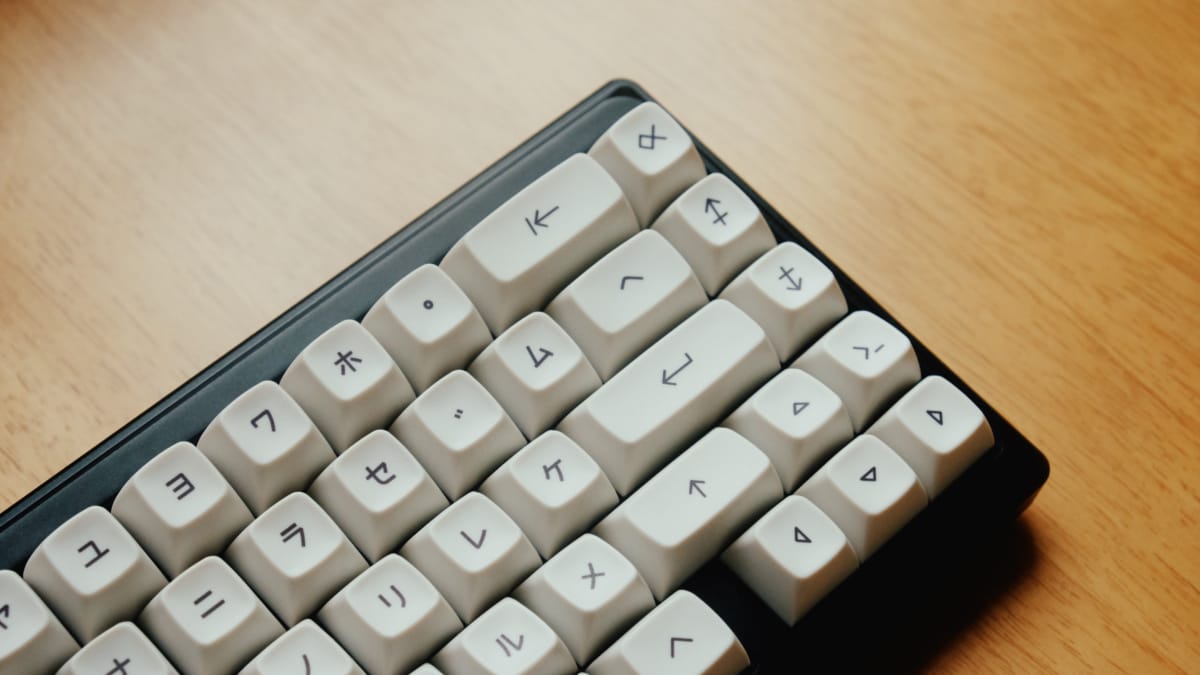
- Keycaps: MT3 Extended 2048 / GMK WoB Katakana
Keymaps
The keyboard uses QMK firmware, so it is customizable with Via. However, the number of keys are much less than my previous 65% keyboard. It took me some time to come up with keymaps that work for me. As the time of writing, it is still not perfect, and I still keep tweaking the layouts from time to time. My plan is to learn more about mod-tap / home row mods and try to make use of them.
What I have so far are:
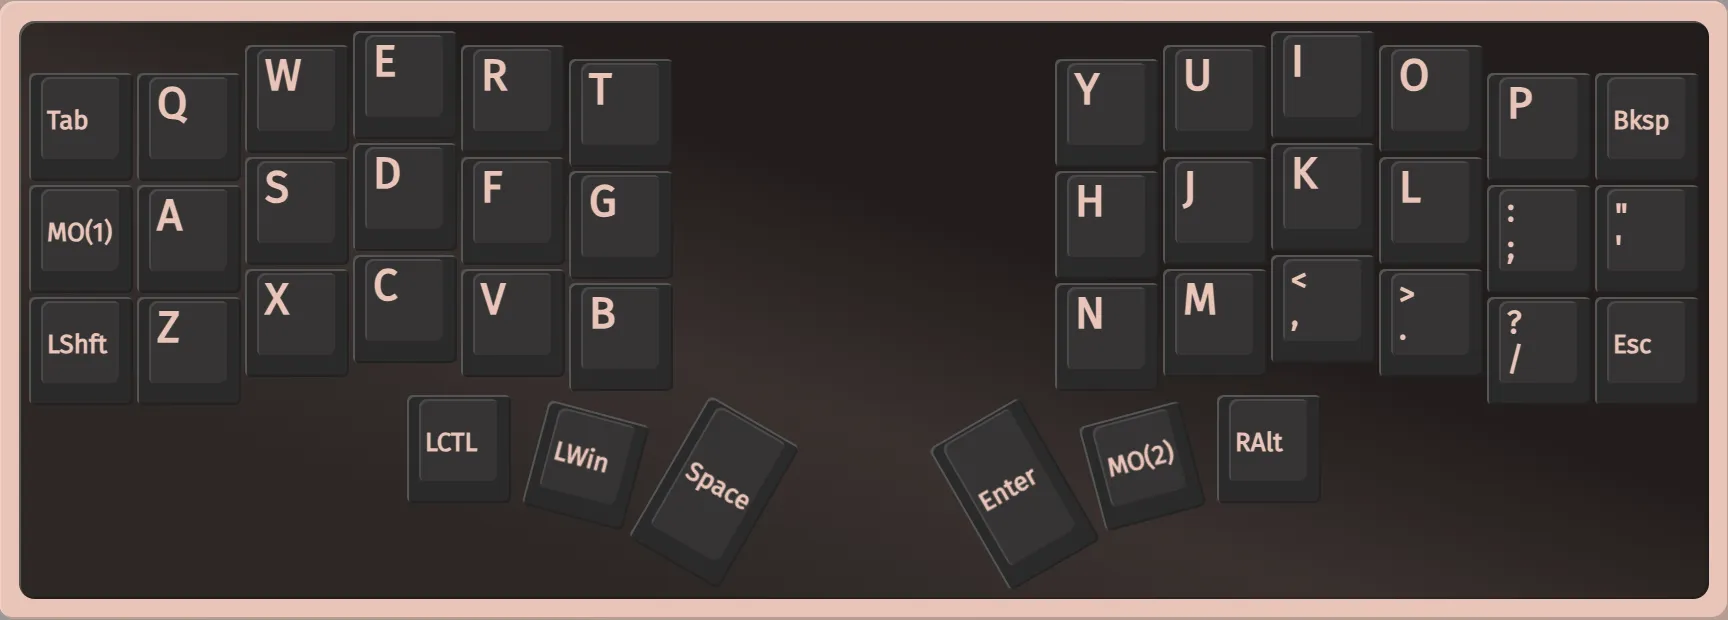
Layer 0: Traditional QWERTY layout.
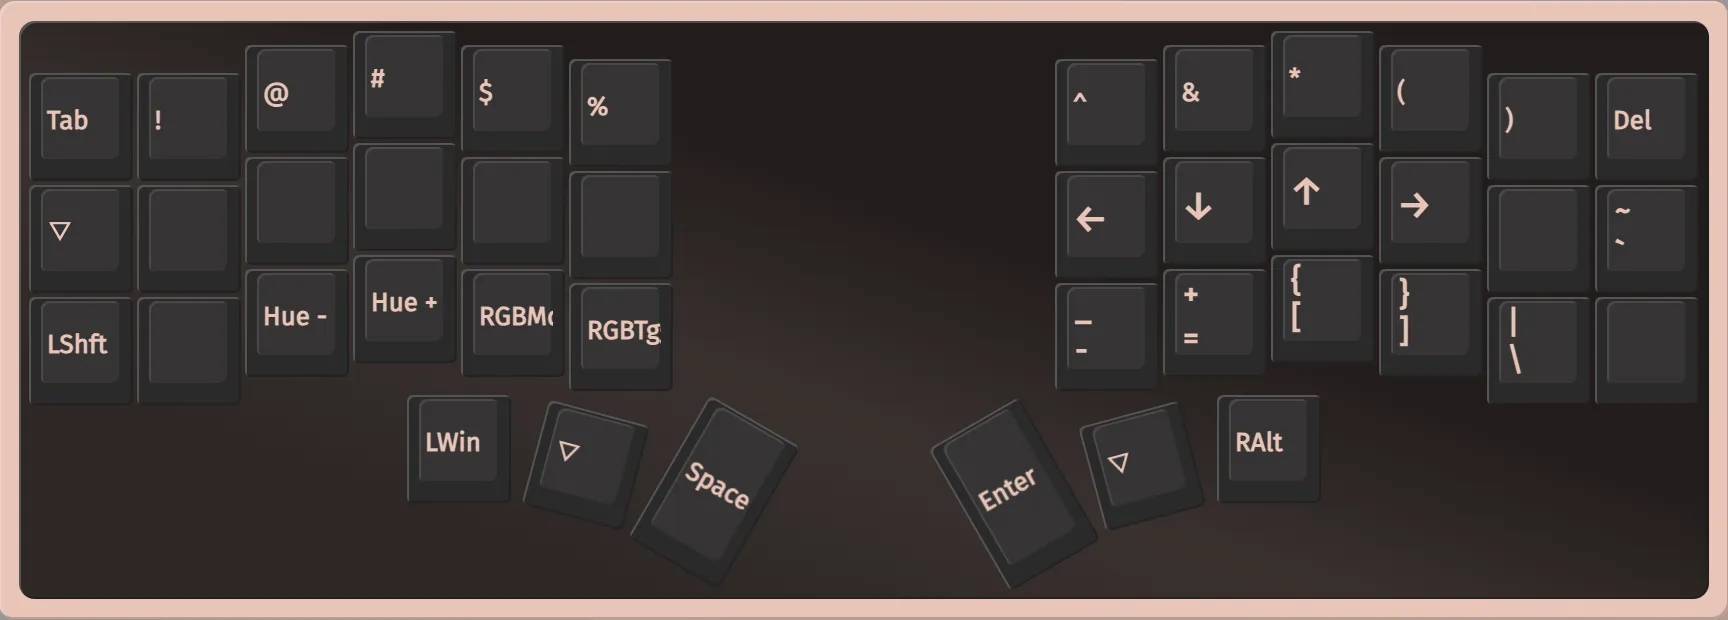
Layer 1 (lower): quick access to coding symbol without using shift key, arrows, and RBG controls.
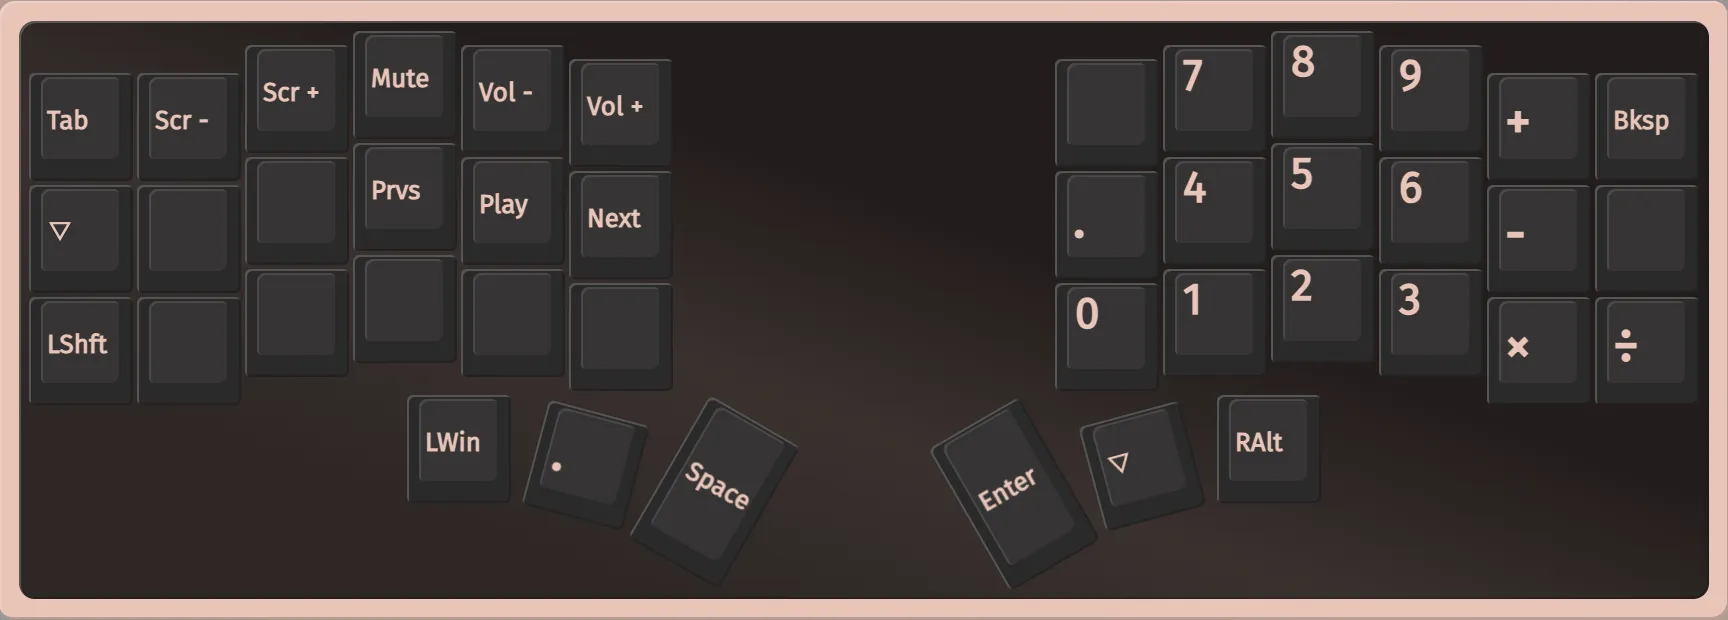
Layer 2 (raised): Numpads, media controls, and keys to adjust my laptop’s screen brightness.
Typing in Thai is still tricky because some characters are still missing. It’s not a big problem for now. I will deal with it later.
Review / Experiences
Typing
Coming from a normal keyboard to a split keyboard does take me some time to get used to.
My typing has been a bit weird and I didn’t know it until using a split keyboard. I tend to use my right index finger to press B and T which are on the left side of the keyboard. I use both thumbs to press the spacebar, depending on what I was typing. And I rarely use my pinky fingers, especially the right one.
Switching to a split keyboard kind of forces me to fix these issues and use fingers properly in their columns. My first day was terrible because I tried to fix my issues all at once. I struggled a lot and I was very slow in typing.
My frustration lasts a few days before it gets better. I get used to typing with the correct fingers and allowed myself to ignore the weak pinky fingers. Changing the keycaps from MT3 to GMK profile also helps to reduce finger travel distance. I’m more relaxed and more comfortable now. Still make a lot of mistakes but I can type faster and I’m back at my normal speed for English typing or coding.
Once I get comfortable with it, I think a split keyboard is more fun to use.
The Keyboard
Feeling and Sound: The keyboard itself works fine and has no big issues. The sound is more bright/plasticky than my previous keyboard. Feeling when typing is also not the best I have compared to a gasket-mounted keyboard with 10 layers of foam and mods. These are not the main selling point of a split keyboard anyways. I can live with that.
Ergonomics: I normally don’t have wrist pain or back pain from using a traditional keyboard, so I don’t know if I get many benefits of the ergonomics of the Corne. I feel that there is less travel for each finger. In the long term this might help.
I like the flexibility that I can move and position each side of the keyboard more freely. It takes less space on my desk which is also a plus for me.
Portability: the Corne keyboard is much smaller and lighter compared to other keyboards I have. I can’t say it is more portable or is easier to carry around because now I have to carry 2 small keyboards and 2 cables. I’d give this a neutral.
Overall it is not a better keyboard - it is just different, and is more fun to use.
The 3D Printed Case
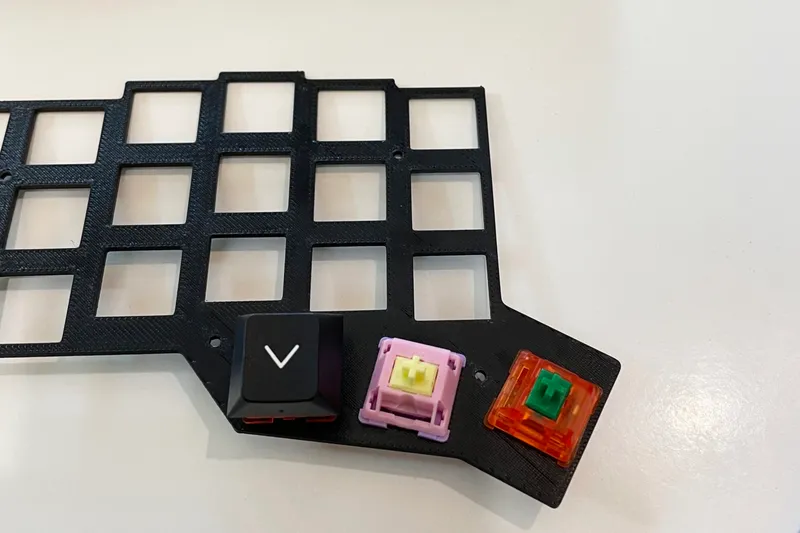
As mentioned earlier, the 3D-printed case and plates have some issues. The surface and edges look a bit rough. Then I know they are really rough when I’m not able to put the switches in - the plate slots are a tad too small for the switches because the printing is not precise enough. 🤯
I have to file down 4 sides of each slot so it can accommodate the switch and hold it in place. It took me quite some time to do all of them (42 slots) and I still am not happy with the results. I can put all switches in eventually, but it is not easy.
After using the keyboard for a week, I want to make the case looks nicer. I use sandpaper to sand the surface and to remove some sharp edges of the case, paint it with a black color spray, and leave it dry under direct sunlight for 10 minutes.
And this is a game over. ☀️ 🫠
The case is slightly bent by the heat and I’m not able to put the keyboard back in the case anymore! This is how I learned the hard way that PLA material is quite sensitive to heat. I underestimate also how strong the Sun is in Chiang Mai. I was disappointed.
I manage to fix it a bit by using a hair dryer so that I can barely put back the keyboard in again. The case however will never go back into its original shape.
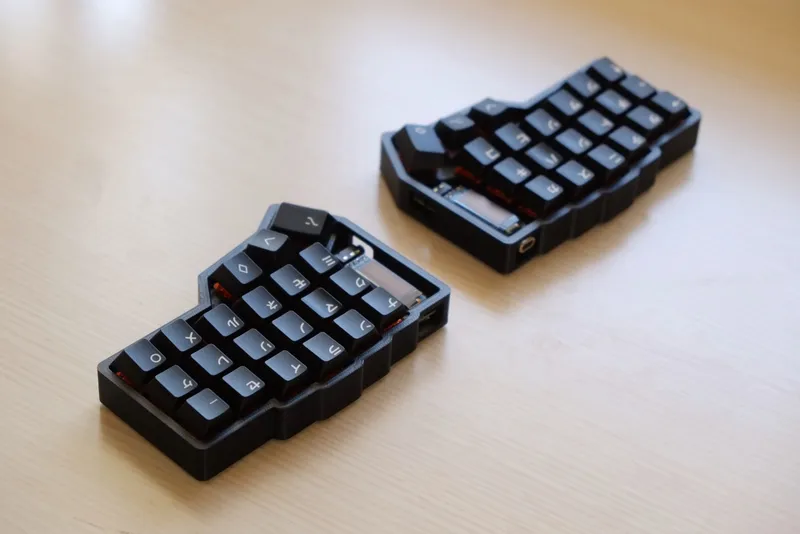
This bothers me for a week before I decide to make a new one. This time I contact another shop in Bangkok: ModCables101, and try to make sure the printing quality is better because I don’t want to do the finishing again. They guarantee that no extra work is needed from the printing, and it would be ready to use of the the box. I choose the normal version instead of the tented version in is print.
And the result is very good. The quality is much, much better than another shop. The material is now ABS plastic instead of the PLA. The cost is also much cheaper at about 400THB/$12. All switches go in the plate slots easily.
Lessons Learned
- Some switches popped out from the hotswap socket sometimes when I put it in my backpack, which is a typical issue for a keyboard with hotswap sockets. I don’t have a bag or carrying case for it.
- There are now 2 cables I always have to carry instead of 1: TRRS and USB cables, which is cumbersome. A wireless build would get rid of this issue.
- The OLED module and LEDs lights are optional.
The OLED display module is kind of useless for meI take it back. It is helpful when there’s problem. I recently has an issue that the keyboard stops working. The OLED screen shows weird graphic so I know something’s not right.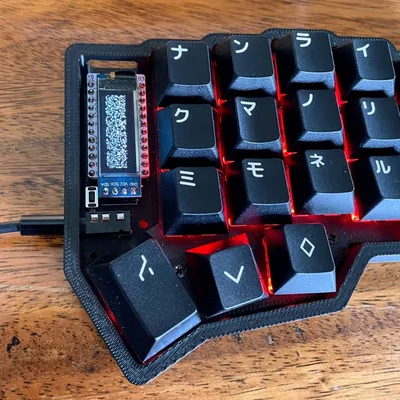
- Getting each part separately rather than buying a set seems to be a cheaper option. From Rafael’s shopping list it seems everything can be purchased from AliExpress.
- I didn’t socket the controller and the OLED modules as mentioned earlier.
- I should have asked for quotes for multiple 3D printing services before deciding to choose one.
- Never put a PLA thingy under direct sunlight again. 🌞
Summary
Overall I’m very happy with my Corne keyboard. It is a fun project and I learn a lot about building mechanical keyboards from it. Using a split keyboard gives me a new experience and joy.
I already have a few ideas for the next steps. It will be in the future new posts then.
Happy Building
Related posts